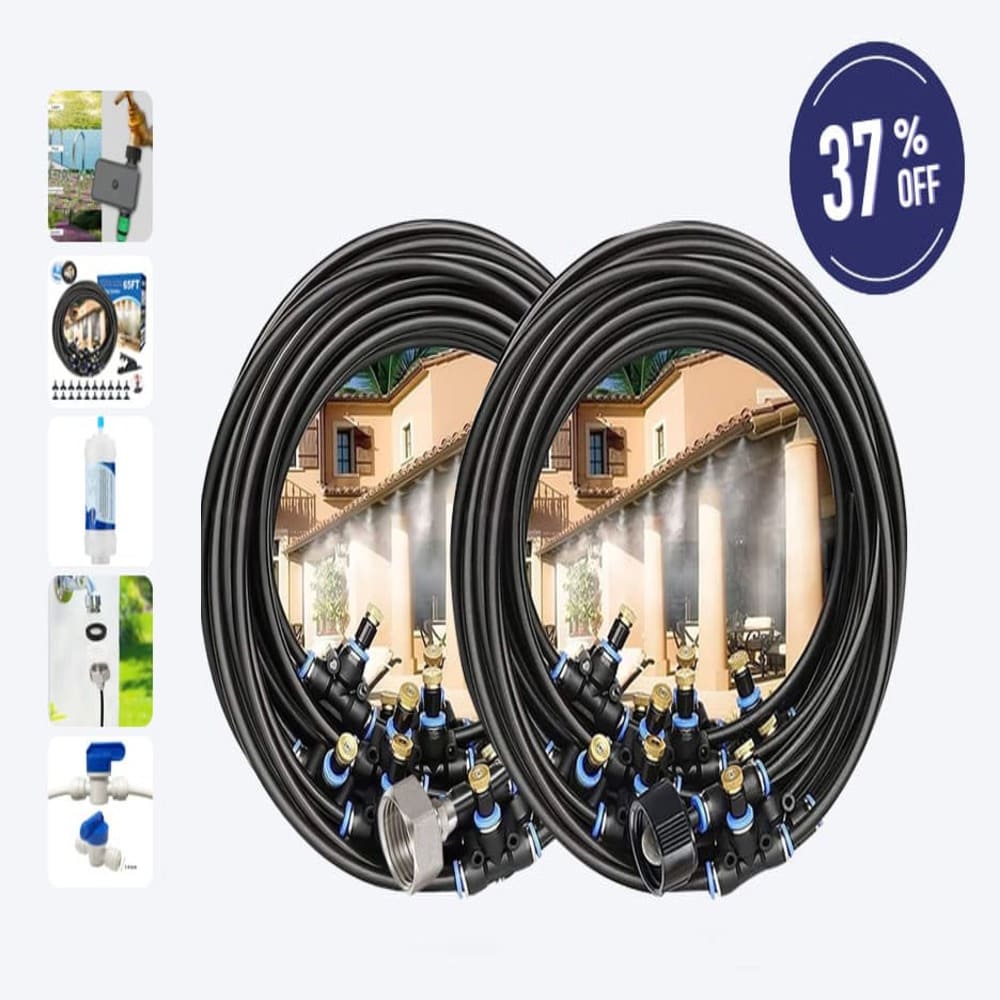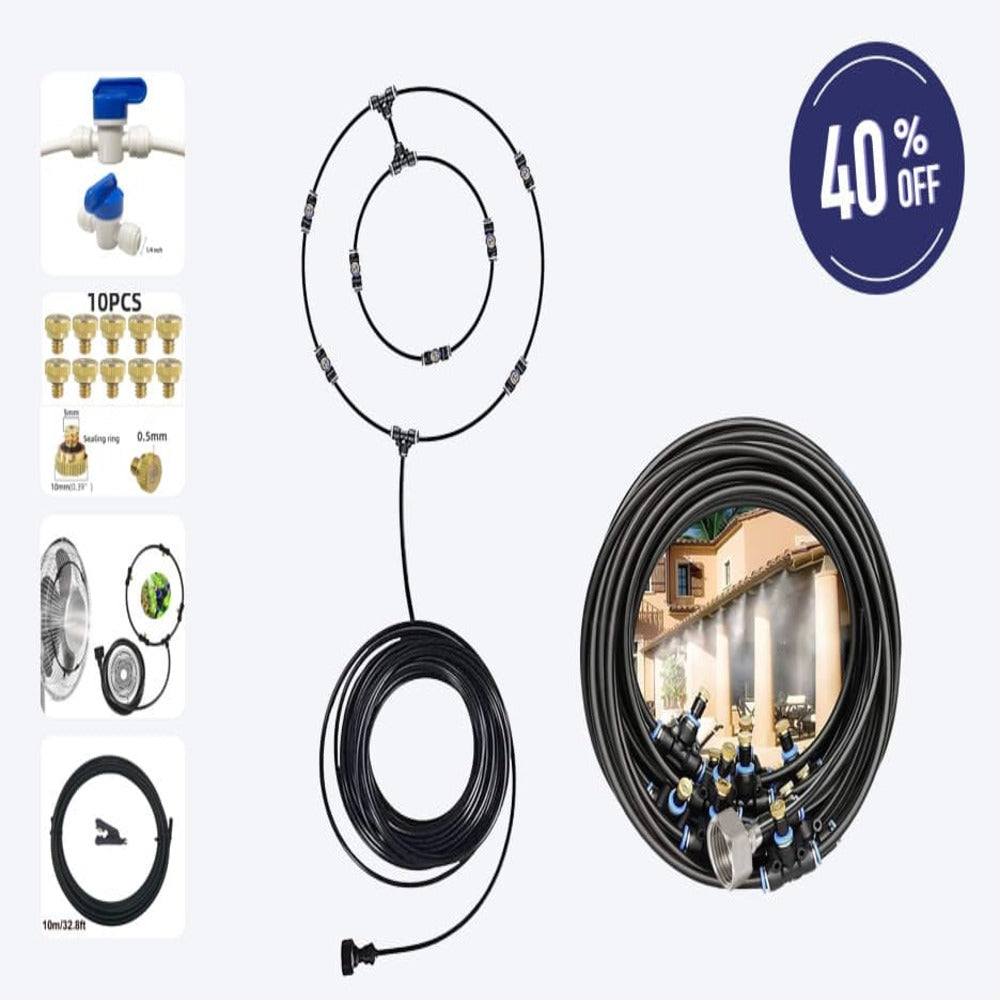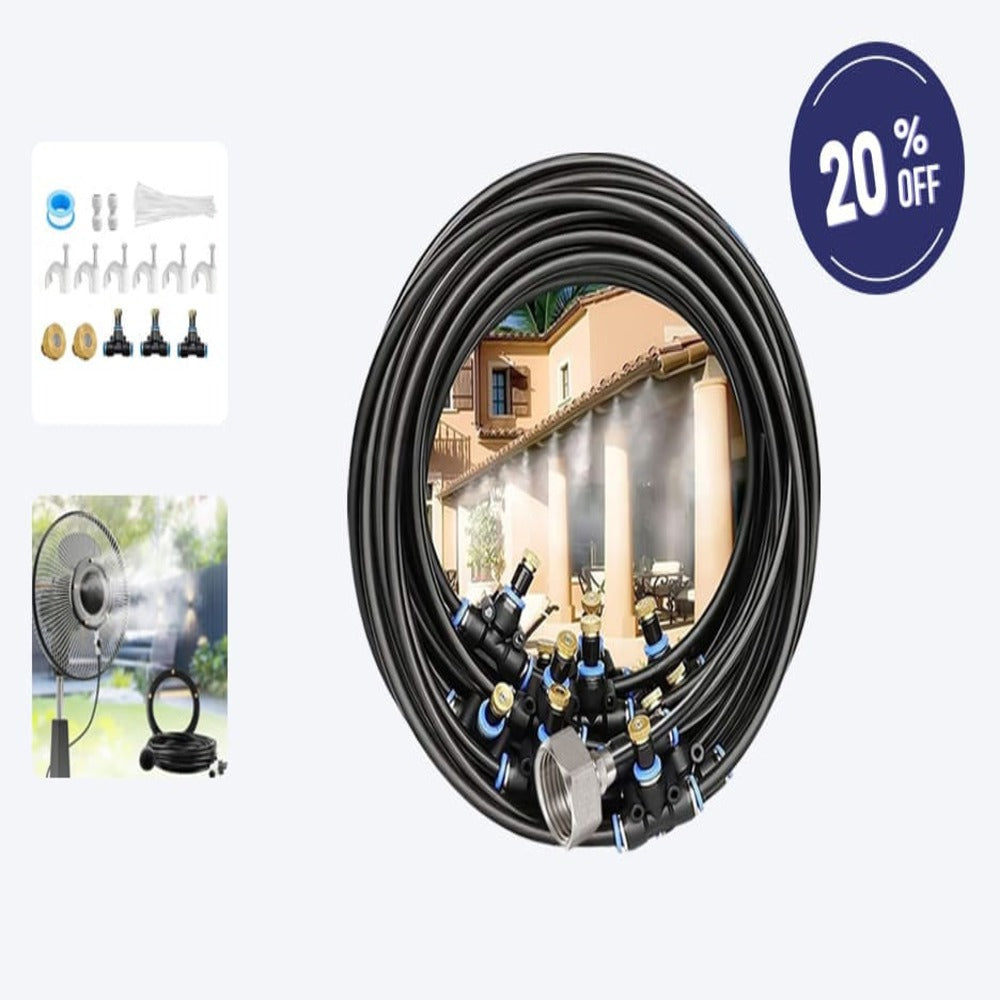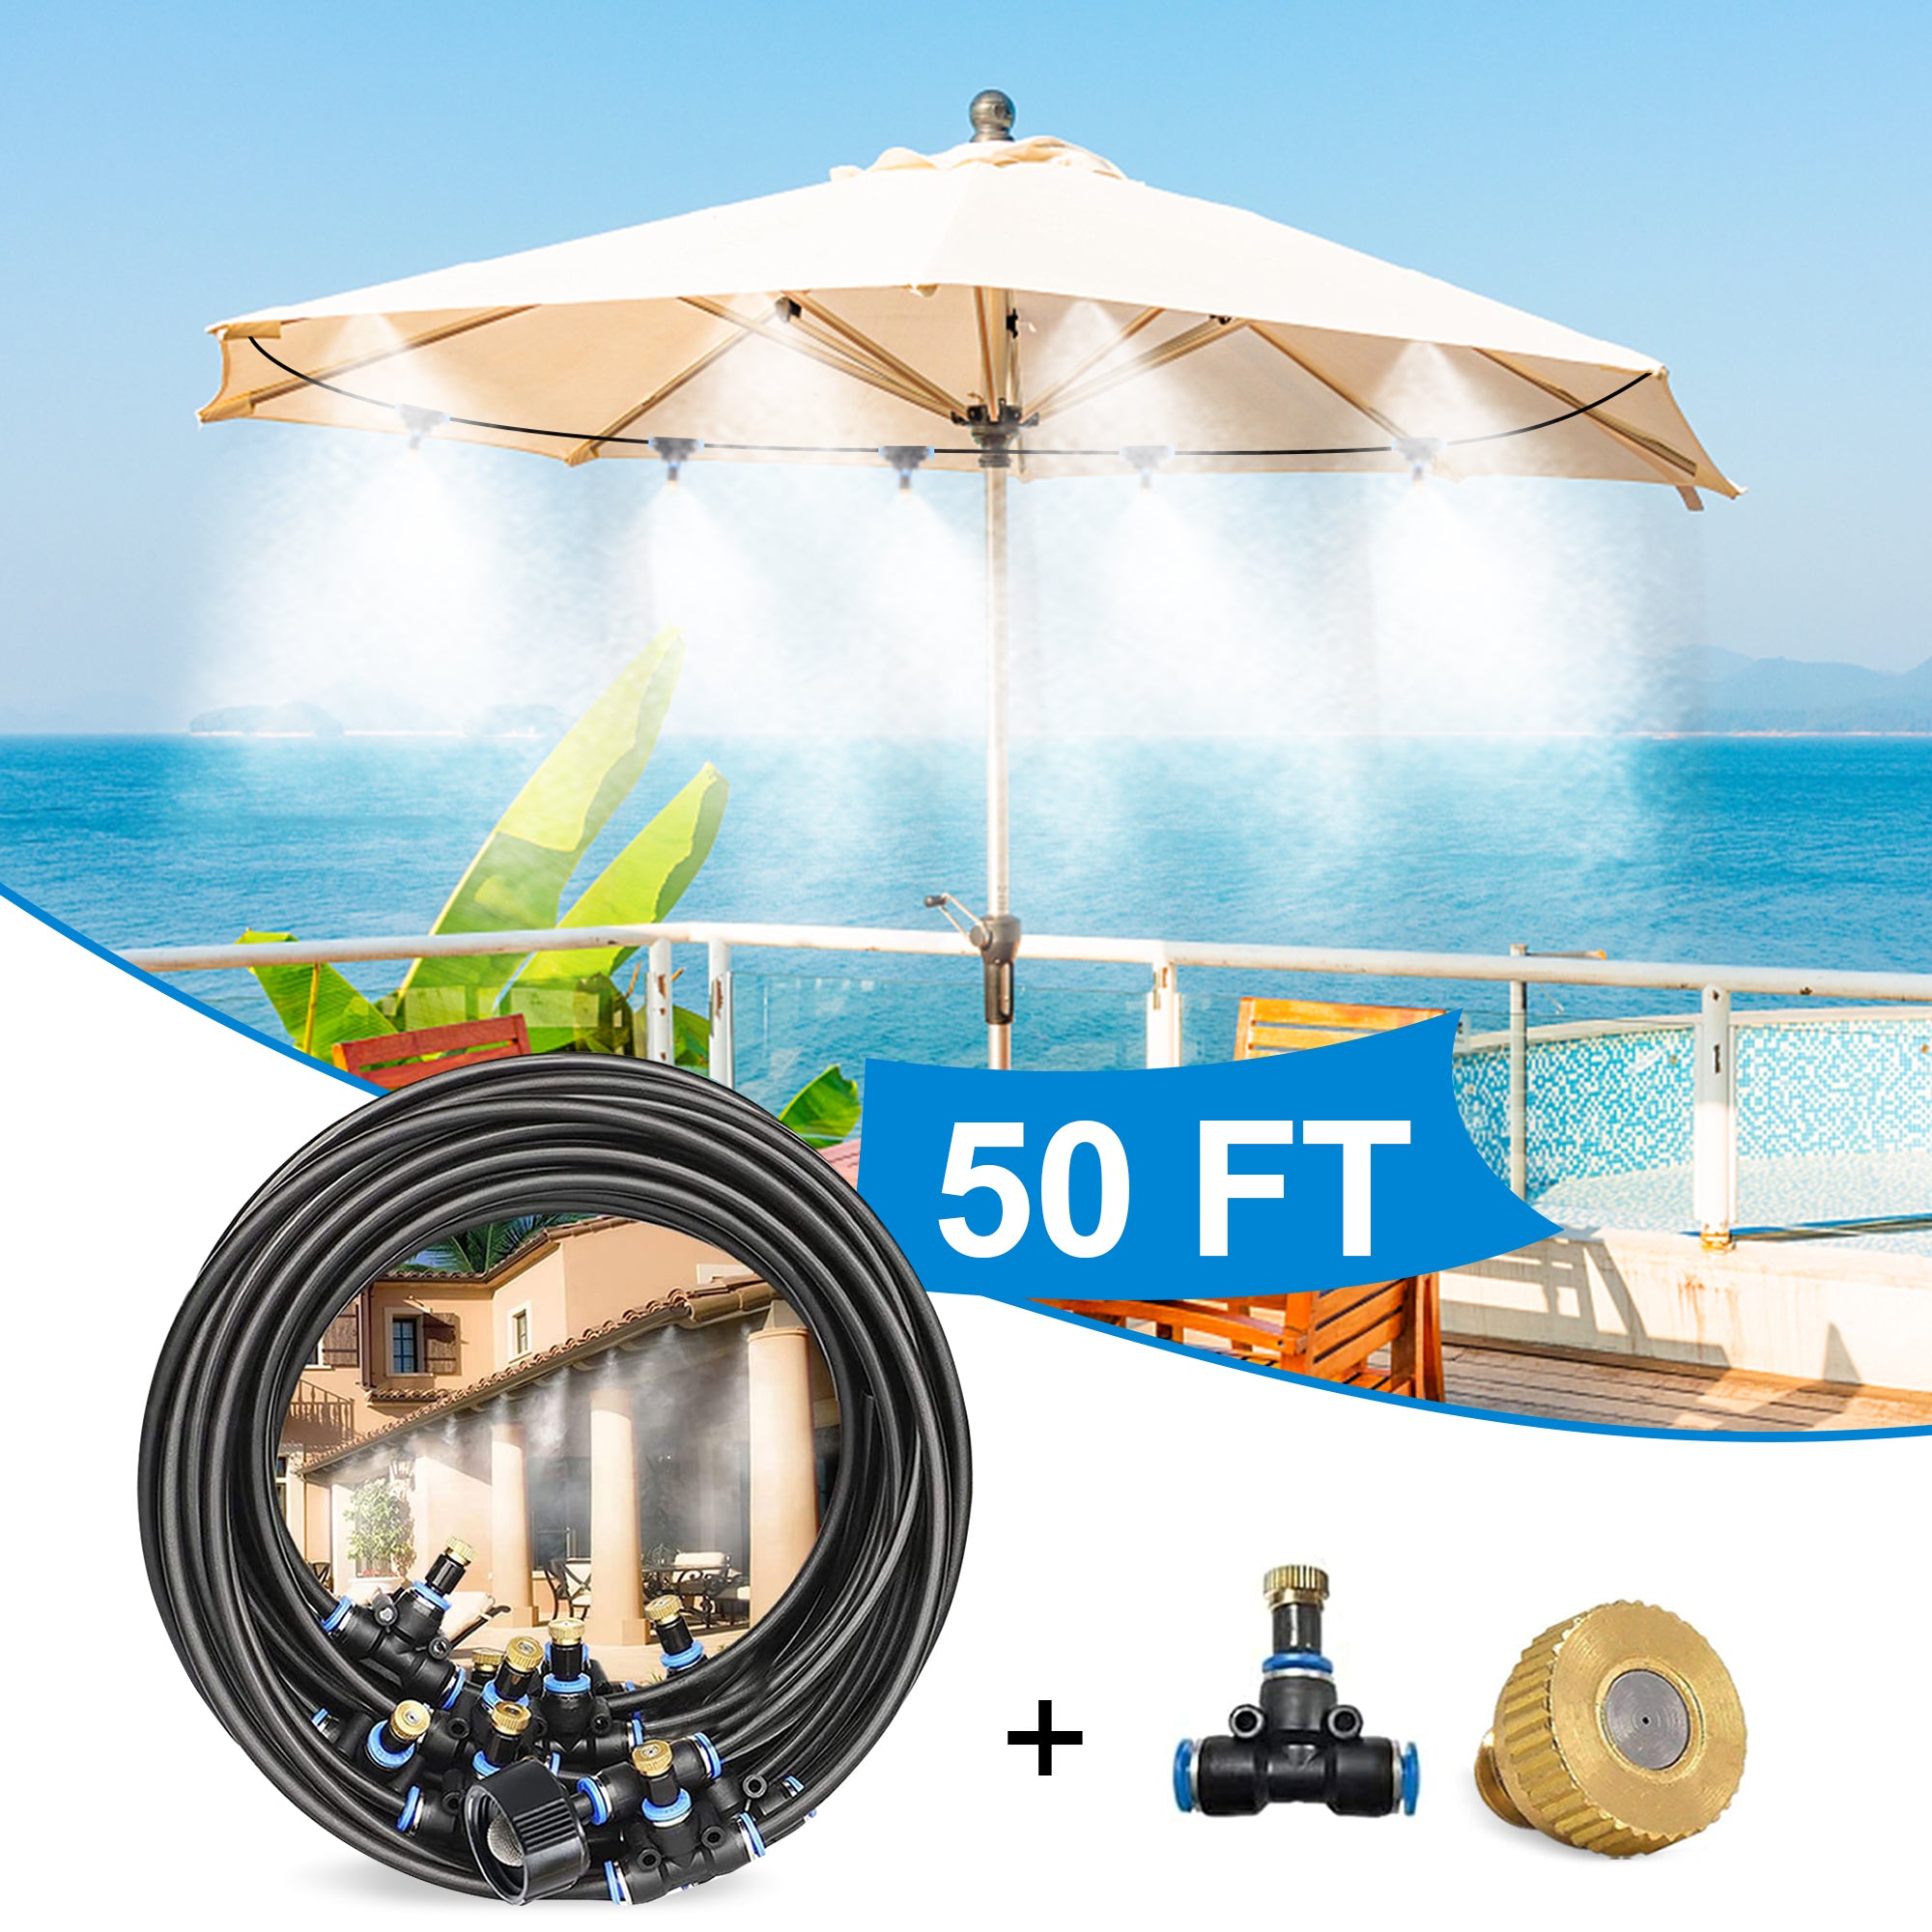

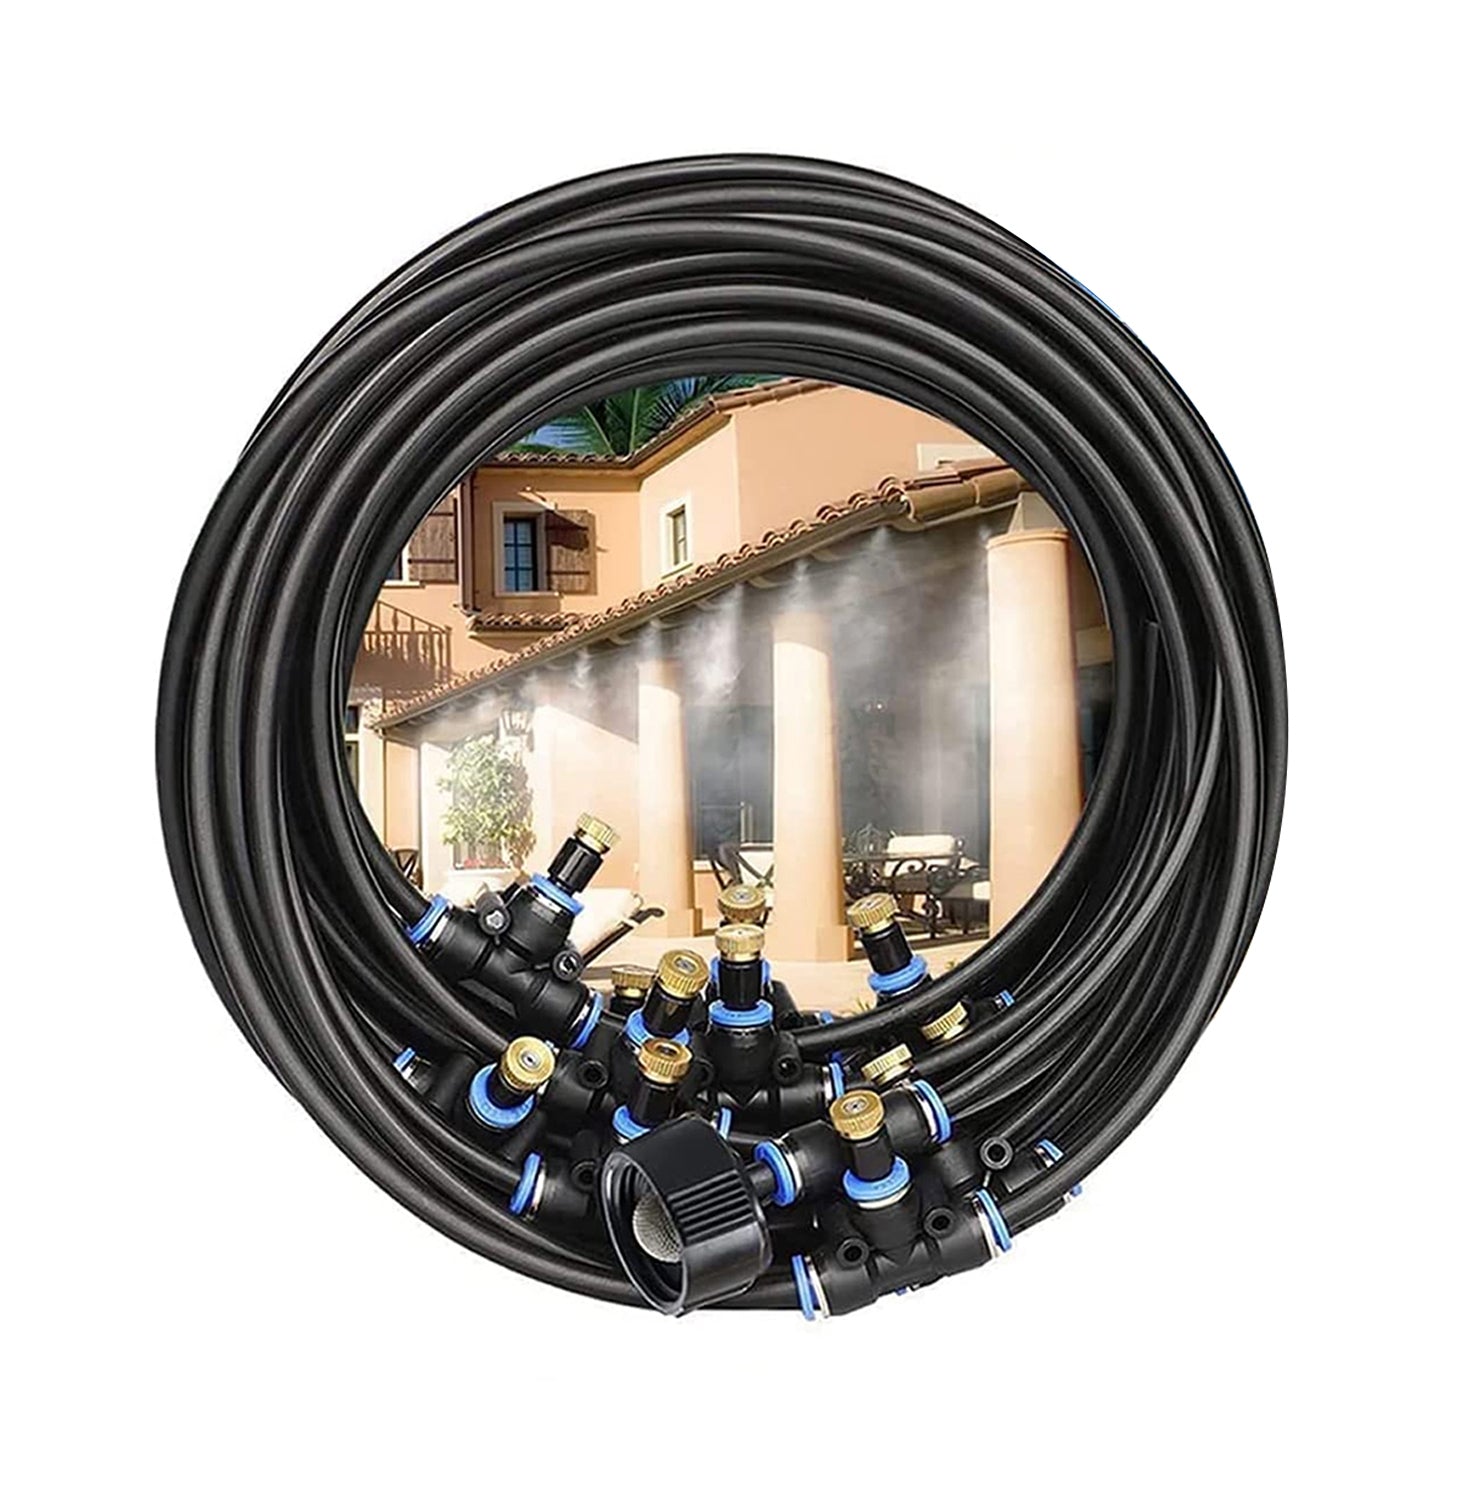
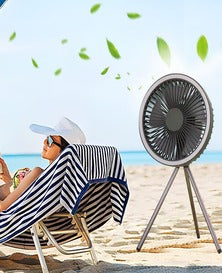
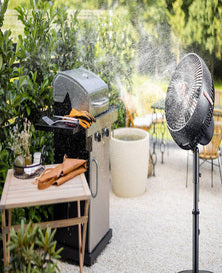
The Pocket Panda Misting System is an efficient, portable, low-pressure misting system designed for a variety of needs in daily life. Whether relaxing on your outdoor patio, promoting greenhouse plant growth, or providing a cool environment for pets, Pocket Panda has the ideal solution
Pocket Panda is a solution-oriented brand dedicated to creating efficient and professional misting systems and adaptable solutions for various cooling and humidifying needs. The Pocket Panda Misting System, designed for versatility and efficiency, requires a few key steps for optimal operation.

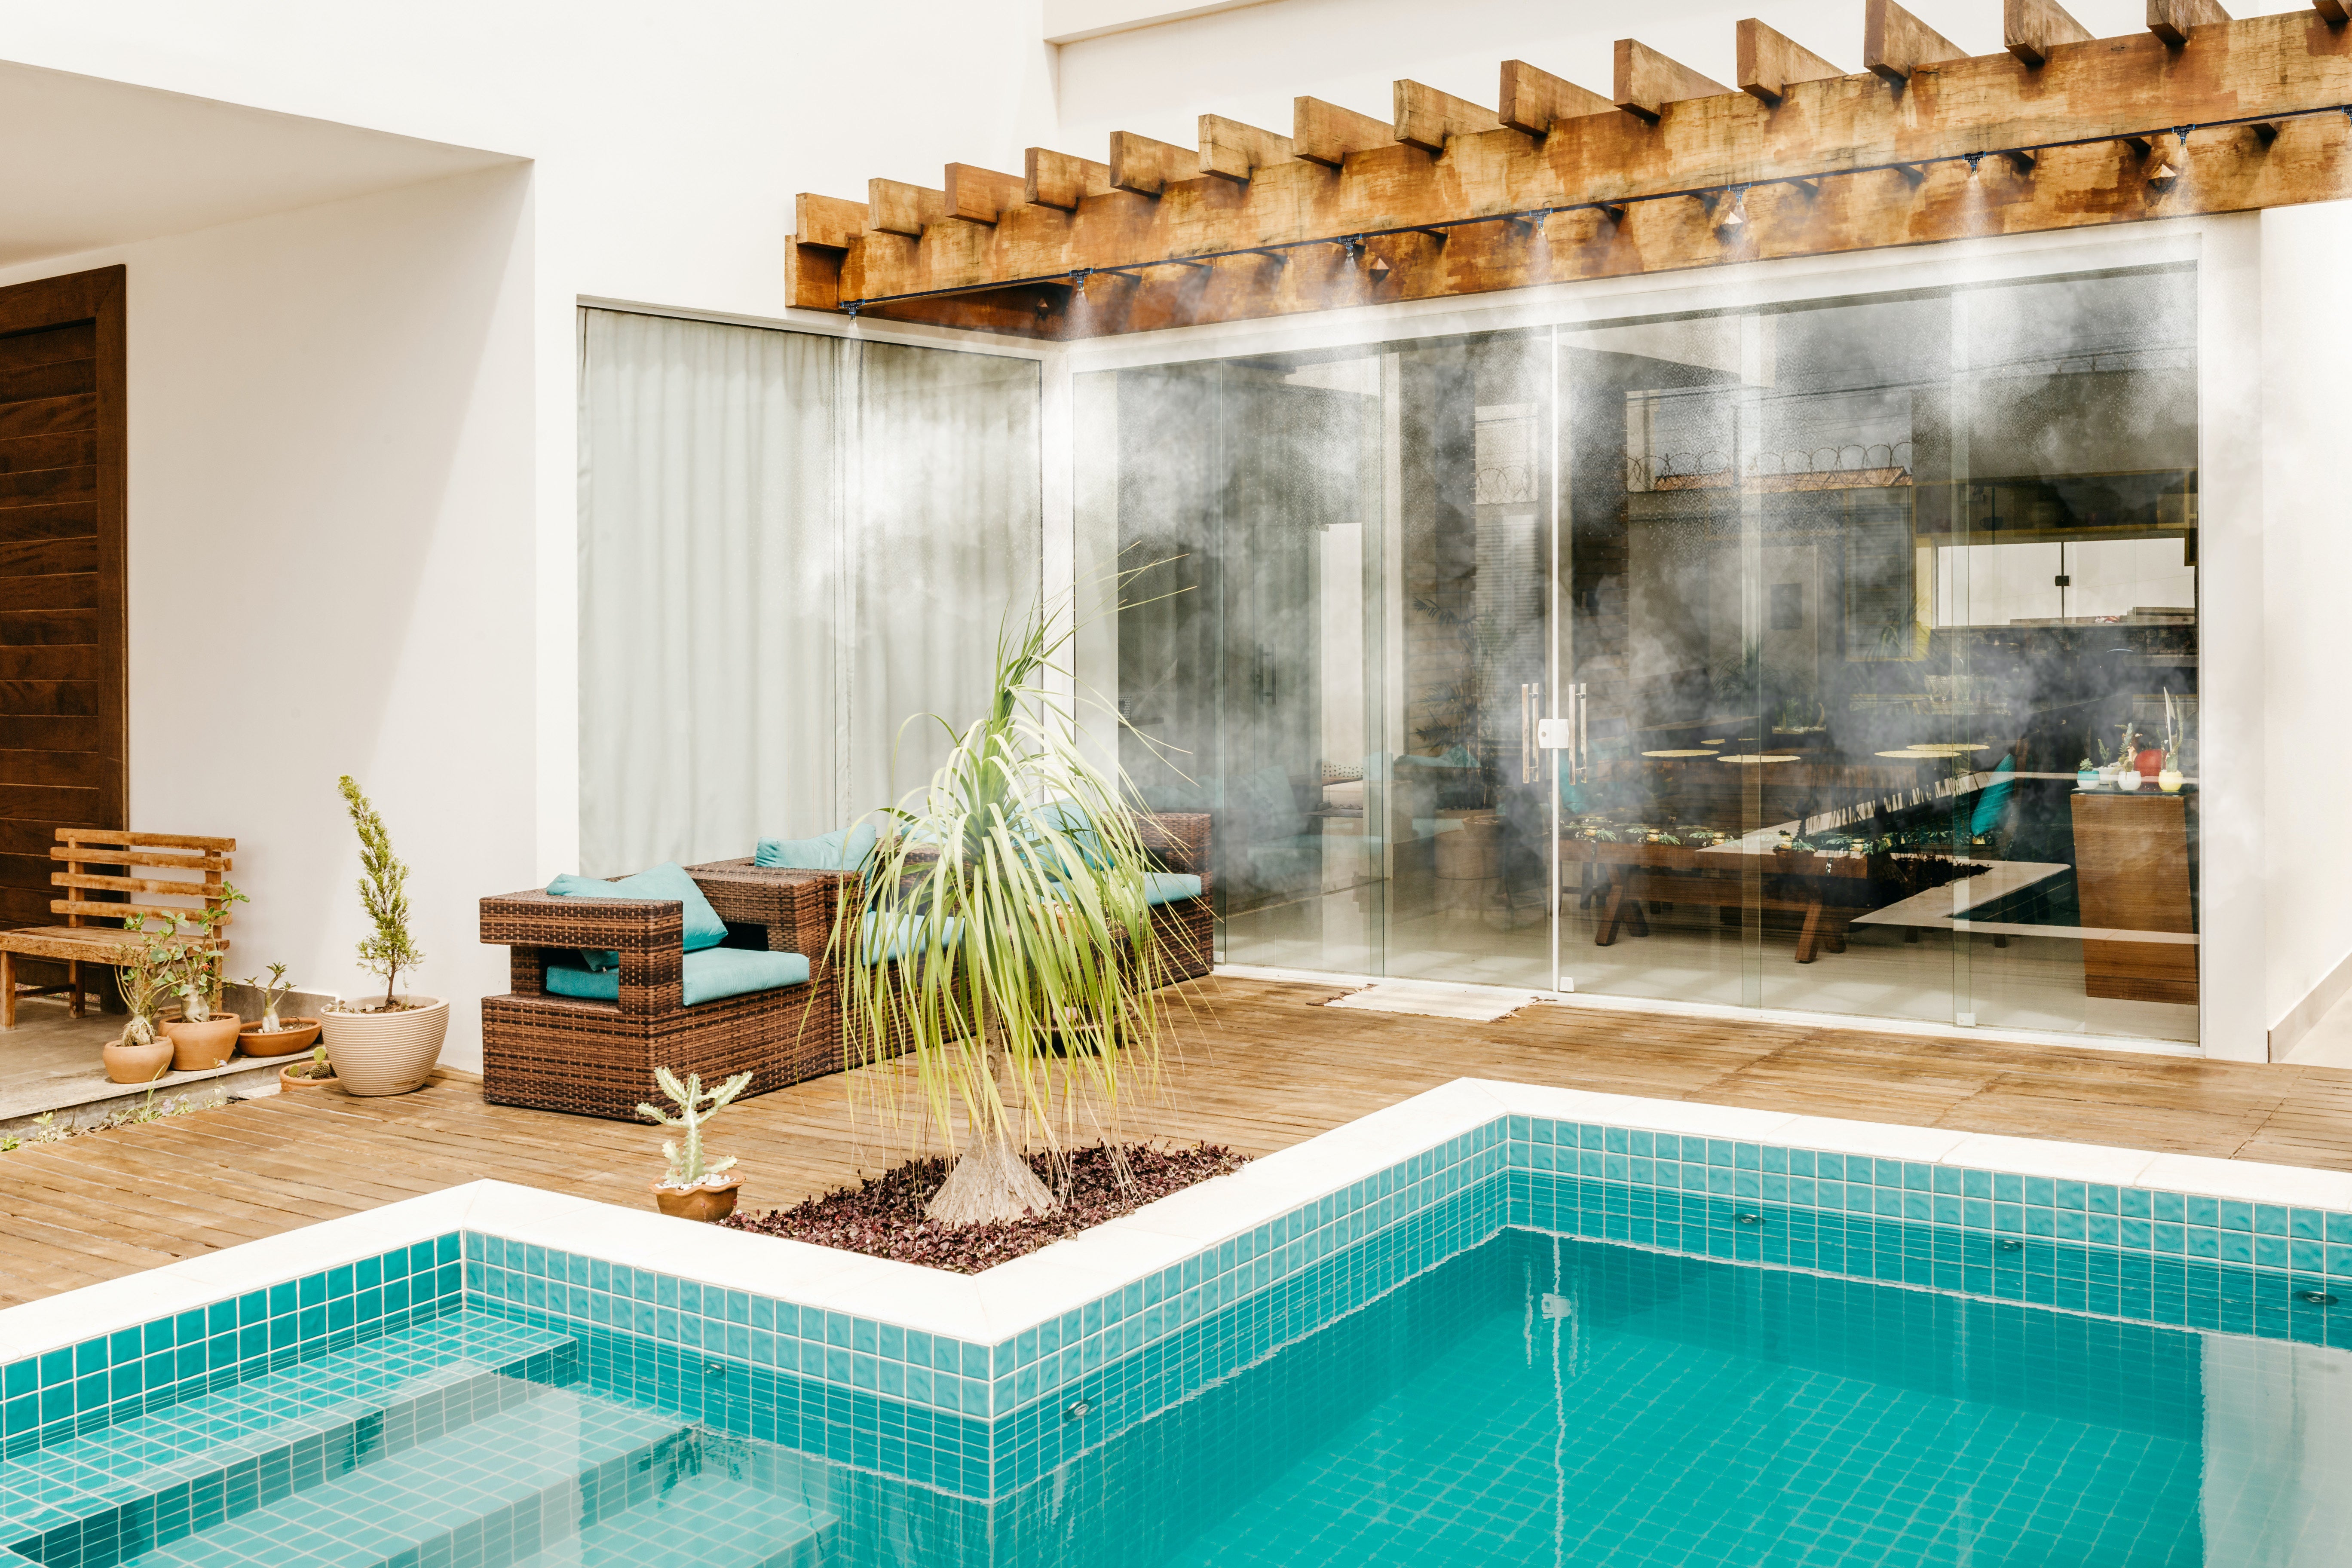
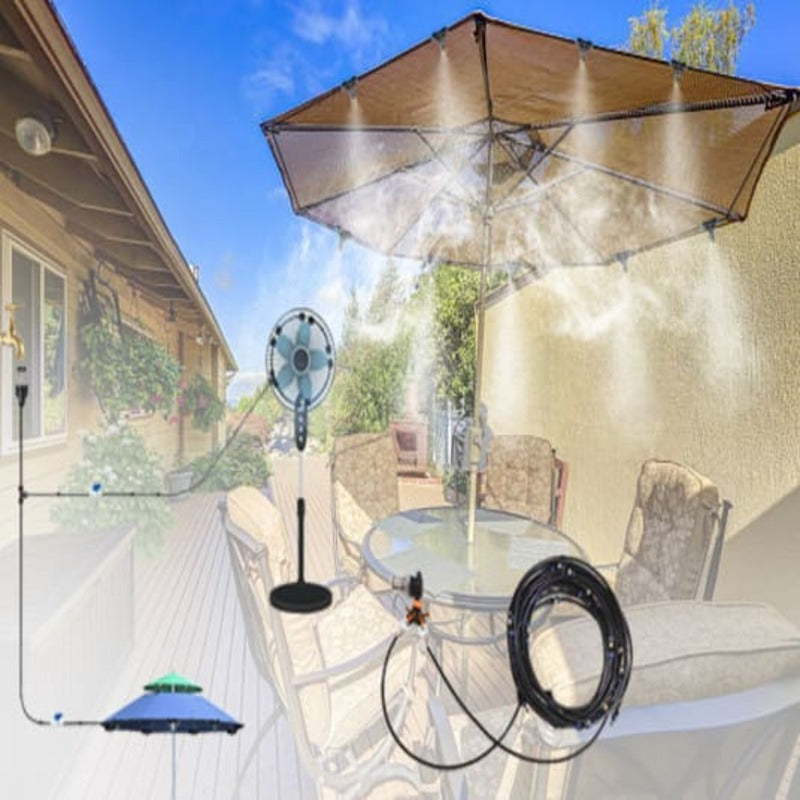
Installing misters on a patio involves a series of straightforward steps to ensure effective cooling and a comfortable outdoor environment. Begin by determining the layout of your patio and identifying the key areas where you need misting, like seating or dining areas. Measure the space to estimate the length of tubing required and the number of misting nozzles needed. The specific operation is demonstrated below,diy patio misting system installation demo
Unboxing and Inspection
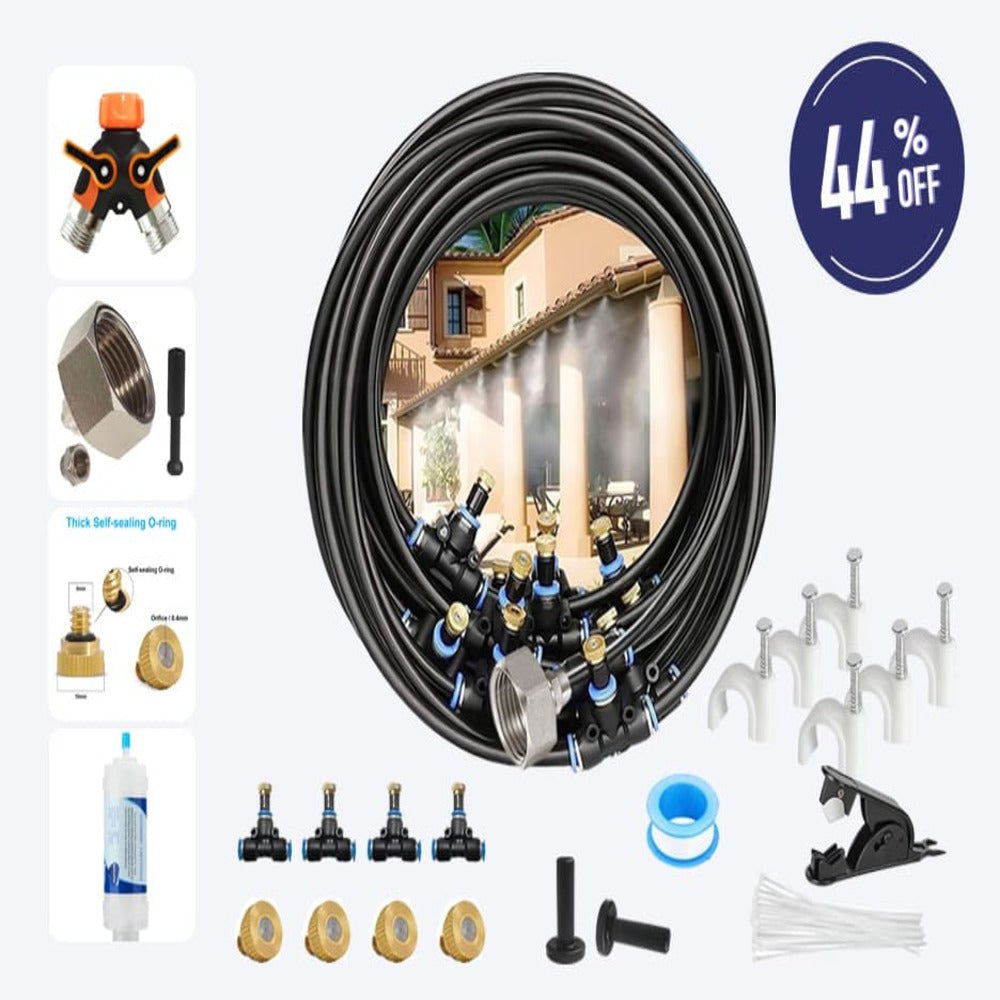
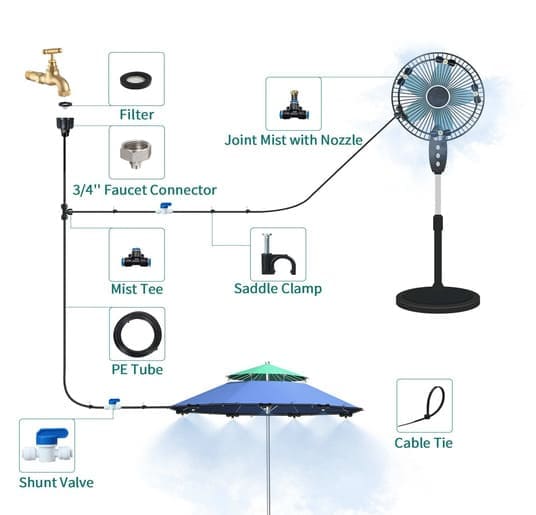
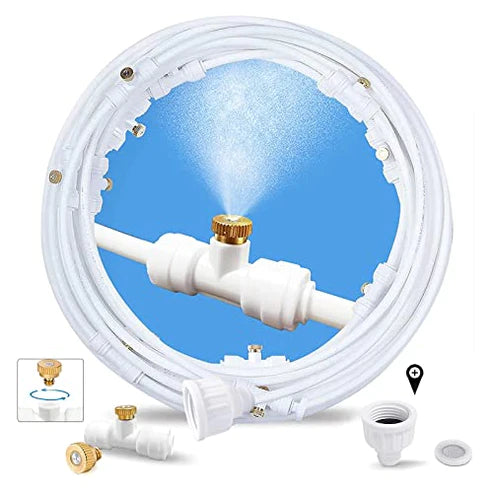
First, carefully inspect all components within the package to ensure they are intact and undamaged. This includes the misting nozzles, tubing, connectors, and the control unit
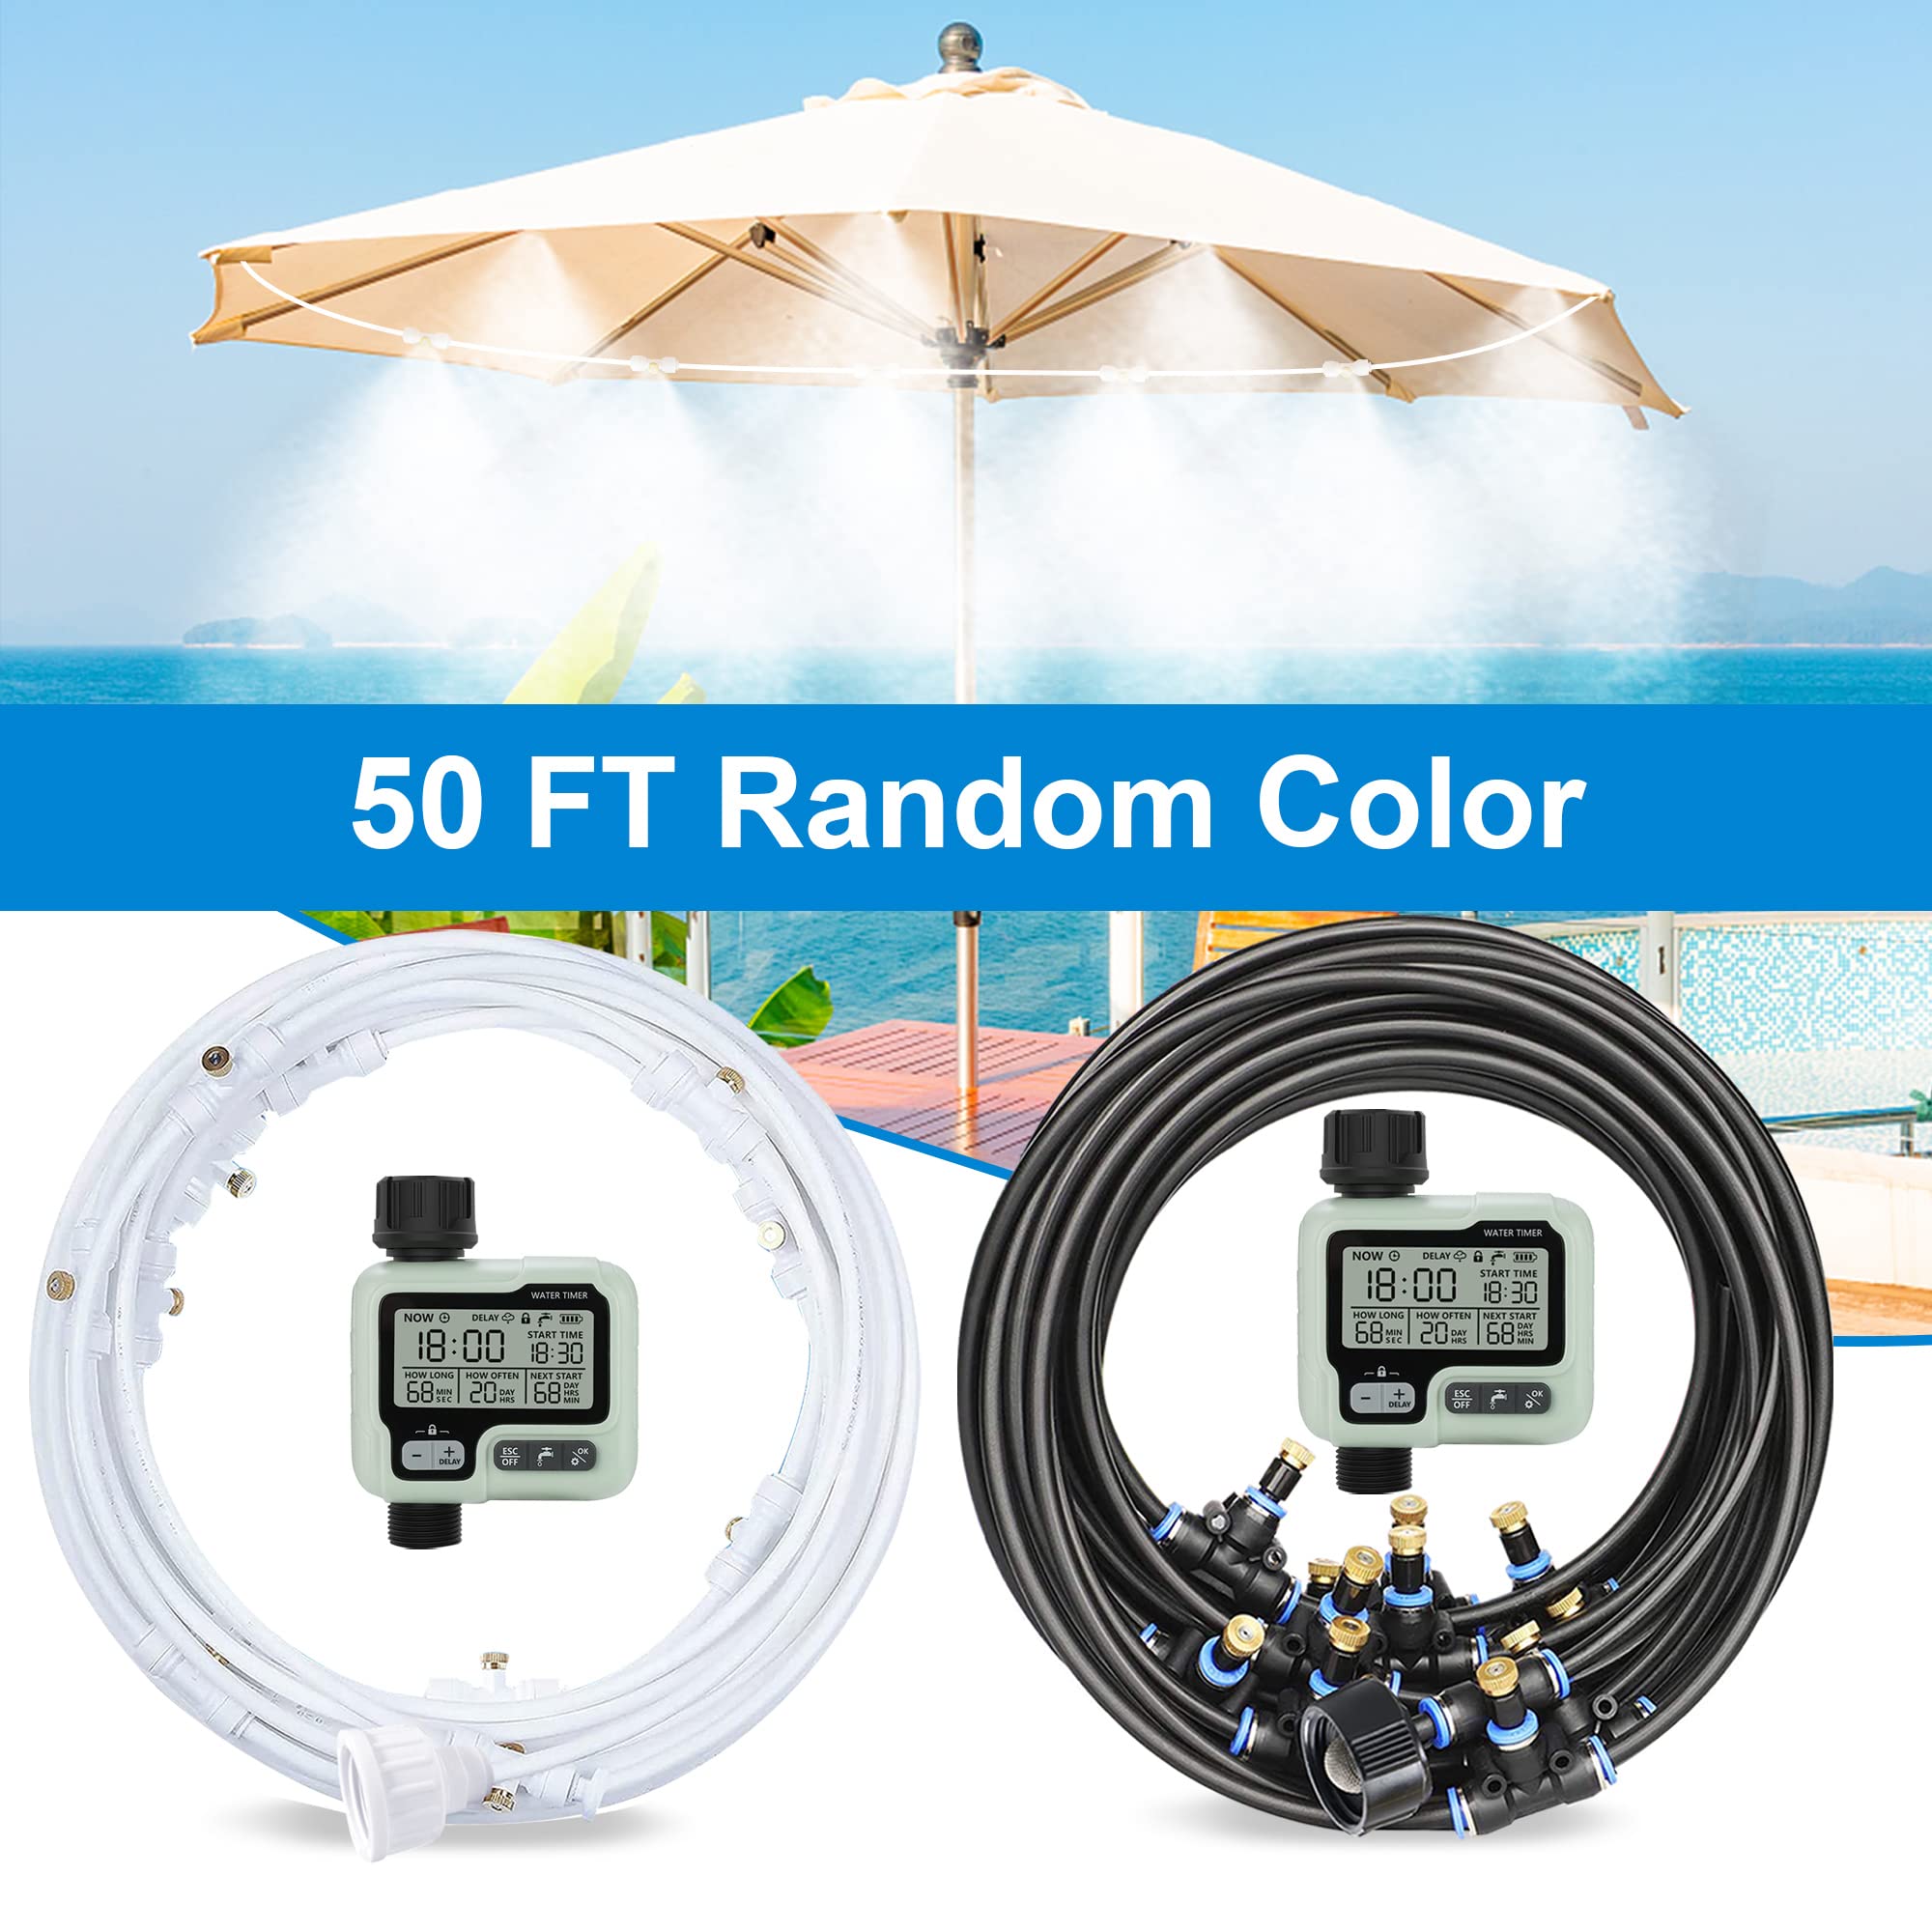
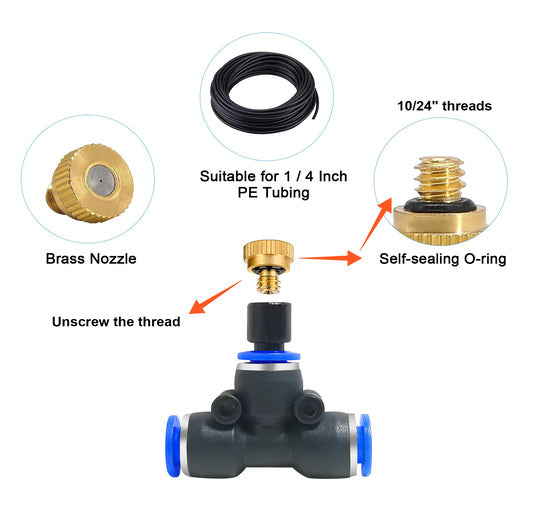
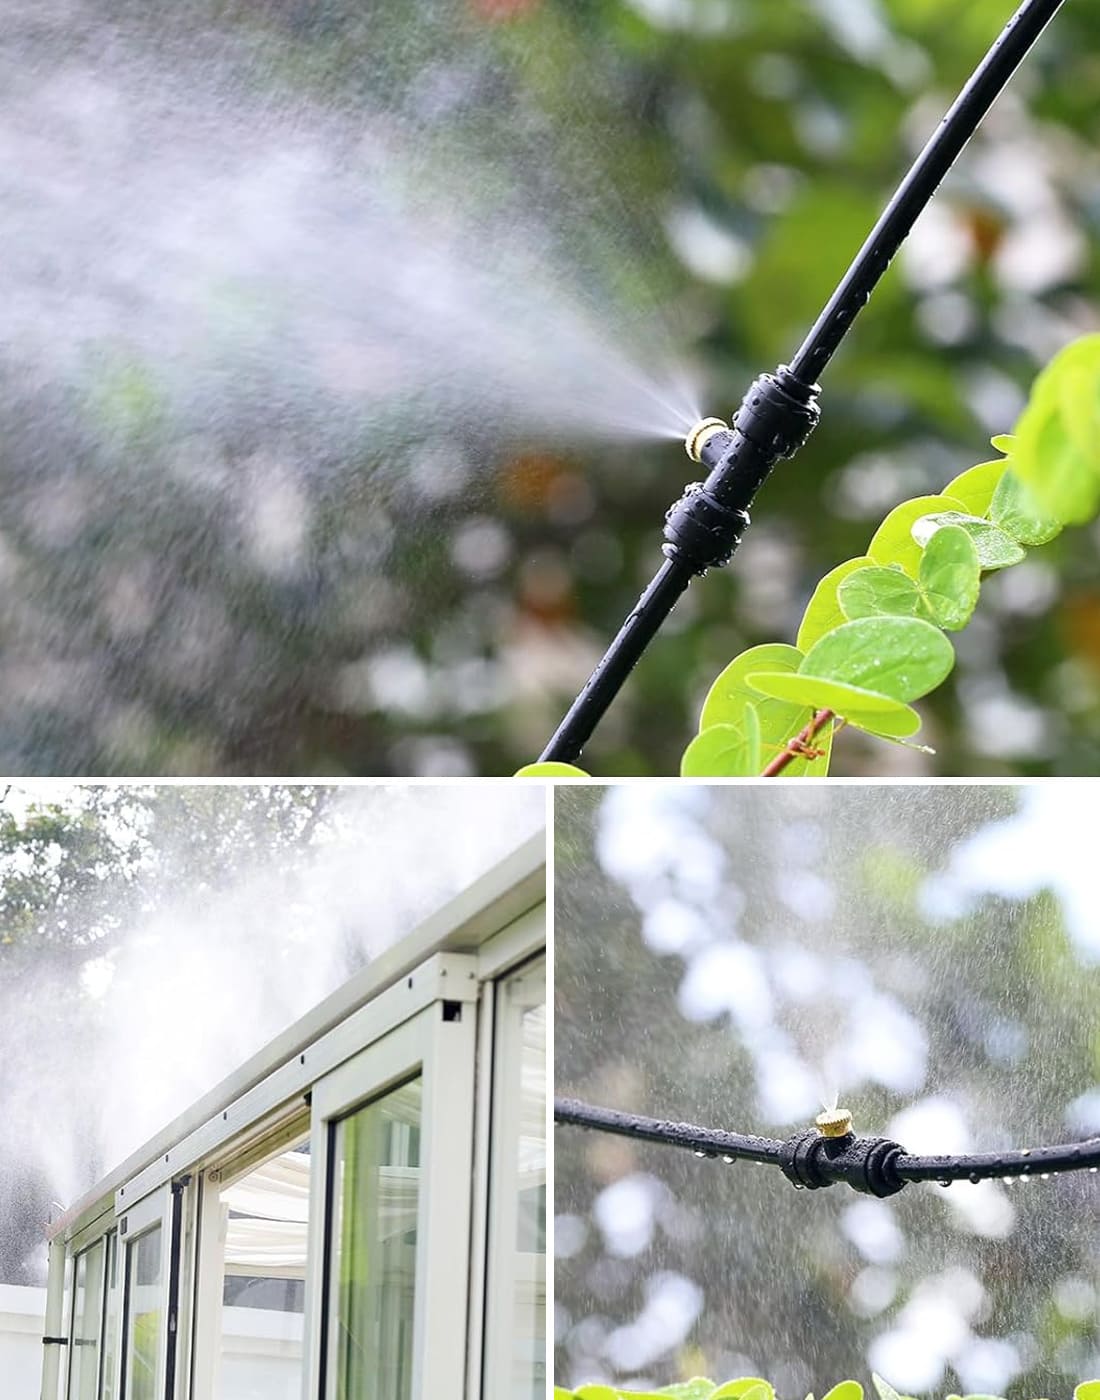
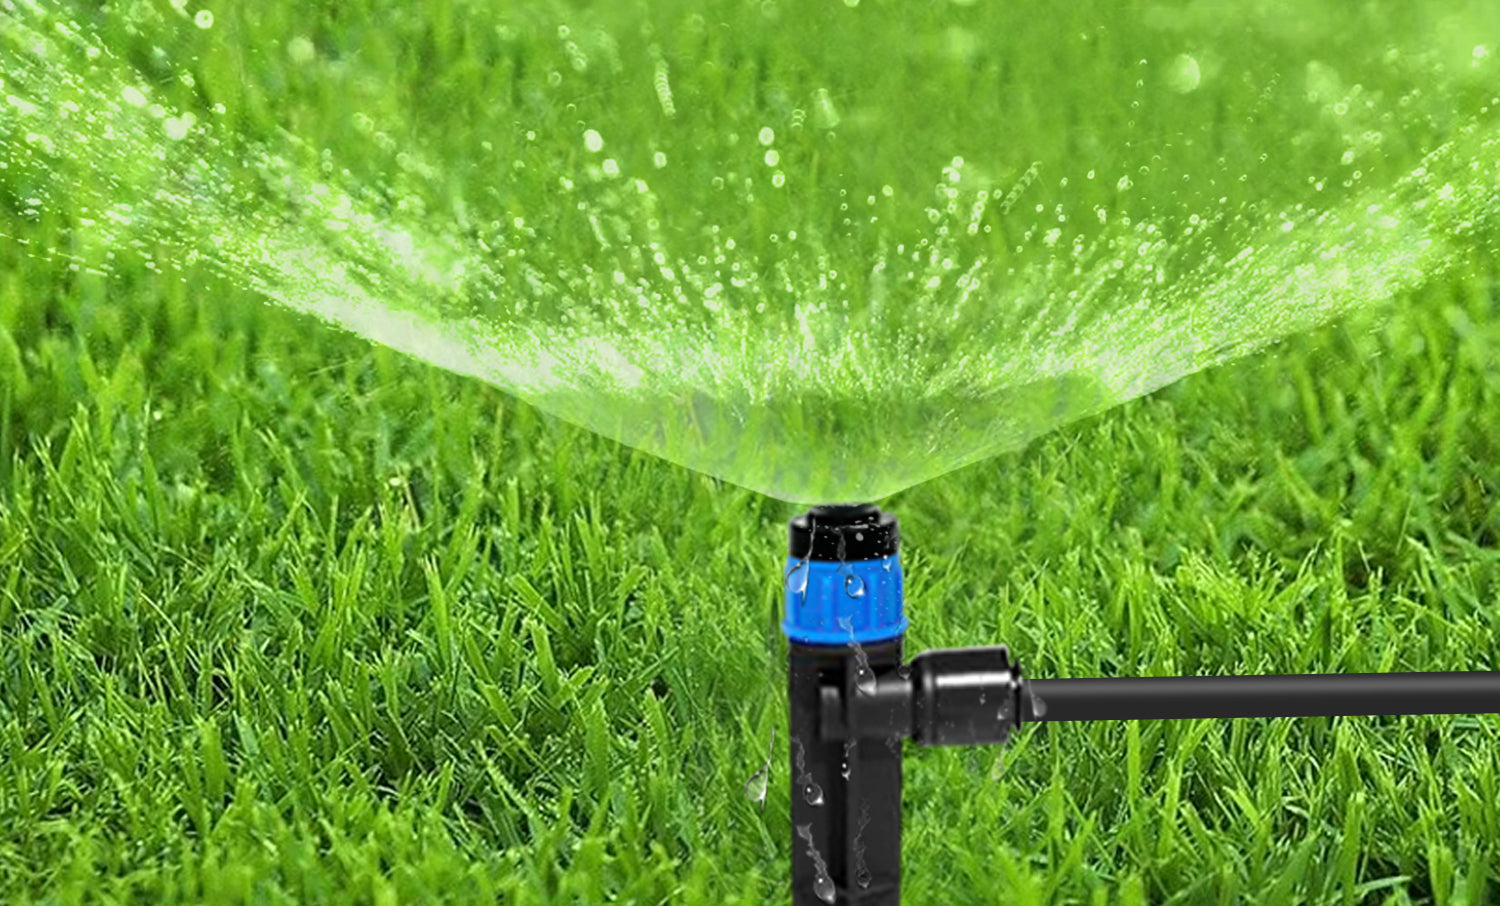
- Nozzles: Used to produce fine mist droplets. These are essential for creating the cooling effect by dispersing water into a fine mist.
- Tubing: Typically made of PE (Polyethylene) or PVC (Polyvinyl Chloride), this tubing is used for water transportation within the system.
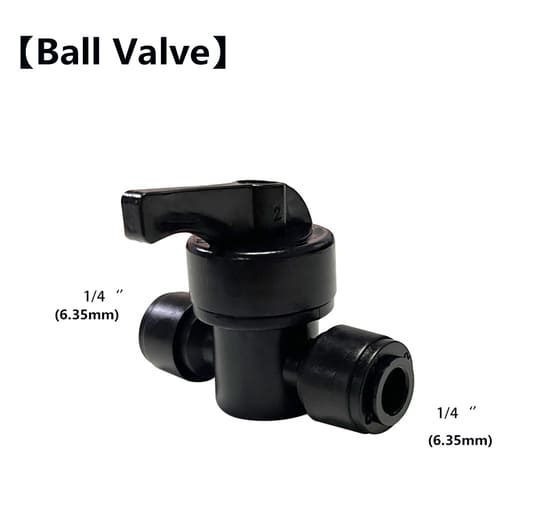
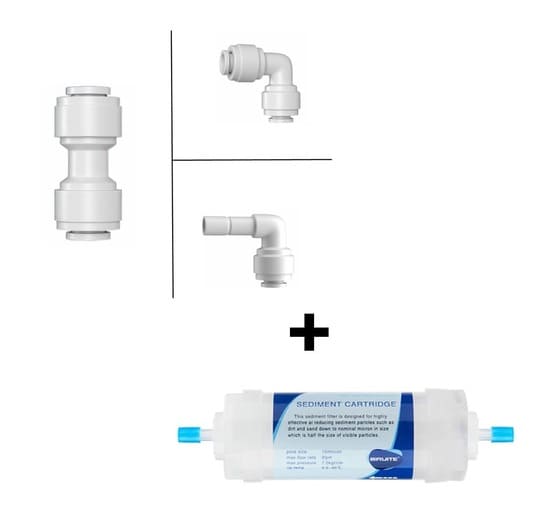
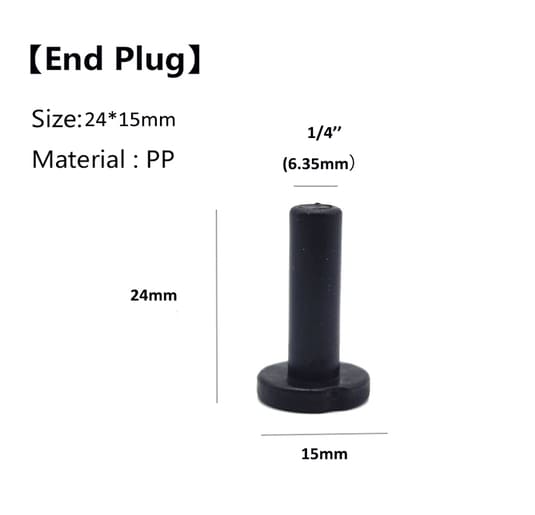
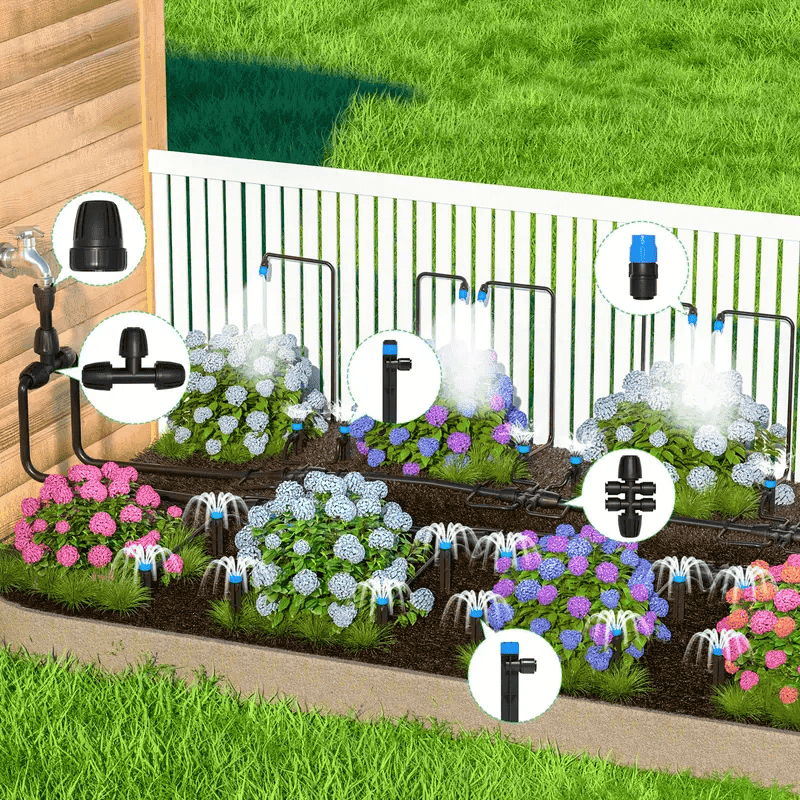
- Connectors: Includes various types of connectors such as T-joints, elbow connectors, and quick connectors, used for assembling and connecting the tubing sections.
- Water Source Adapter: This adapter connects the misting system to a standard water faucet or another water source, ensuring a steady and reliable water supply.
- Mounting Accessories: Such as clamps or zip ties, these are used to secure the tubing in place, ensuring a stable and organized setup.
- Filter: A crucial component to prevent impurities in the water from clogging the nozzles, thus ensuring a consistent and uninterrupted misting effect.
Determining Installation Location
Choose a suitable location for installing the misting system based on the intended use area, such as an outdoor patio, greenhouse, or animal habitat.Here's an example of how to choose the right installation spot for a patio setting:

-
1. Assess the Layout of the Patio
-
2. Identify Overhead Structures
-
3. Determine Sun and Wind Patterns
-
4. Plan for Water Source and Power Supply
When planning the installation of a misting system in an outdoor patio, a comprehensive assessment of various factors is crucial for an effective and enjoyable setup. Firstly, evaluate the patio's layout, considering the size, shape, and furniture arrangement to ensure the system covers the main seating and lounging areas without directly spraying onto people or furniture. Secondly, identify suitable overhead structures like pergolas, awnings, or beams for mounting the misting lines, ensuring the installation height allows the mist to evaporate before reaching surfaces while still effectively cooling the area. Thirdly, account for the sun and wind patterns in your patio; areas with higher sun exposure may require more cooling, and the system should be positioned to avoid mist being blown away by prevailing winds. Lastly, ensure the chosen installation spot is conveniently located near a water source and an electrical outlet, if power is needed for pumps or controls, to facilitate a seamless and functional misting system integration into your outdoor space.
Installing the Nozzles
Fix the nozzles at the required intervals in the chosen location. Ensure that the nozzles are directed toward the area where cooling or humidification is needed.Here's how you can do it effectively:
- 1. Determine the Optimal Spacing
- 2. Choose Strategic Locations
- 3. Adjust the Nozzle Direction
- 4. Test and Tweak
- 5. Consider Wind Direction
- 6. Ensure Even Distribution
When installing a misting system in an outdoor patio, a strategic approach is essential for optimal performance and comfort. Start by determining the optimal spacing of the nozzles, aiming for uniform coverage across the patio. Typically, nozzles should be placed every 2 to 3 feet, but this can vary based on the specific recommendations of the manufacturer and the spray radius of the nozzles. Larger patios may require additional nozzles to ensure complete coverage.
Choose strategic locations for nozzle placement, considering both height and area. Install the nozzles at a height of approximately 8 to 10 feet above the ground to allow the mist to cool the air without wetting surfaces or people. Focus particularly on areas where people gather, like seating or dining areas, while avoiding placement directly above electronics or sensitive items.
Adjust the direction of the nozzles, aiming them towards hotter spots that receive more sunlight or heat, and ensure they are angled to provide a gentle mist without directly spraying onto guests. After installation, conduct an initial test to observe the mist coverage and behavior, making necessary adjustments to the angle or position of the nozzles to optimize cooling and coverage.
Consider the prevailing wind direction in your patio area, adjusting nozzle angles as needed to counteract wind drift and ensure effective mist distribution. Finally, check for even distribution of mist throughout the patio, making sure there are no dry spots or areas with excessive moisture, to maintain a comfortable and uniformly cooled environment.
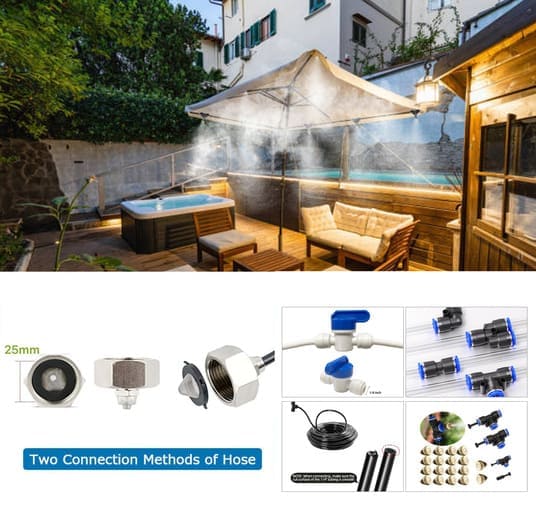
Connecting Tubing
Connect the tubing to the nozzles and ensure that all connections are tight and leak-free.Here’s a guide to doing it correctly:

- 1. Measure and Cut the Tubing
- 2. Attach Tubing to Nozzles
- 4. Use Clamps or Clips for Stability
- 5. Test for Leaks
- 6. Make Adjustments as Necessary
Installing a misting system in an outdoor patio requires precise and careful steps to ensure efficient operation and leak prevention. Begin by accurately measuring the distance between each nozzle along the patio, and then cut the tubing to these specific lengths for a clean and orderly installation. Utilize a tubing cutter or sharp scissors to achieve clean cuts, which are essential for minimizing the risk of leaks at the connections.
Once the tubing is cut, attach it securely to the nozzles. For systems with push-to-connect fittings, make sure the tubing is fully inserted to ensure a secure and tight fit. Double-check each connection to ensure that the tubing is firmly attached to the nozzles, as a snug fit is key to preventing water leakage.
Strategically route the tubing along the patio structure, such as along beams or the underside of a pergola, to maintain a neat appearance and avoid obtrusiveness. Care should be taken to ensure the tubing runs smoothly without sharp bends or kinks, which could restrict water flow or cause damage.
Use clamps or clips to securely fasten the tubing to the patio structure, helping to prevent sagging and maintain a tidy look. Place these supports at regular intervals for added stability and to prevent the tubing from swaying or suffering damage.
After installation, conduct an initial test by turning on the water to check the system's functionality. Inspect each connection point for leaks, looking for any signs of dripping or seepage at the junctions between the nozzle and tubing.
If leaks are detected, turn off the system and make the necessary adjustments. This may involve tightening the connections, pushing the tubing further onto the nozzle, or using adjustable connectors. Should you find damaged tubing or faulty nozzles, replace these components promptly to ensure the integrity of the system and a leak-free operation.
Fixing Leaks and Properly Installing Nozzles
If you receive the missing accessories within 7 days, please contact our customer service. In order to solve your problem efficiently, please include the purchase date when communicating. Most of the problems are caused by the faucet not being tightly connected. Because each of our kits is equipped with standard accessories, if you need to re-purchase accessories, I also have a purchase link
Check Connections:

- Ensure all connection points are tightly connected.
- Use appropriate tools (such as a wrench) to gently tighten all connections, avoiding excessive force to prevent damage.
Replace Seals:

- If the seals (O-rings) at the connection points are worn or damaged, replace them promptly.
- Choose replacement seals that match the specifications of the original ones.
Use Teflon Tape:
Wrap Teflon tape around threaded connections to enhance sealing.
Ensure the tape is wrapped evenly and not overlapped.
Inspect Nozzles:
- Check for cracks or damage in the nozzles and replace them if necessary.
- Clean the inside of the nozzles to remove any blockages that could affect the spray pattern.
According to your needs, choose the appropriate type of nozzle, such as fine mist or medium mist nozzles. When installing, adjust the pressure of your home faucet to ensure it is suitable for operating these misters."
Misting System Specific Requirements and Optimization Methods

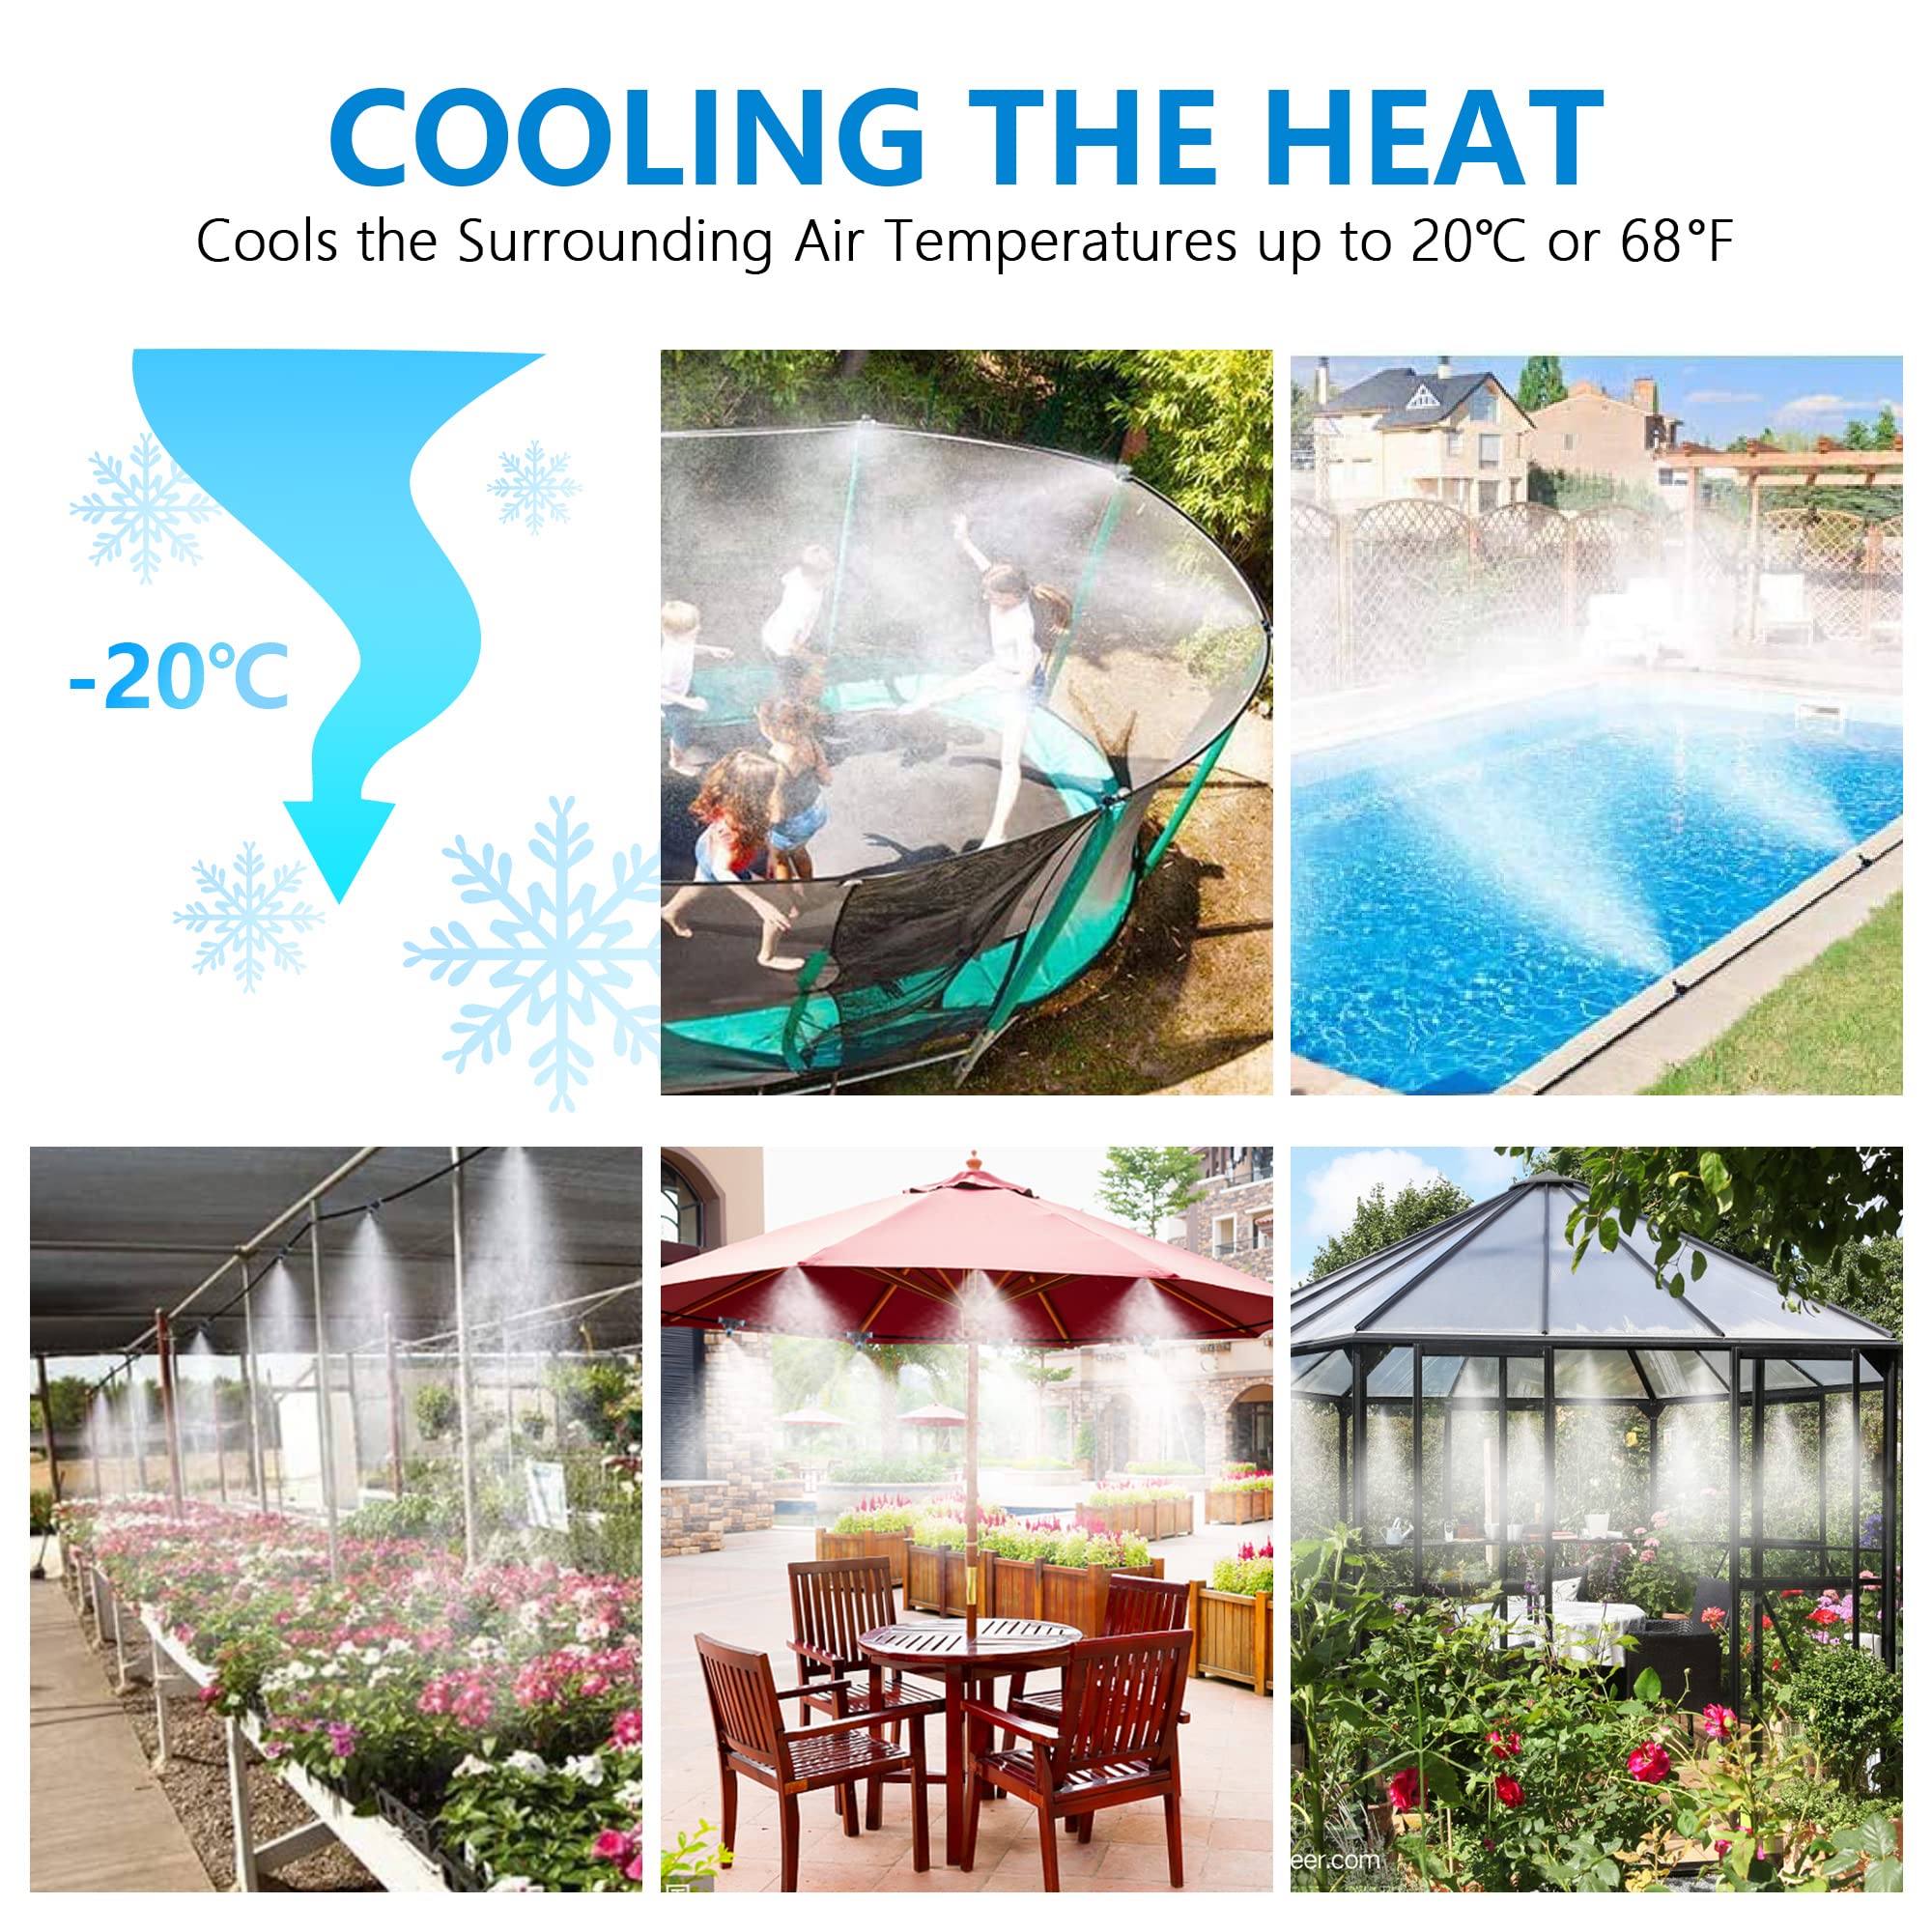
These optimization methods are used in scenarios where specific requirements need to be met to provide efficient cooling for different environmental cooling devices, enhance comfort, and ensure sustainability in a variety of environments, from residential courtyards to commercial sites or agricultural applications.
- Appropriate System Type
- Water Quality
- System Capacity
- Environmental Compatibility
When setting up a misting system, it's essential to consider its specific requirements and optimization methods to ensure maximum efficiency and effectiveness. Key factors include selecting the appropriate system type, maintaining water quality, ensuring system capacity, and ensuring environmental compatibility.
The choice between a low-pressure and a high-pressure misting system is critical. Low-pressure systems are generally suitable for smaller, residential areas and are less expensive, whereas high-pressure systems are ideal for larger or more open spaces, providing a finer mist that evaporates quickly and offers more effective cooling.
The quality of water used in the misting system significantly impacts its performance and longevity. Using clean, filtered water is vital to prevent nozzle clogging and reduce maintenance needs. In areas with hard water, incorporating a water softener can prevent mineral buildup, which could otherwise hinder the system's efficiency.
It's important to ensure that the system's flow rate and pressure are adequately matched to the number of nozzles and the overall coverage area. An undersized system will not effectively cool the area, while an oversized system can lead to unnecessary water usage and increased operational costs.
The misting system should be adapted to the specific environmental conditions where it will be used. In areas with high ambient humidity, a system that produces a finer mist can prevent excessive moisture accumulation. Conversely, in drier climates, a slightly heavier mist might be more beneficial. Additionally, the system should be durable enough to withstand local weather conditions, whether it's intense sun, wind, or other environmental factors.
By carefully considering these aspects - the type of system, water quality, system capacity, and environmental compatibility - a misting system can be optimized to provide efficient and effective cooling, tailored to the specific needs of the environment where it is installed
When misters are used in different environments, then each scenario has its specific needs and optimization methods, let us explore in detail
Water Quality Optimization

Pressure Regulation
- Pressure Regulator: Use a pressure regulator to ensure the system operates within the recommended pressure range (high pressure typically 800-1200 psi low pressure: 50-200psi) to guarantee optimal misting performance.
- Pressure Testing: Regularly test the system's pressure to ensure it remains within the optimal operating range. Both high and low pressure can affect the quality of the mist.
Please note that mist cooling system for home, you can use the pressure of your home tap. If your local area is not very hot, then I suggest you use the tap pressure directly.
Nozzle Selection and Arrangement

- Select Appropriate Nozzles: Choose nozzles based on your needs, such as fine mist or medium mist nozzles. Nozzle orifice sizes typically range from 0.3mm to 0. 4mm inches.
- Even Nozzle Distribution: Ensure nozzles are evenly distributed to cover the target area effectively. Adjust the height and angle of nozzles based on coverage requirements
Using Pumps in Low-Pressure Misting Systems

One key situation where a pump is necessary is when the existing water pressure from your faucet or water supply is insufficient to achieve the desired misting effect. This is particularly common in residential areas where water pressure can vary significantly. Additionally, in large coverage areas, the natural water pressure may drop considerably due to the distance the water needs to travel, making a pump essential to maintain consistent misting performance.
When dealing with elevation differences within the misting area, a pump becomes crucial to ensure that all parts of the system receive adequate pressure. This is also true for systems with long pipelines where friction losses can significantly reduce the effective water pressure at the nozzles. In such scenarios, using a pump helps to ensure that the misting system operates efficiently and delivers a uniform mist across all areas.
For low-pressure misting systems, the typical operating pressure range is between 40 to 70 psi (pounds per square inch). Selecting a pump that can provide this pressure range is critical. The pump should also have an appropriate flow rate to match the system's needs, which can vary based on the number of nozzles and the area being covered. It's important to choose a pump with an adjustable pressure regulator to fine-tune the pressure output as needed.
Water Resource Management
System Upgrades

How to Remove a Misting Hose

First, turn off the water supply to the misting system. This step is crucial to prevent water from spraying out when the hose is disconnected. Once the water supply is off, relieve any remaining pressure in the system by opening a few nozzles or the end of the hose. This will ensure that there is no pressure build-up that could cause water to spray when disconnecting the hose.
Next, locate the fitting where the hose is connected. Most misting systems use either compression fittings or push-to-connect fittings. For compression fittings, you will need to unscrew the compression nut. Use an adjustable wrench to gently loosen the nut by turning it counterclockwise. Be careful not to apply too much force, as this could damage the fitting or the hose.
If your system uses push-to-connect fittings, the process is slightly different. These fittings typically have a collet or a small ring that you need to push inwards to release the hose. While holding the collet in, pull the hose out gently. It may help to twist the hose slightly as you pull to ease its removal.
Once the hose is disconnected, inspect both the fitting and the end of the hose for any signs of wear or damage. If you notice any cracks, splits, or other damage, you may need to replace the hose or fitting to ensure a proper seal when reassembling the system.
Finally, if you plan to reattach the hose later, it’s a good idea to clean the ends of the hose and the fittings to remove any debris or mineral build-up. This will help ensure a secure and leak-free connection when you reassemble the system.
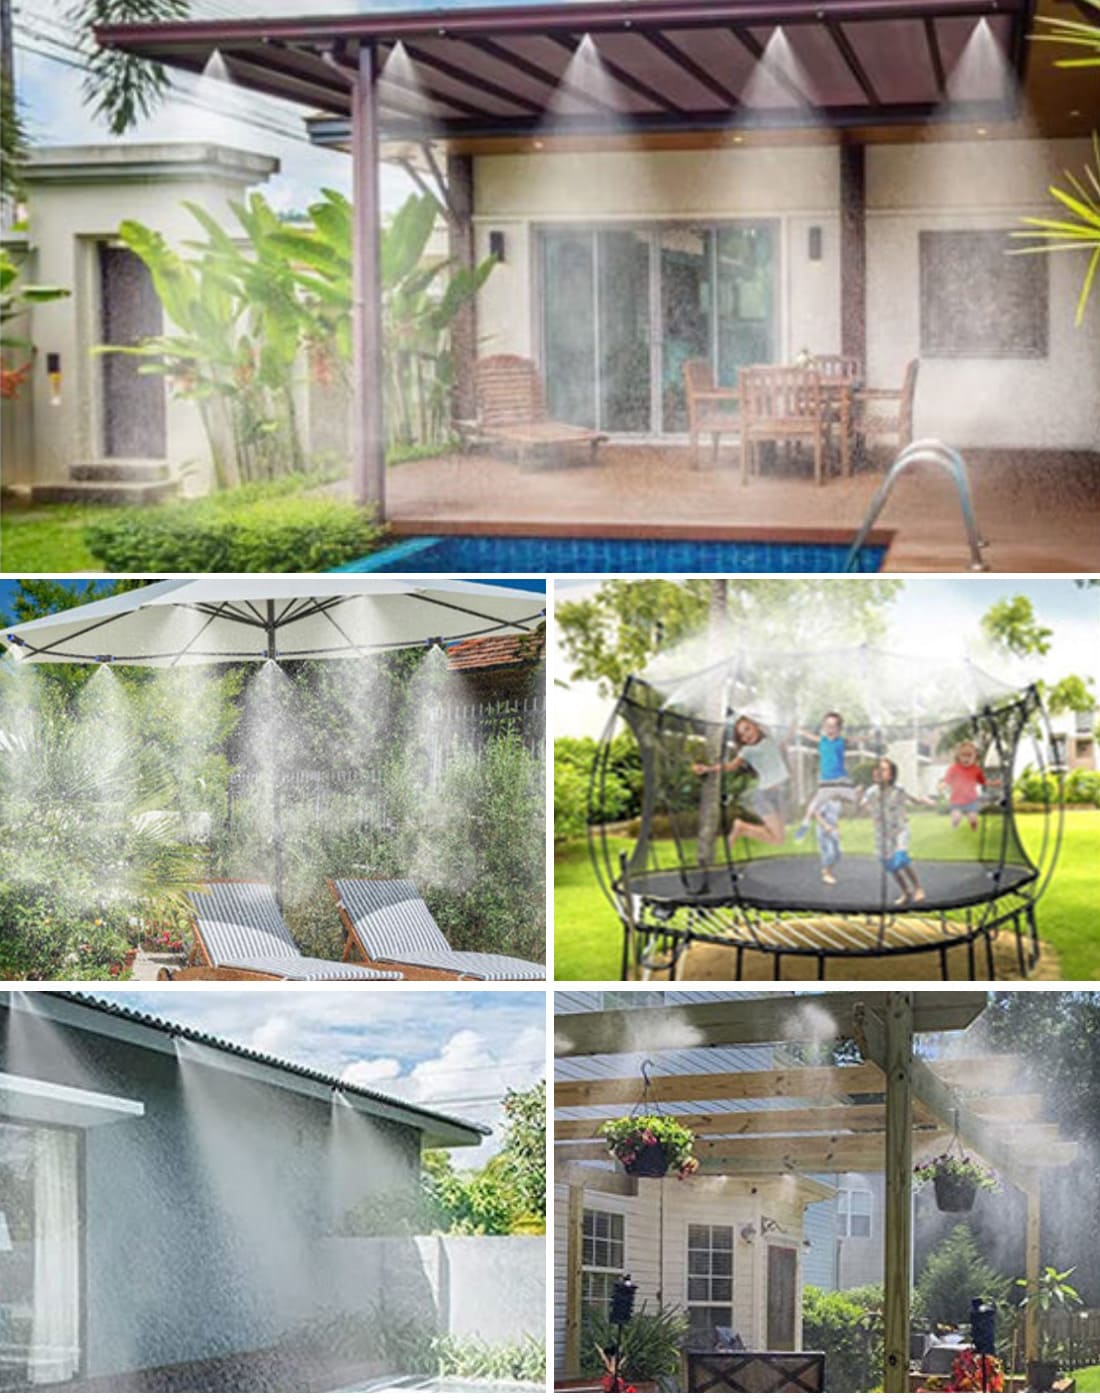
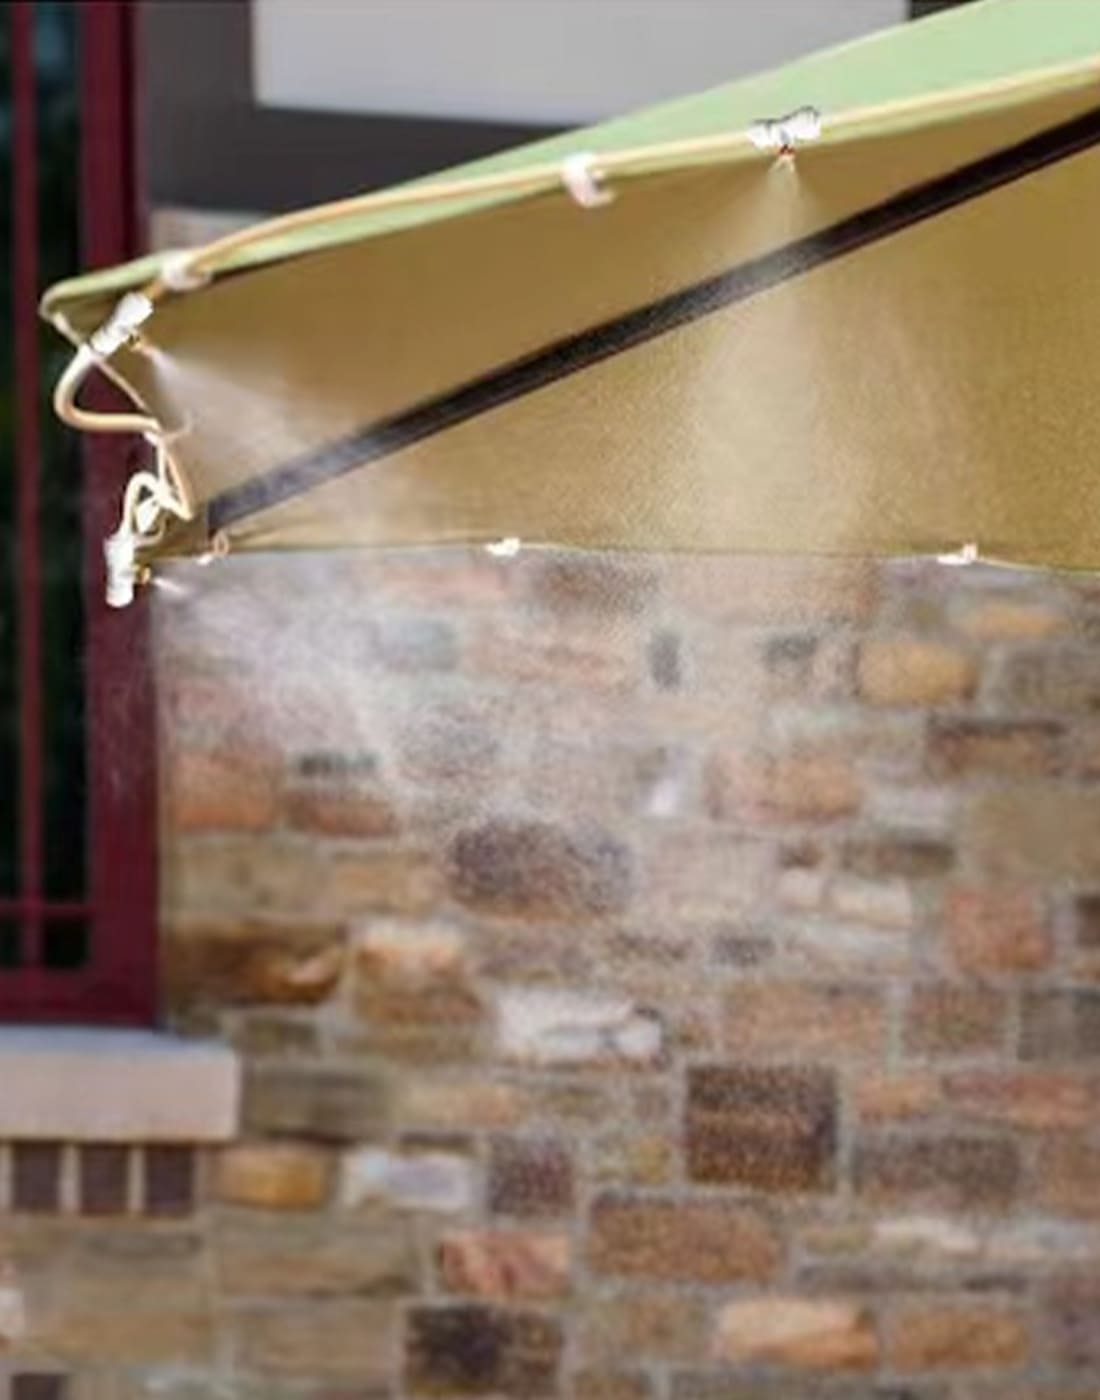
Outdoor Patio Misters

- Adjustment of Angle and Intensity
- Creating a Comfortable Environment
- Aesthetic Enhancement
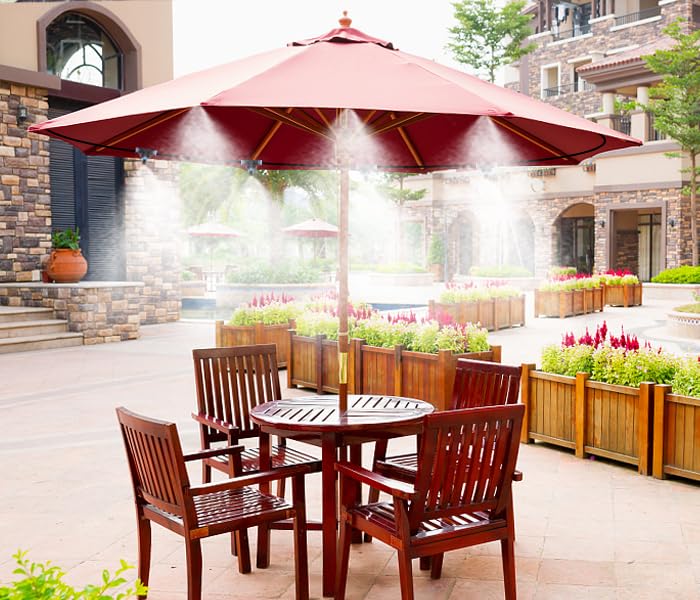
The key to an effective misting system lies in the precise adjustment of the spray heads. They should be angled to ensure a broad yet targeted coverage across the patio, avoiding direct contact with people or furniture. The intensity of the mist should be enough to cool the area without creating excessive dampness. This balance is crucial for both comfort and efficiency. The mist should be fine enough to evaporate quickly in the air, providing cooling without leaving surfaces wet.
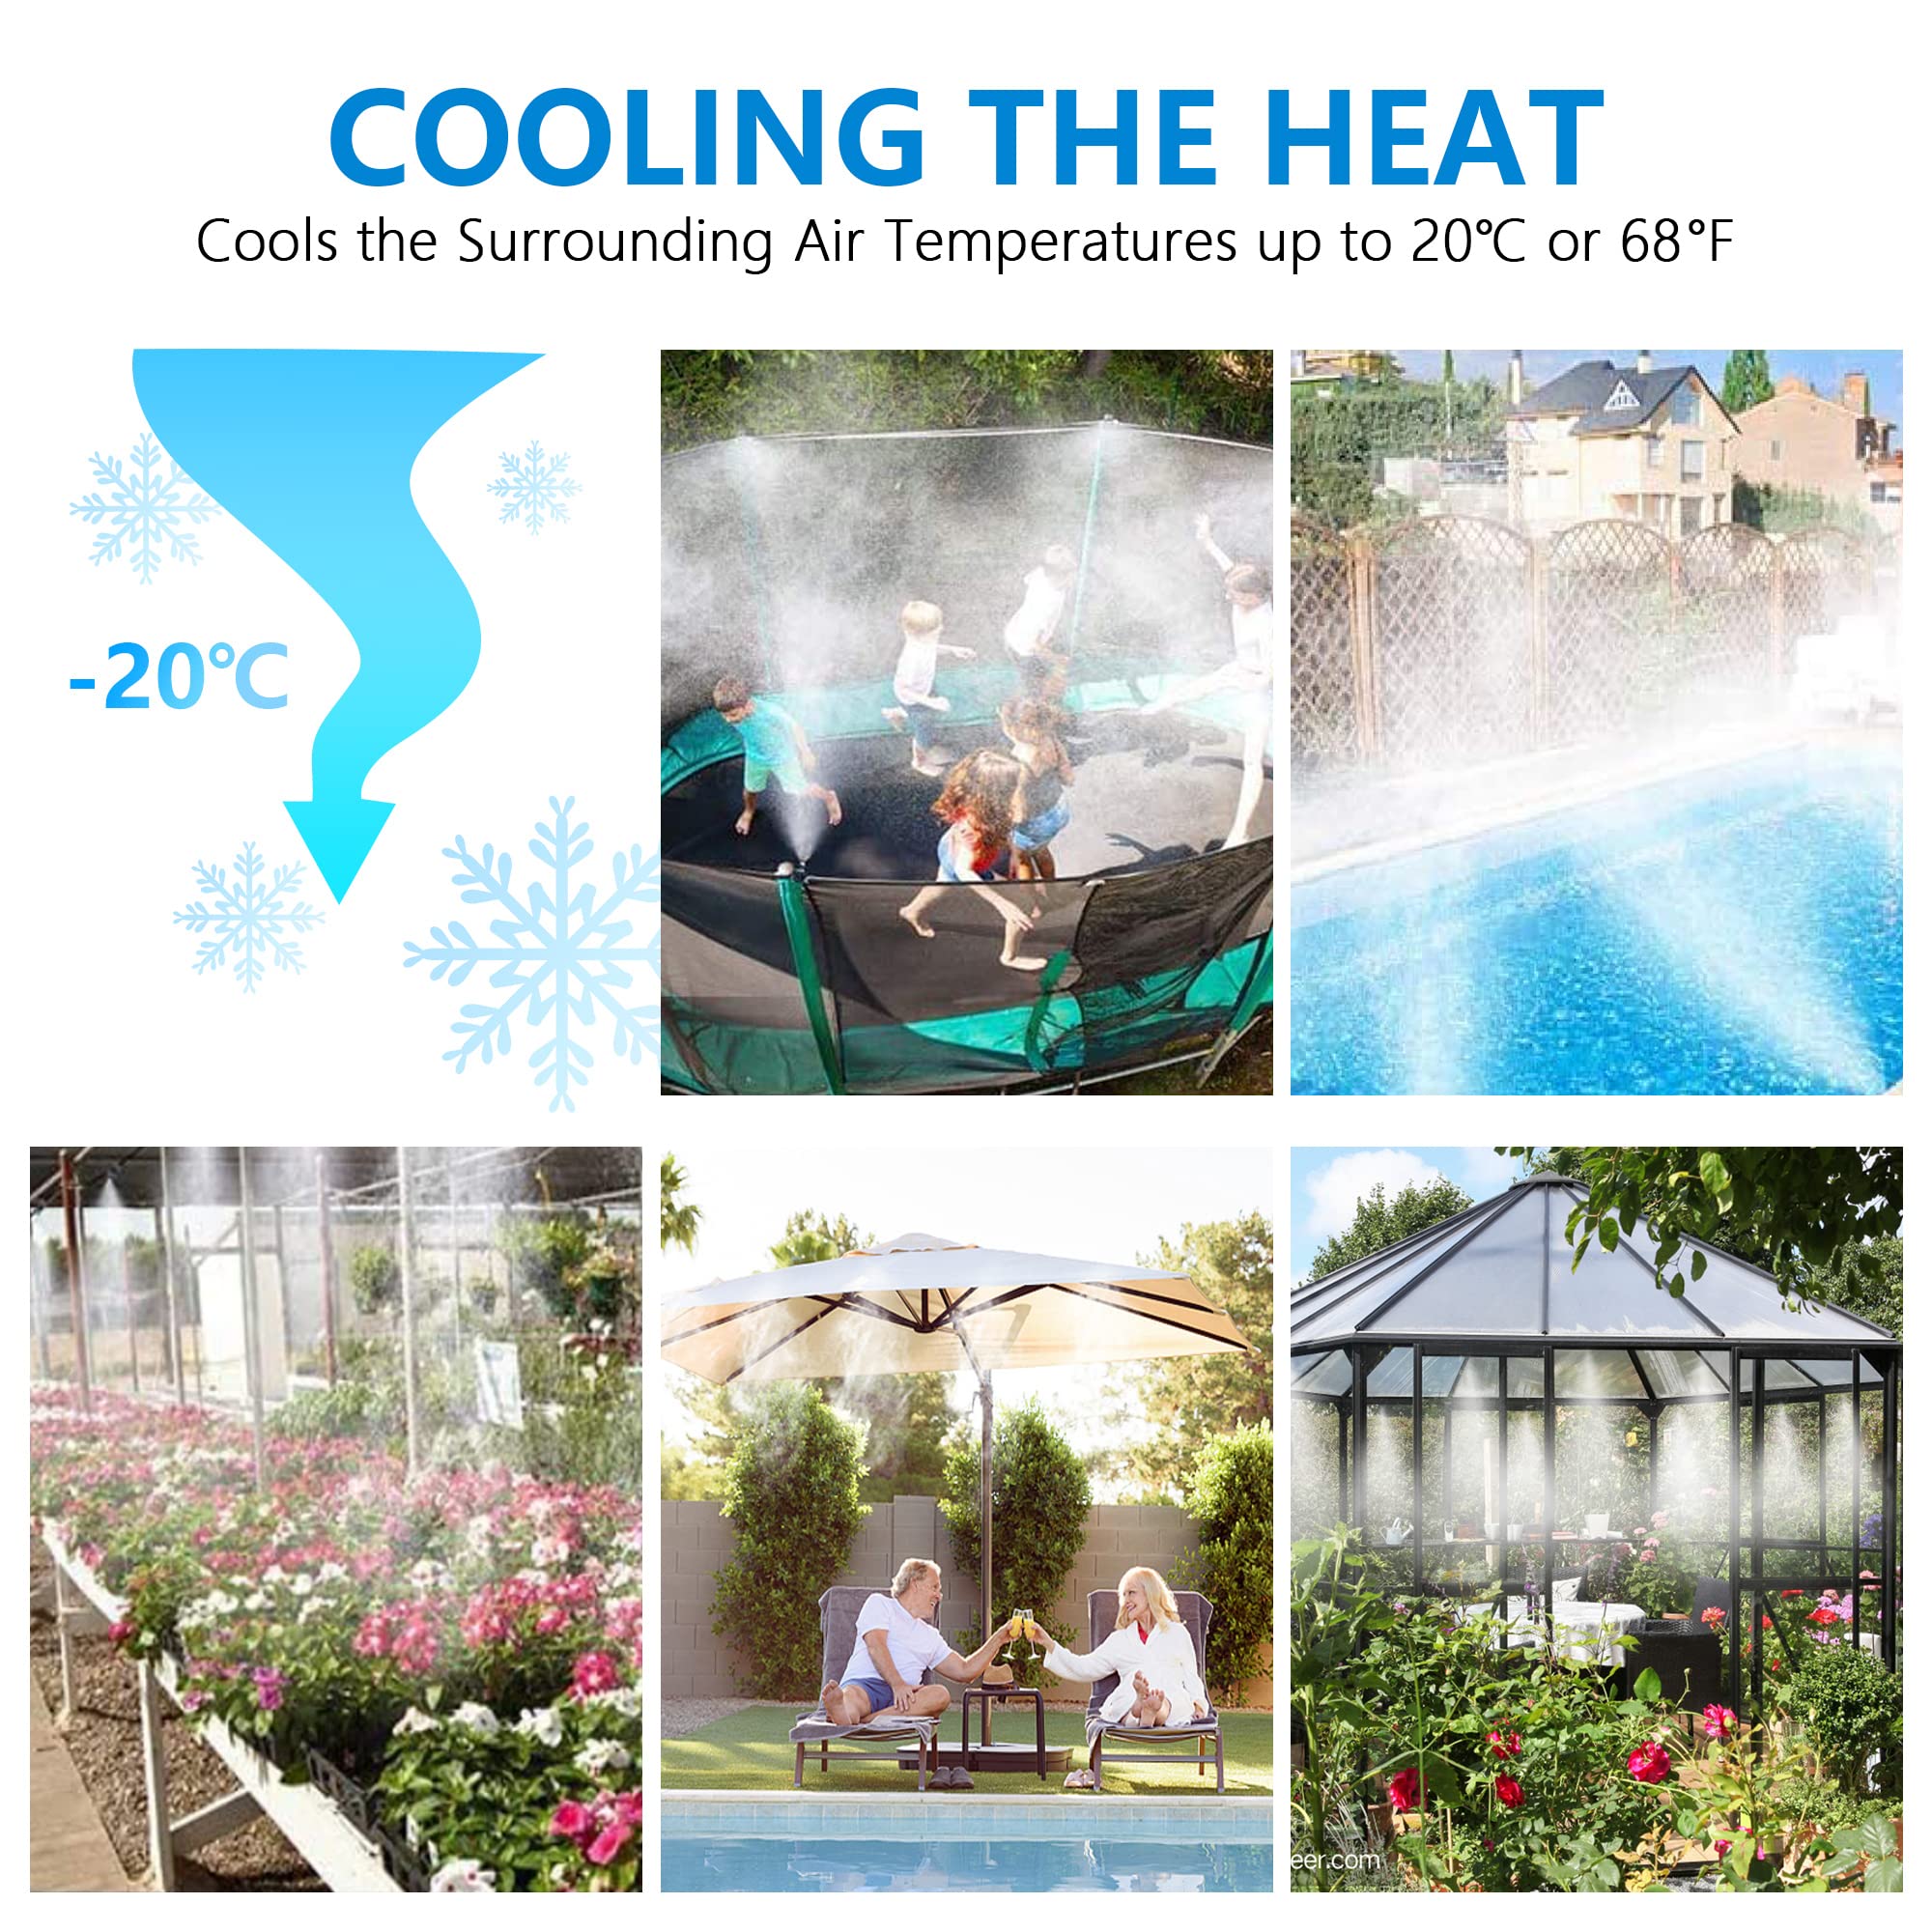
The ultimate goal of a patio misting system is to lower the ambient temperature to create a refreshing outdoor space, especially during hot days. This involves configuring the system to produce a consistent and cooling mist that can reduce the temperature by several degrees. The system should be unobtrusive and seamlessly integrated into the patio setting, not detracting from the enjoyment of the space but rather enhancing it with a refreshing ambiance.
Beyond functionality, the misting system can also contribute to the aesthetic appeal of the patio. The mist creates a visually pleasing effect, often likened to a gentle, ethereal fog that can transform the outdoor space into a more inviting and enchanting area. The nozzles can be discreetly placed to complement the patio’s design, ensuring that the system is not only functional but also adds to the overall ambiance of the outdoor living area.
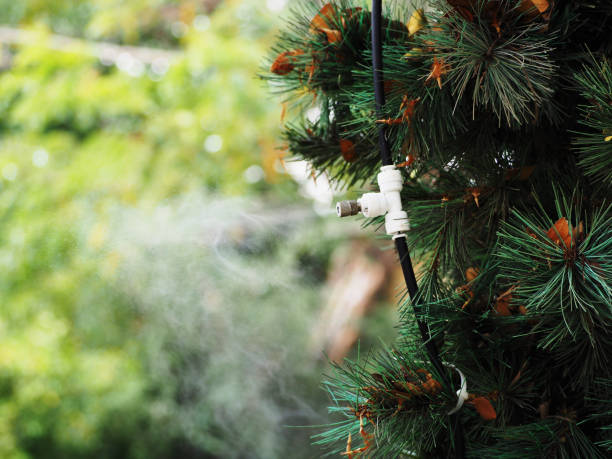
Greenhouse Plant misting system

- Moisture and Humidity Control
- Regulating Frequency and Duration
- Disease Prevention
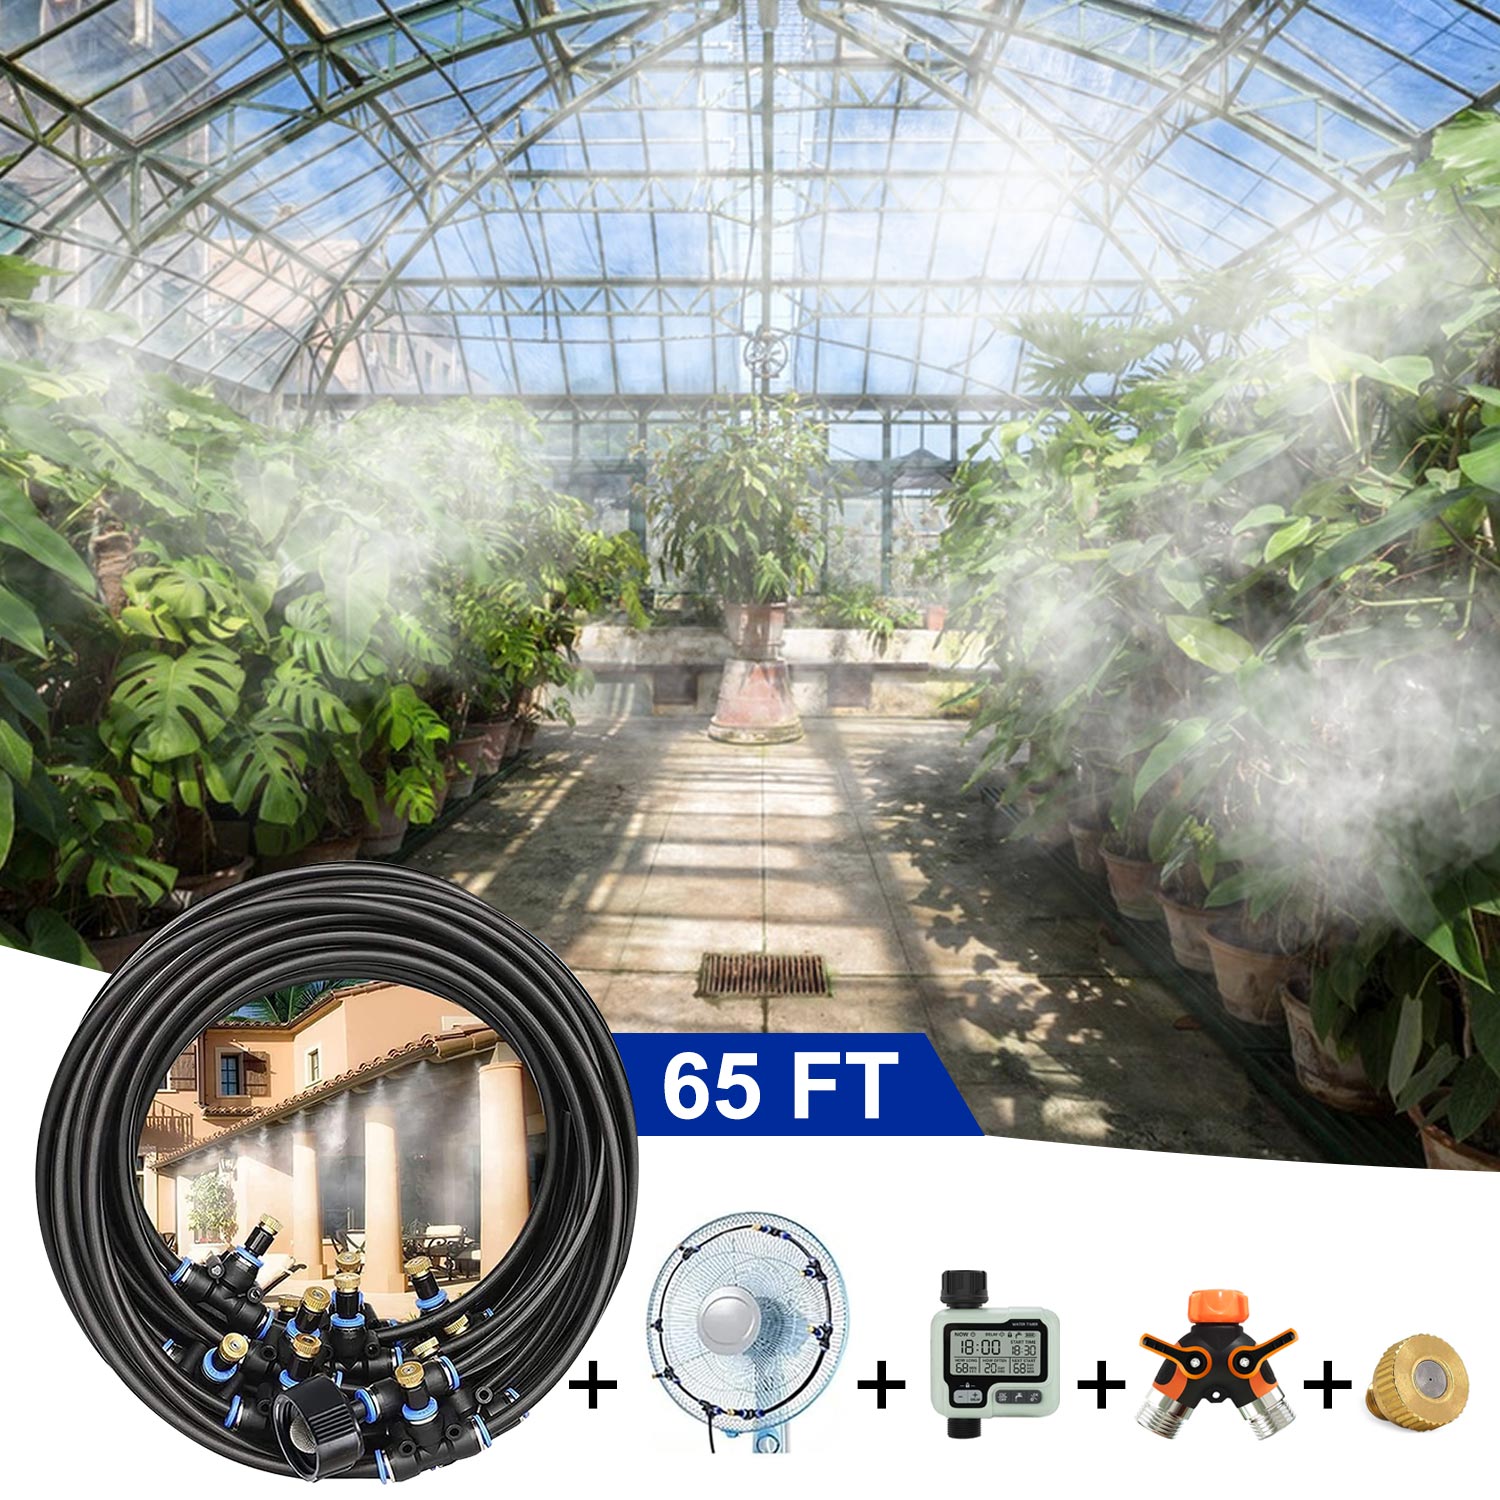
The primary function of a greenhouse misting system is to maintain a consistent level of moisture and humidity, which are vital for plant health and growth. The system should be calibrated to sustain an ideal humidity level that suits a wide range of plants, with the flexibility to adjust for the specific needs of more sensitive varieties. This involves precise control over the amount of mist released into the air, ensuring that it's enough to keep the plants hydrated and the air humid without causing excess moisture that could lead to mold or mildew growth.
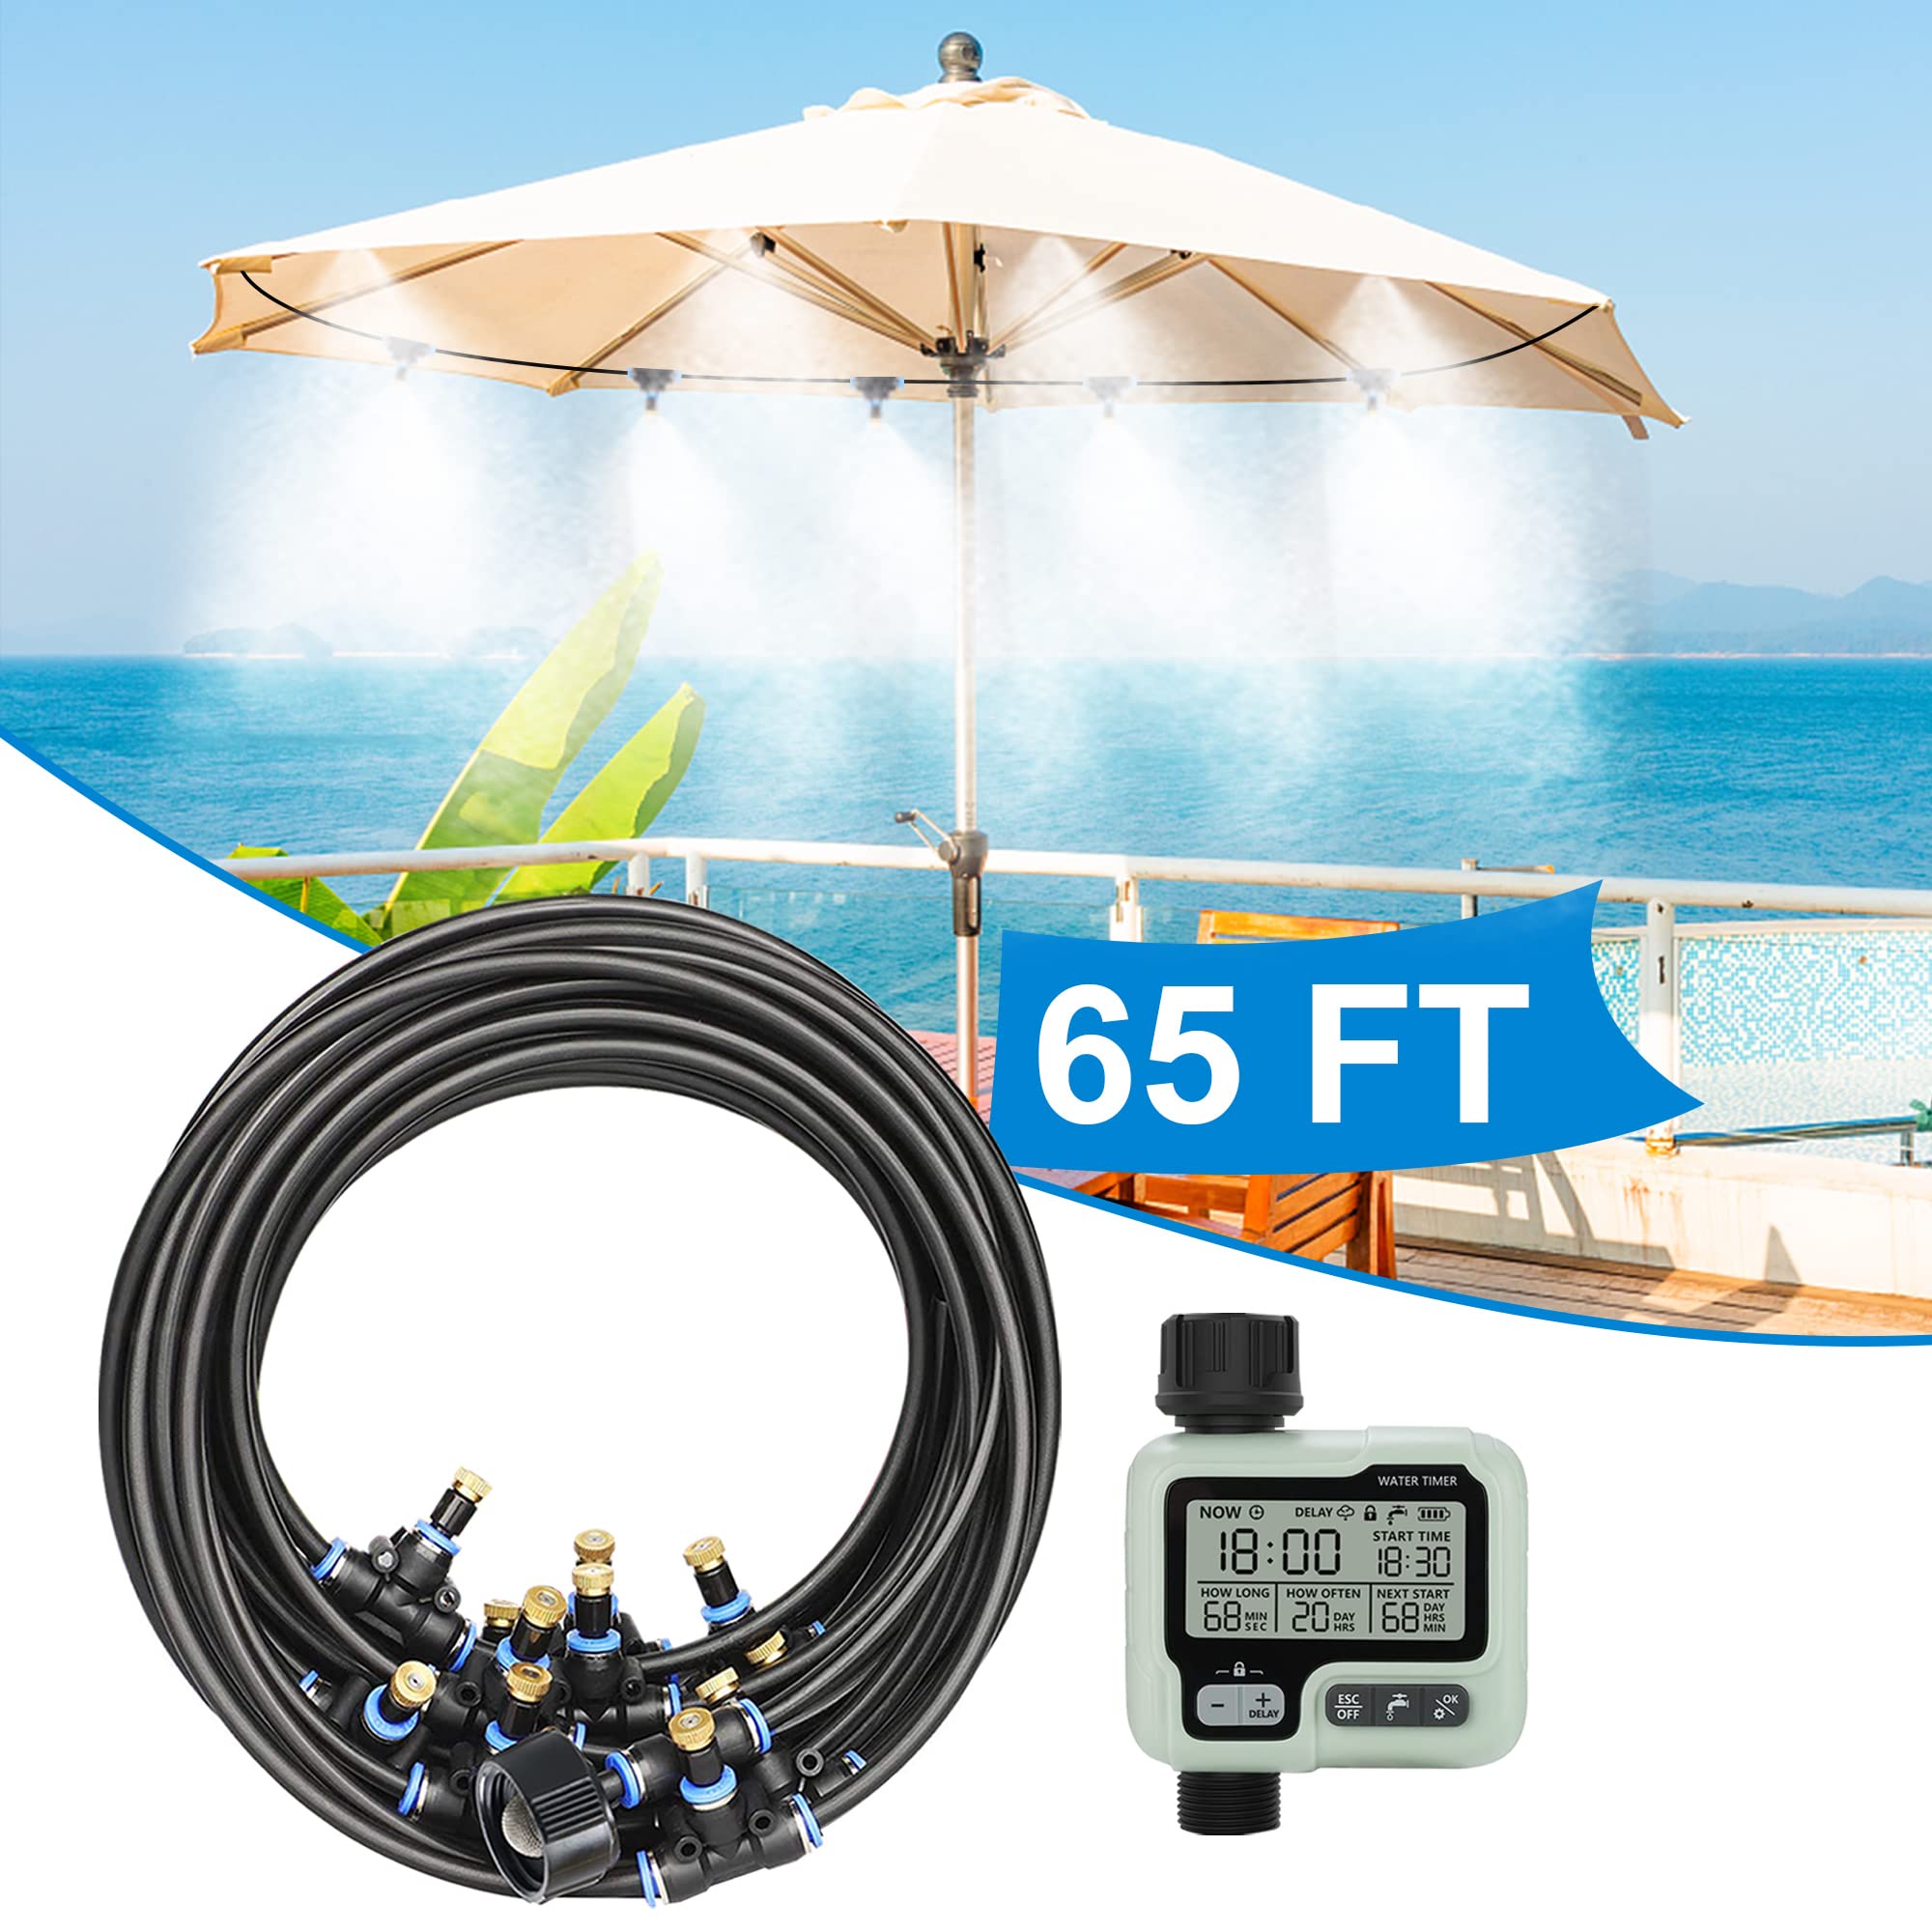
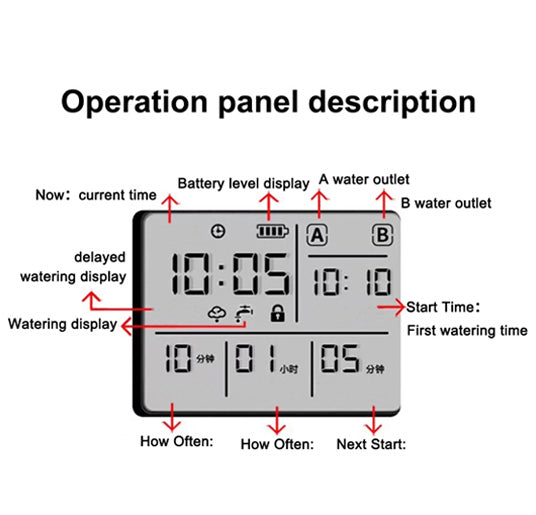
The effectiveness of a misting system also depends on how often and for how long it operates. The system should be equipped with a timer or a smart control mechanism that allows for the regulation of misting intervals and duration based on the time of day, weather conditions, and the specific water requirements of the plants. Such regulation helps in providing the plants with the right amount of water at the right time, promoting efficient water usage and preventing over-watering.
An optimally functioning greenhouse misting system plays a significant role in disease prevention. By maintaining the right level of humidity and avoiding over-saturation of plants, the system helps prevent the onset of fungal diseases, which thrive in excessively moist conditions. Regular maintenance of the system, including cleaning of nozzles to prevent clogging and ensuring uniform mist distribution, is crucial in this regard. Additionally, the system should allow for integration with fungicide distribution when necessary, as a proactive measure against potential plant diseases.
Animal Cooling misting system

- Cooling for Pets and Livestock
- Wide and Even Coverage
- Reducing Heat Stress
The primary objective of this misting system is to provide a significant reduction in temperature in areas where animals are housed, particularly during hot weather. This requires a system that can lower the ambient temperature effectively while being safe for animals. The nozzles should be designed to produce a fine mist that cools the air without drenching the animals or their surroundings. This is especially important for animals sensitive to changes in their environment or those with thick fur that can retain moisture.
To ensure all animals benefit from the cooling effect, the system must have a wide and even distribution of mist. This involves strategically placing misting lines and nozzles to cover the entire area uniformly. The system should cater to various animal sizes and spaces, from small pet enclosures to larger livestock pens. Ensuring that every corner receives adequate misting is key to maintaining a uniformly comfortable environment for all animals.
Prolonged exposure to high temperatures can lead to heat stress in animals, impacting their health and productivity. An efficient animal cooling system plays a vital role in mitigating this risk. By maintaining a cooler environment, the system helps in reducing the physiological stress caused by heat. This not only enhances the welfare of the animals but also can lead to better overall health and, in the case of livestock, improved yield in terms of dairy and meat production.
In conclusion, an animal cooling misting system needs to be carefully designed and optimized for effective temperature reduction, ensuring wide and even coverage across the living spaces of pets and livestock, and ultimately contributing to the reduction of heat stress. This approach not only promotes the well-being of animals but also supports the responsibilities and goals of pet owners and livestock keepers.
.