

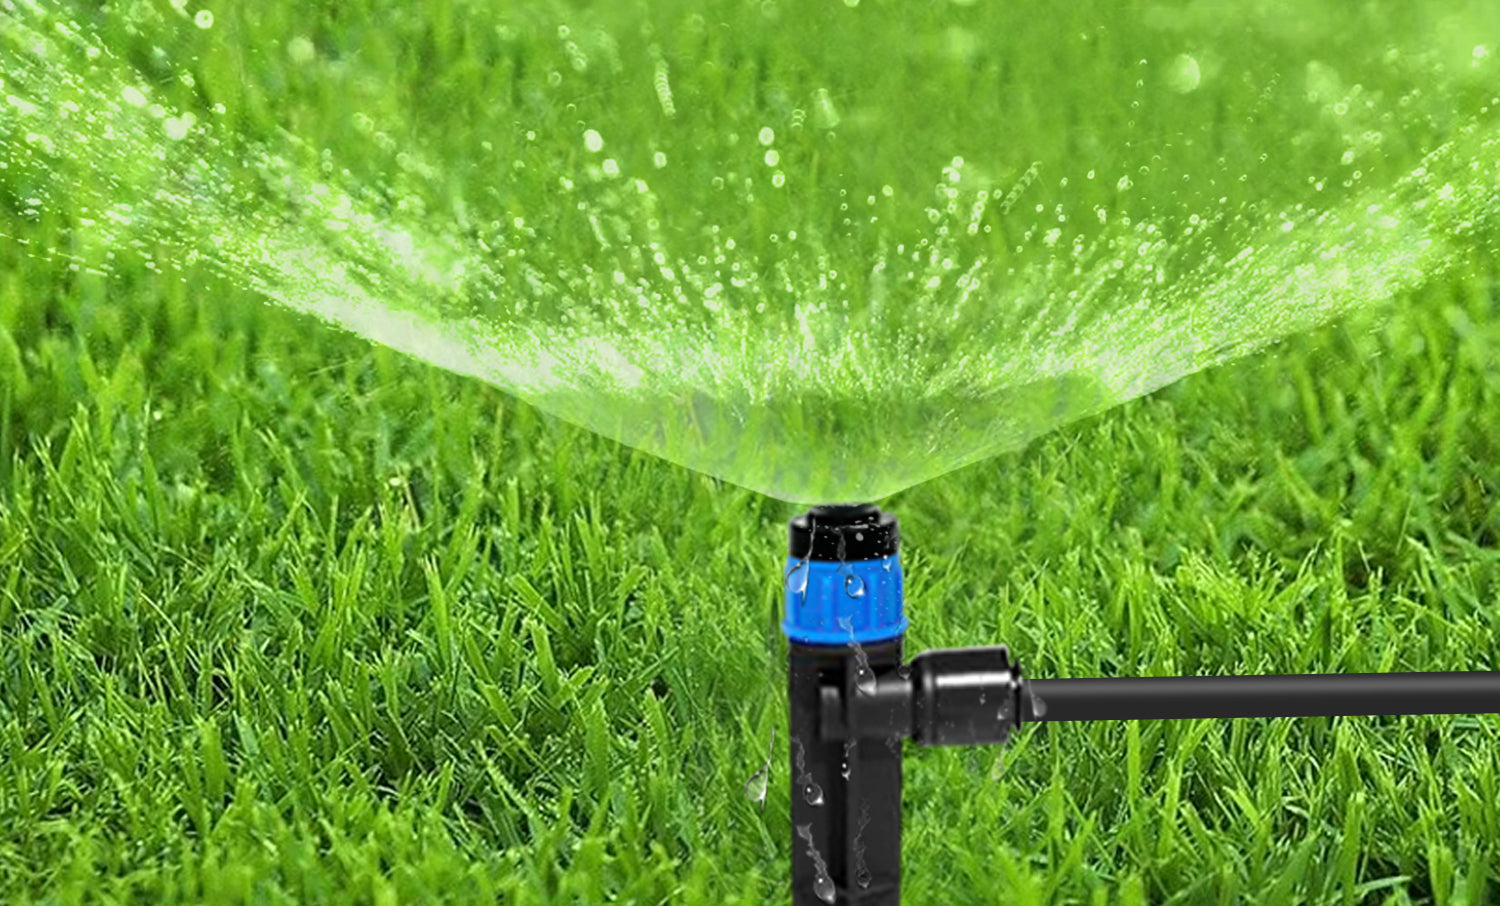
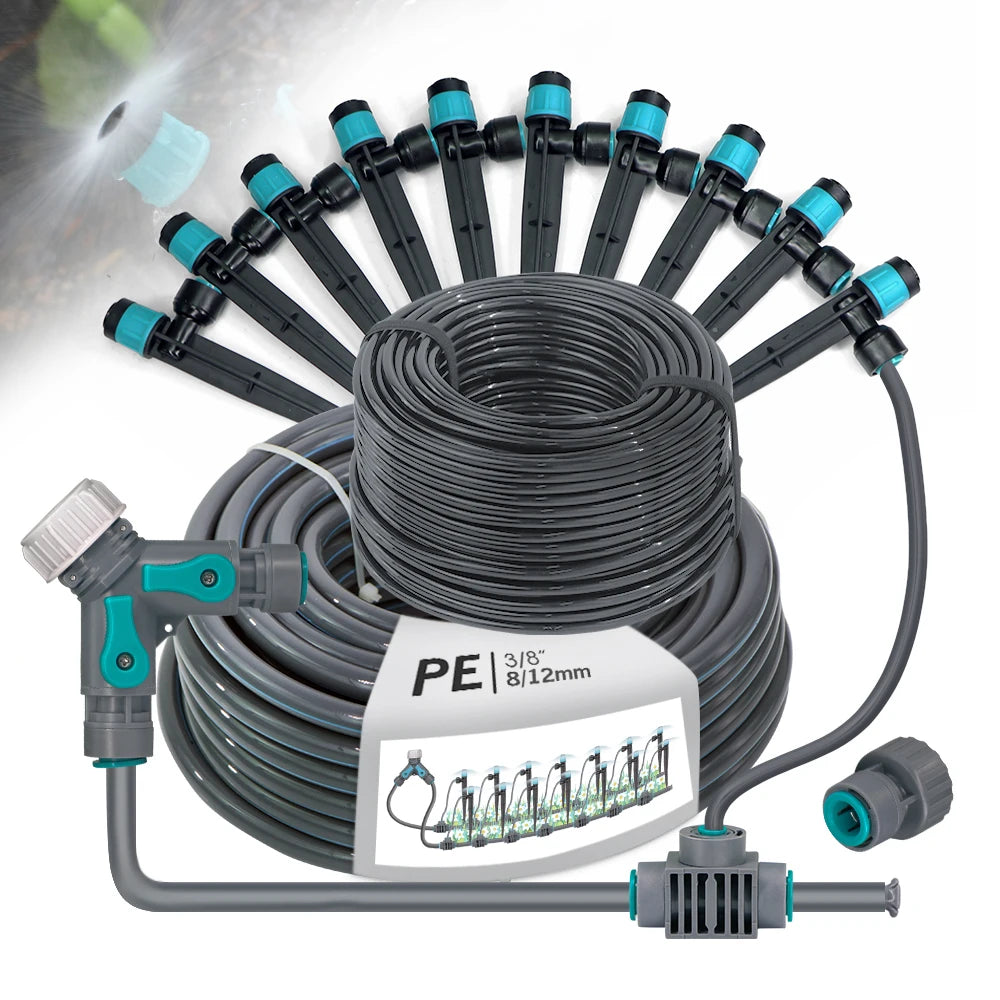
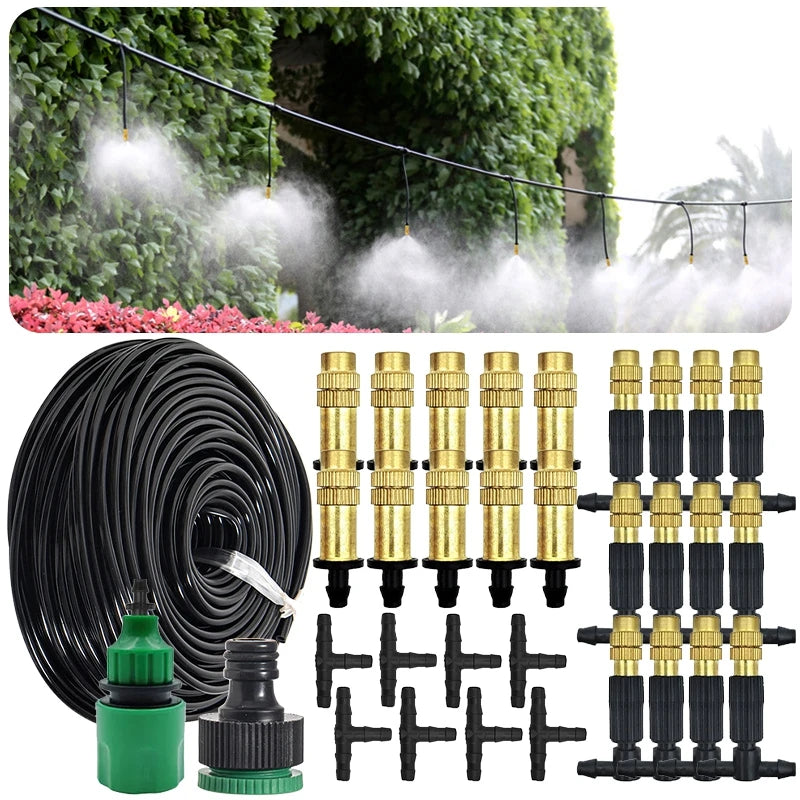
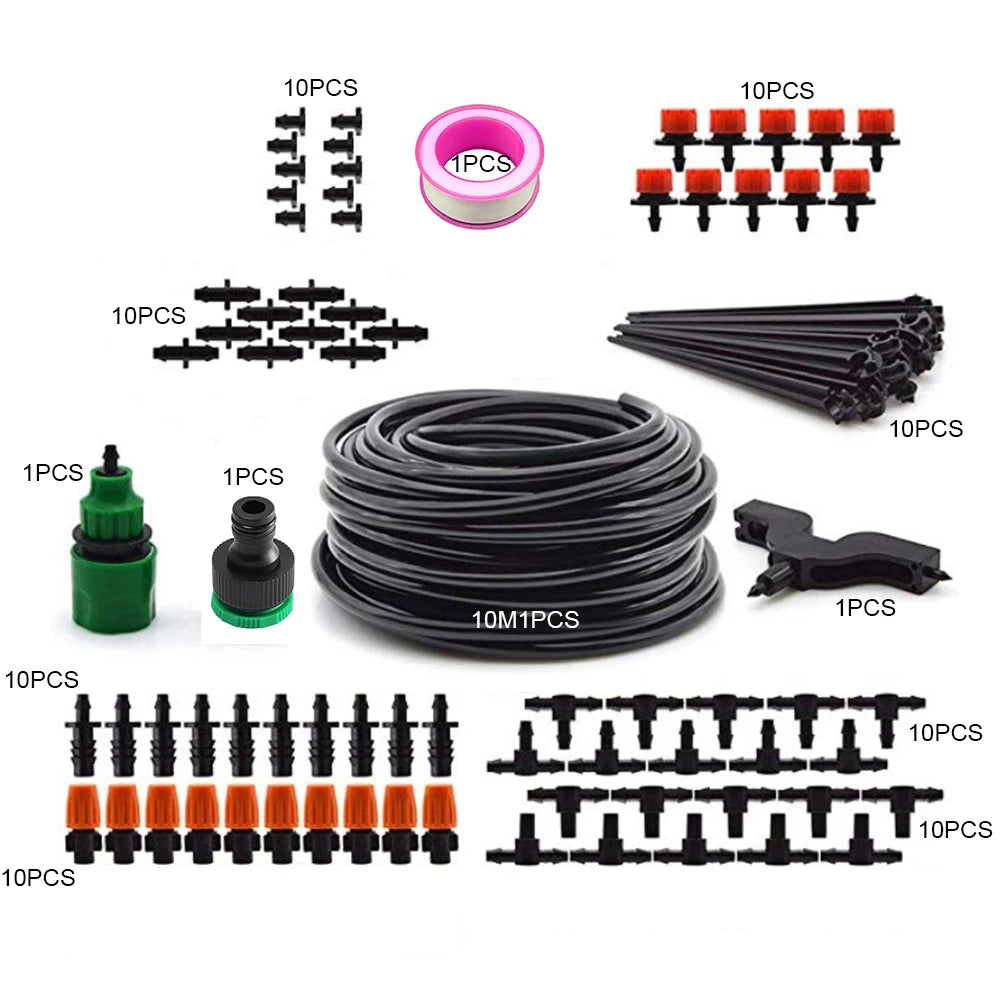
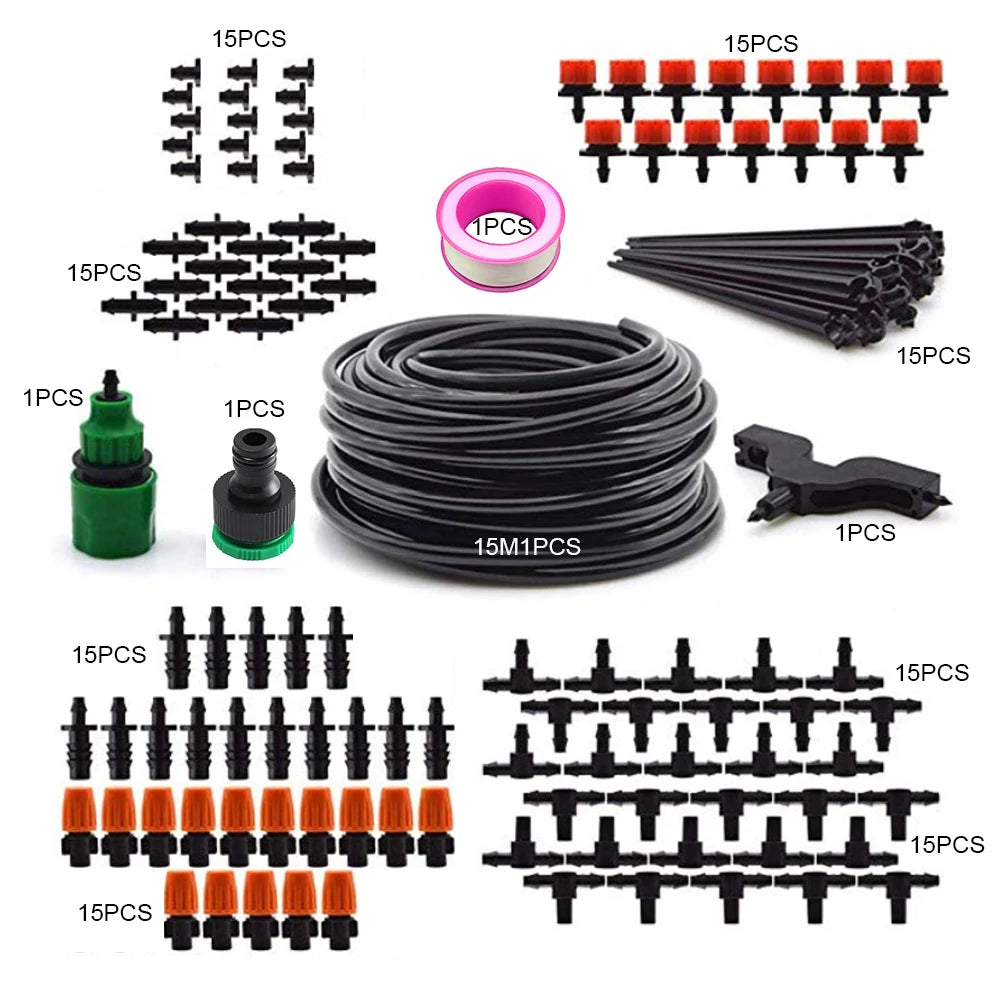
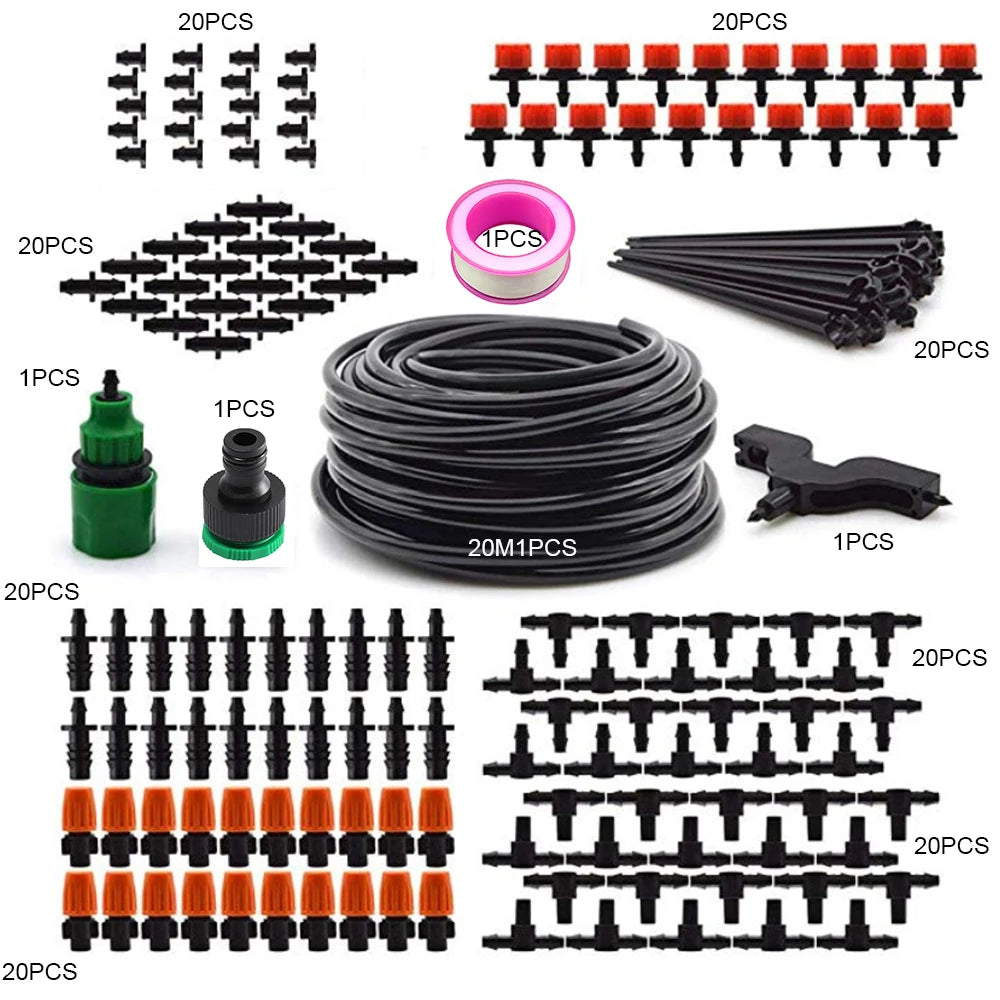
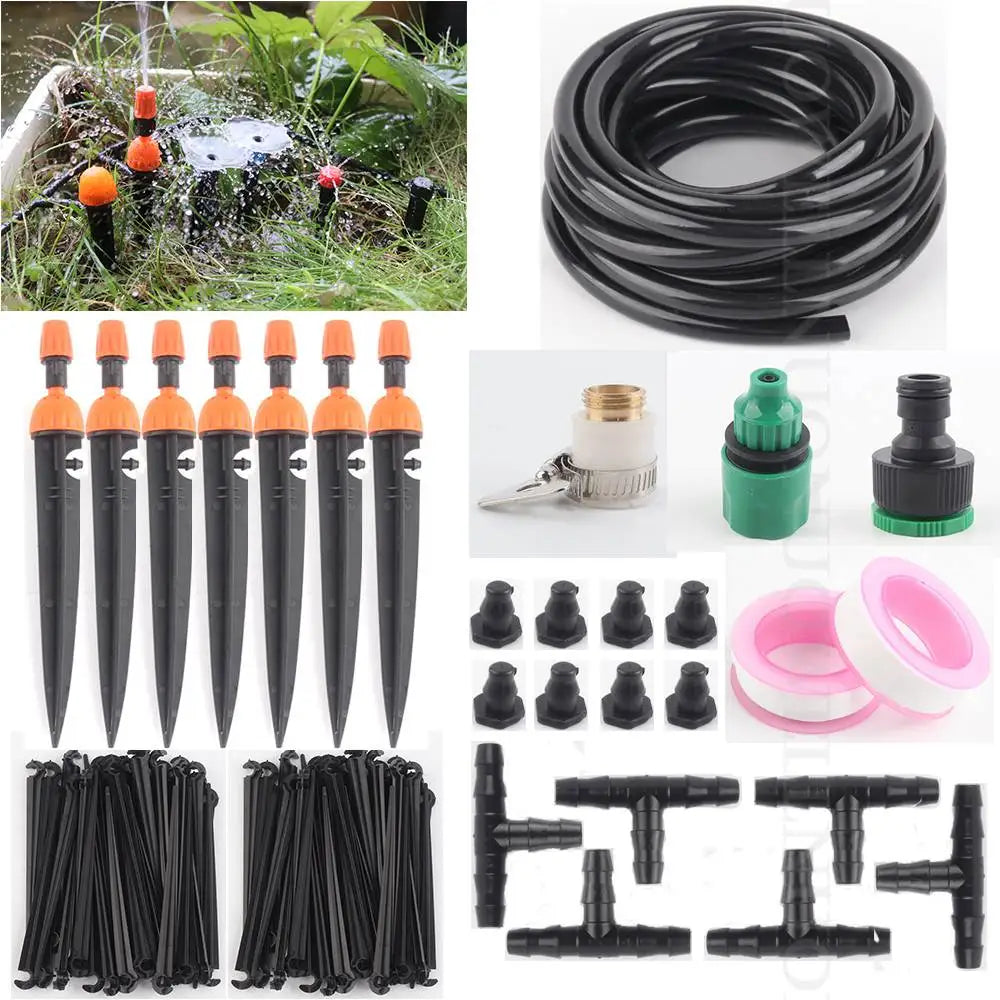
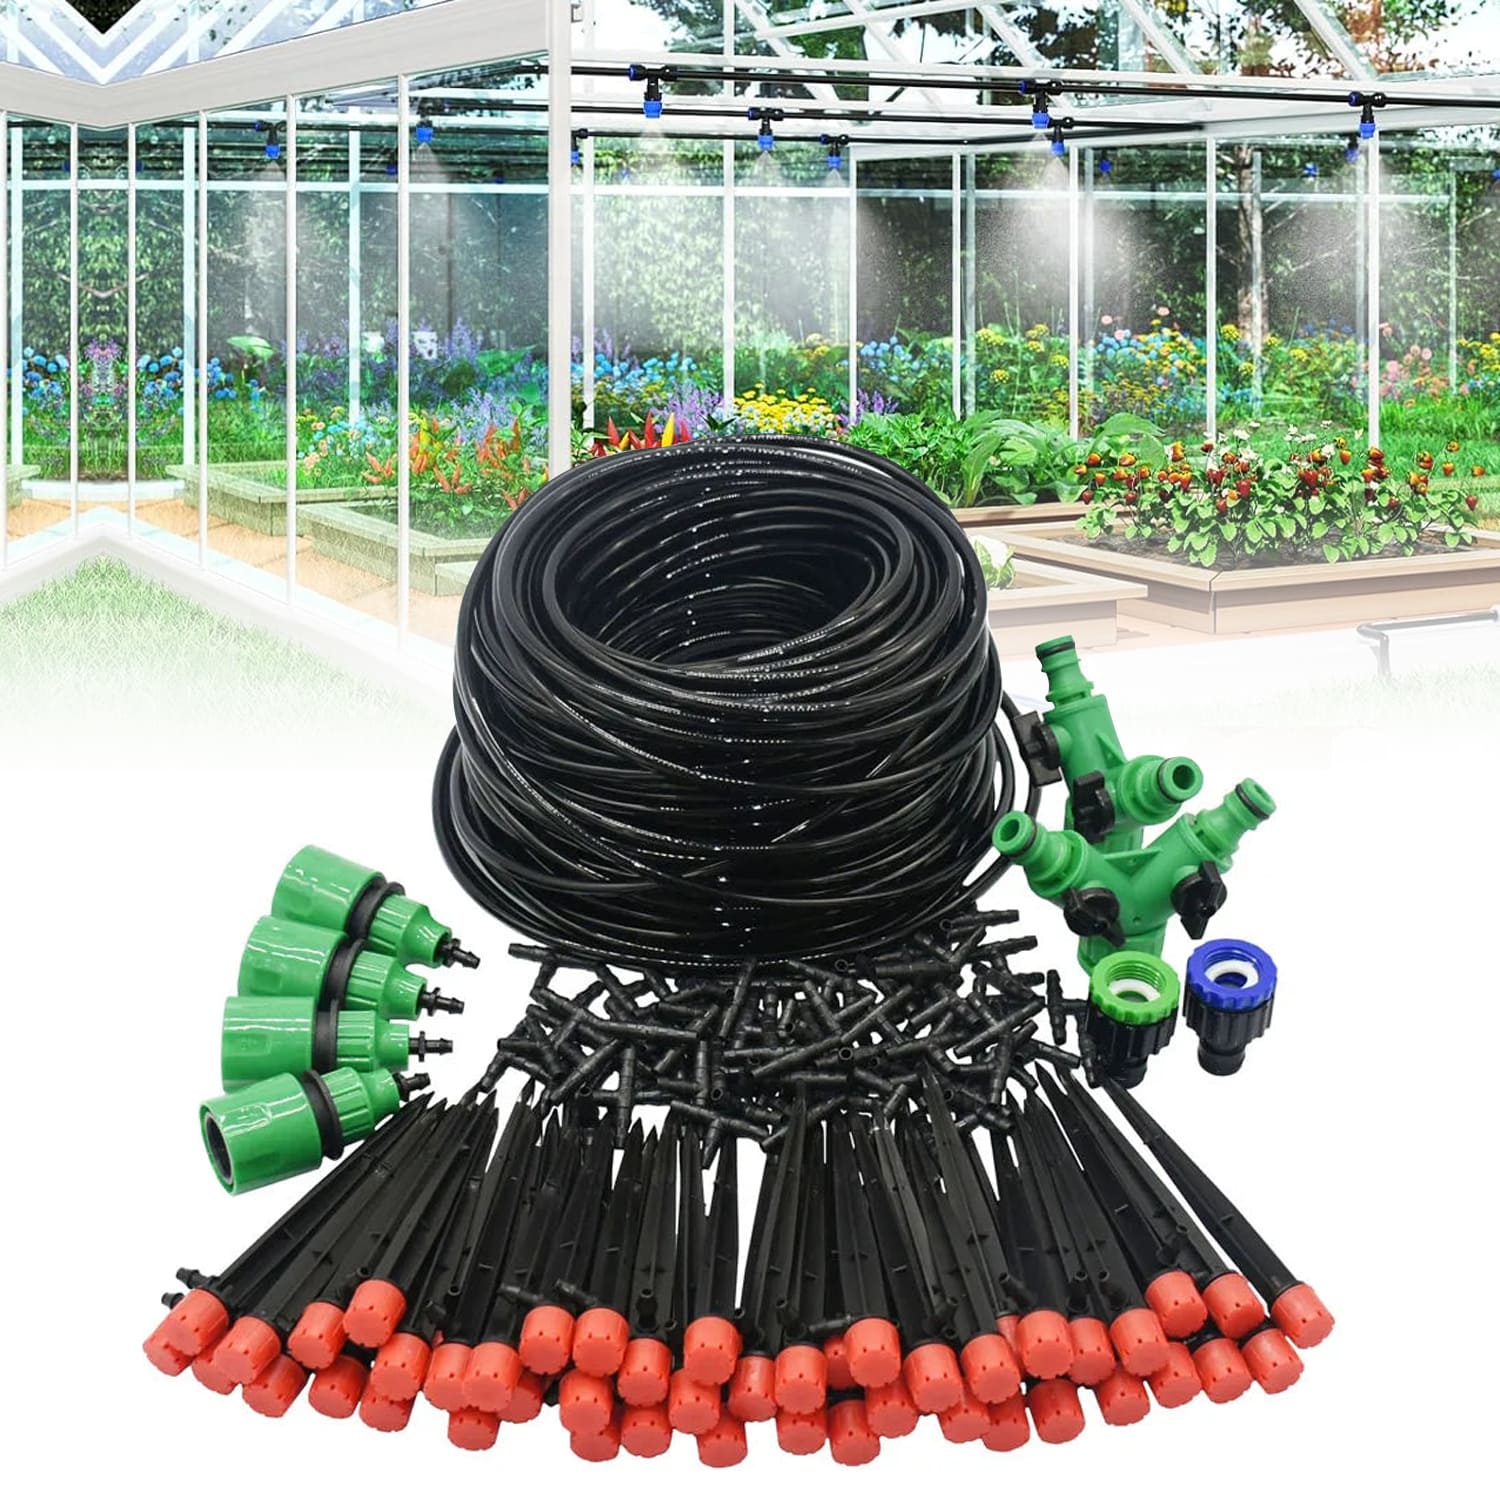
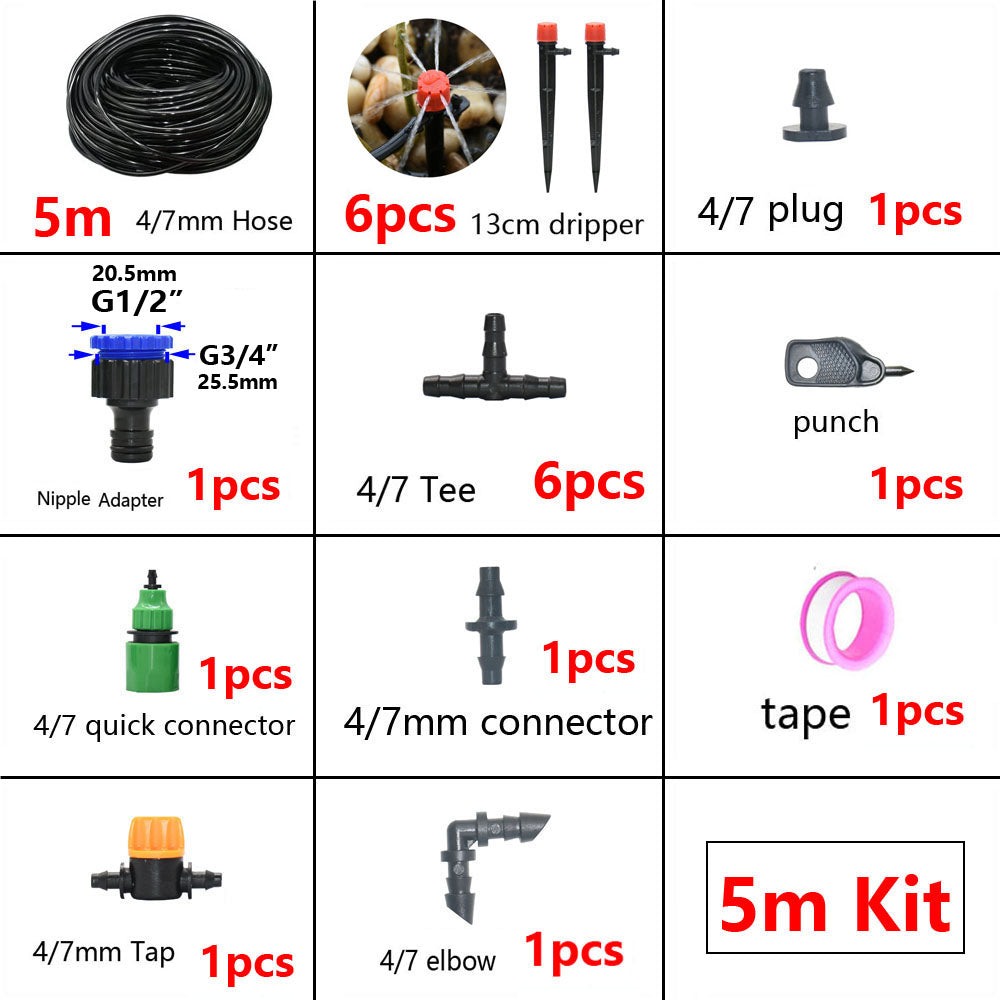
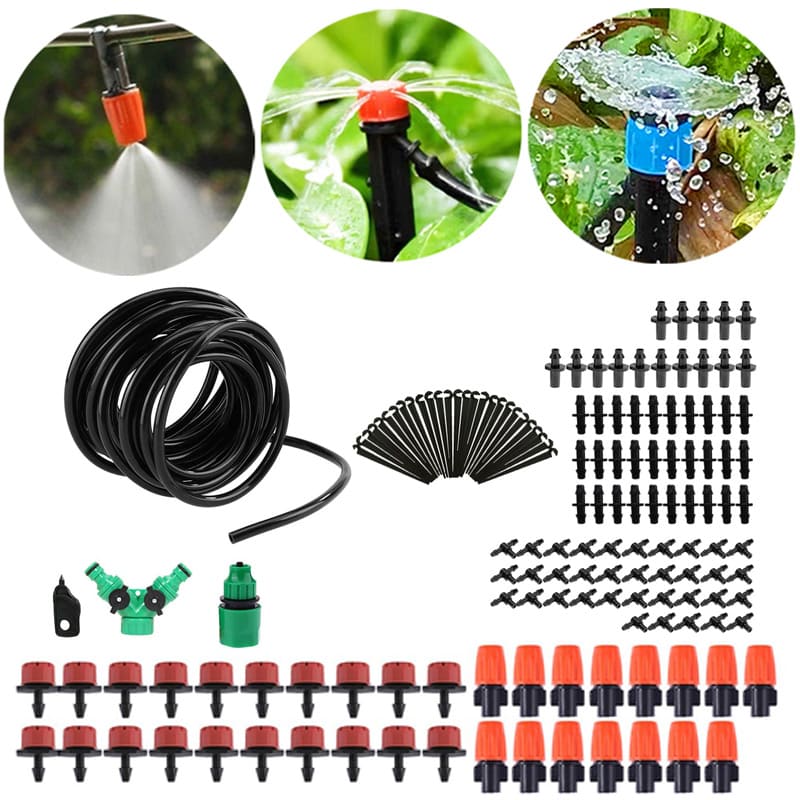
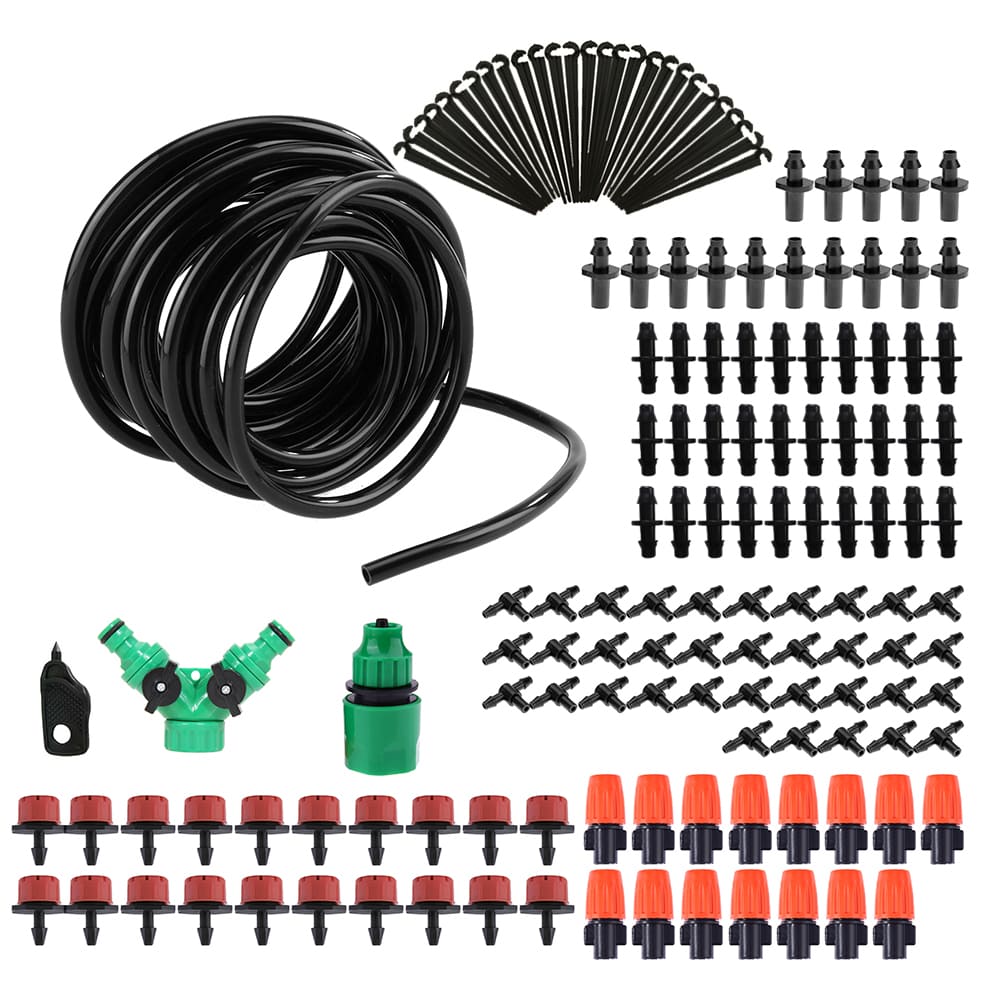
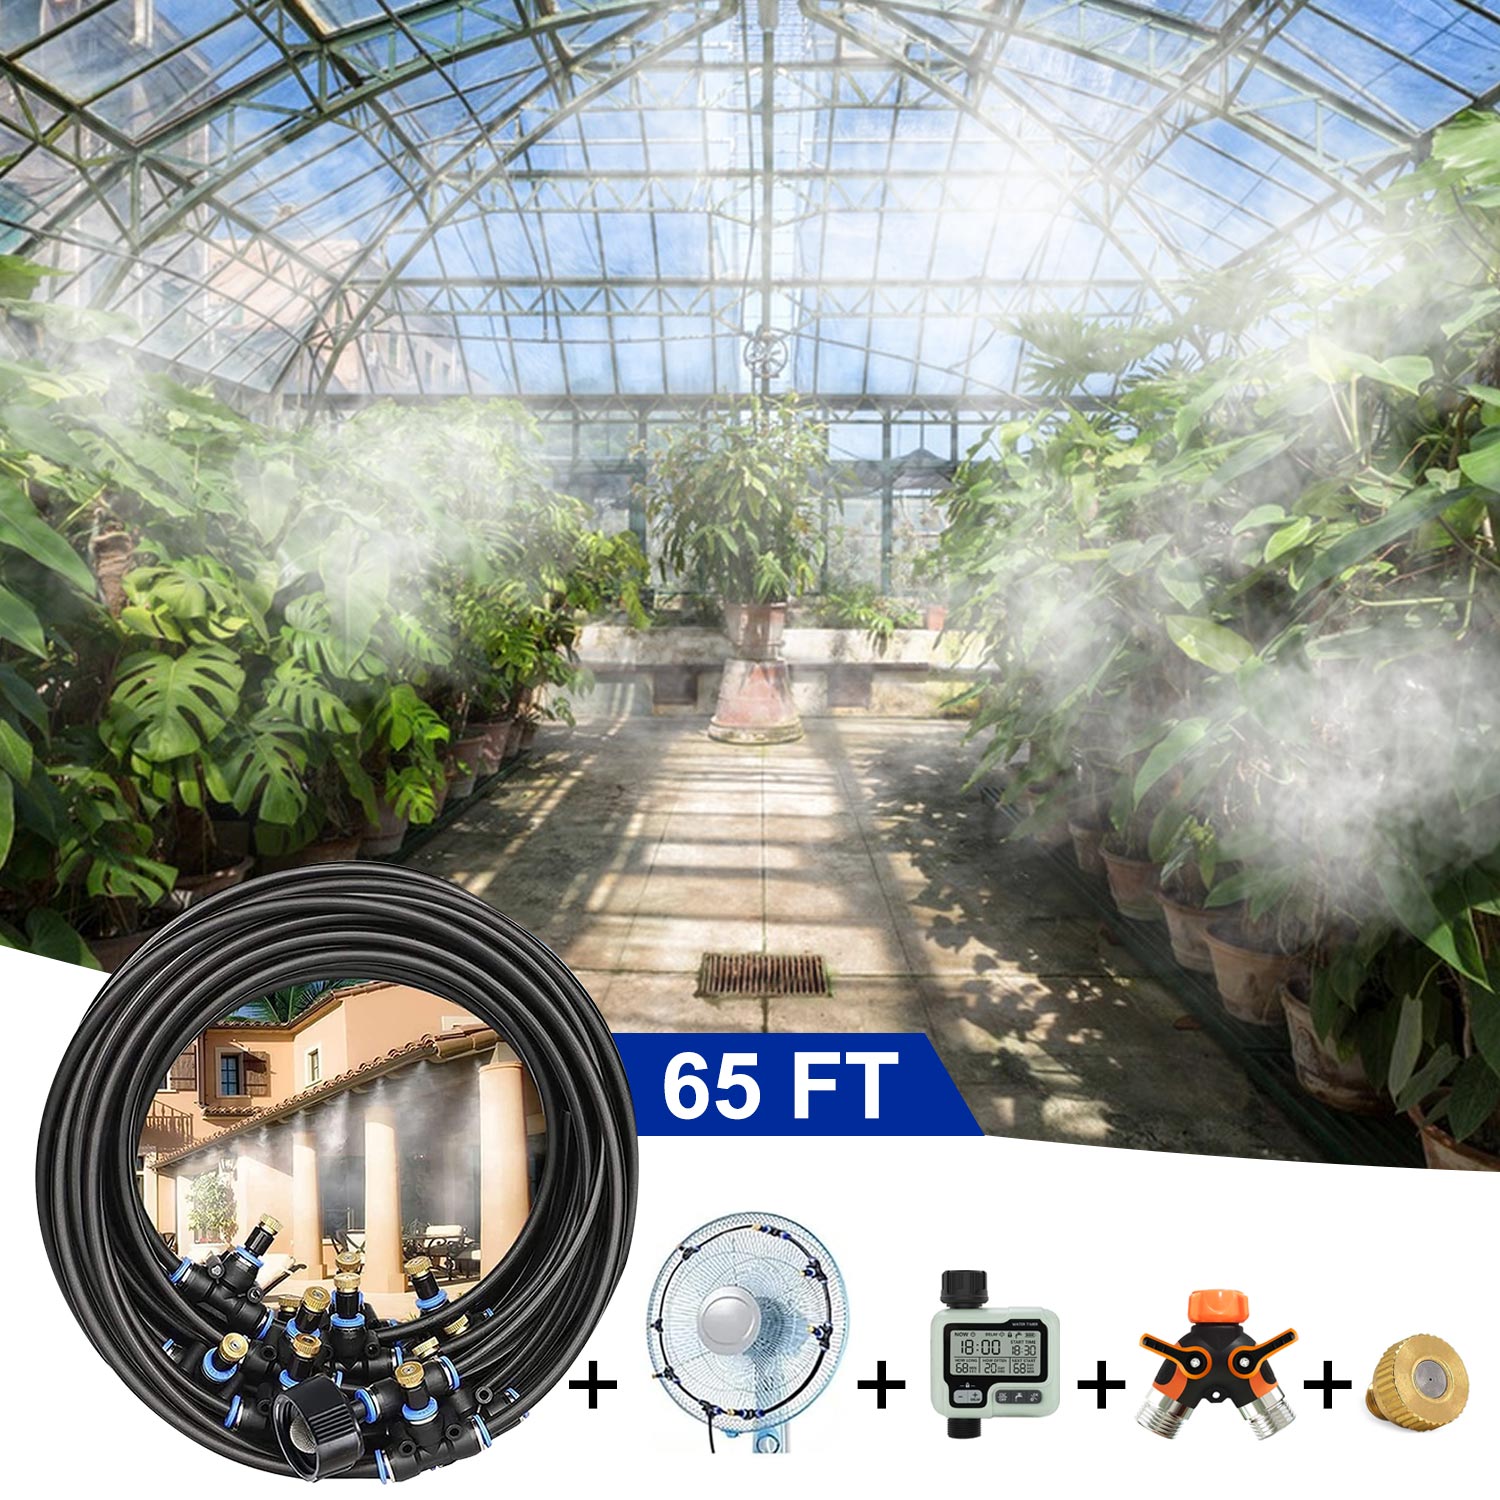
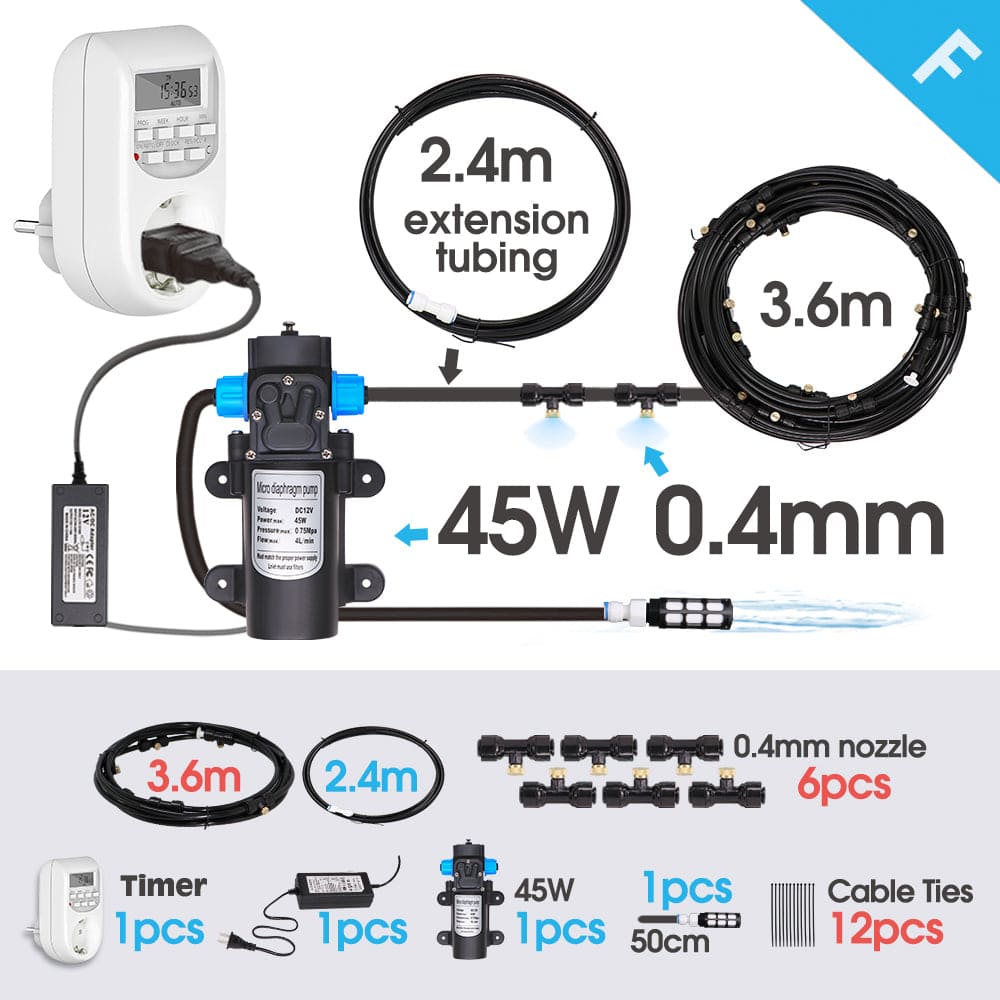
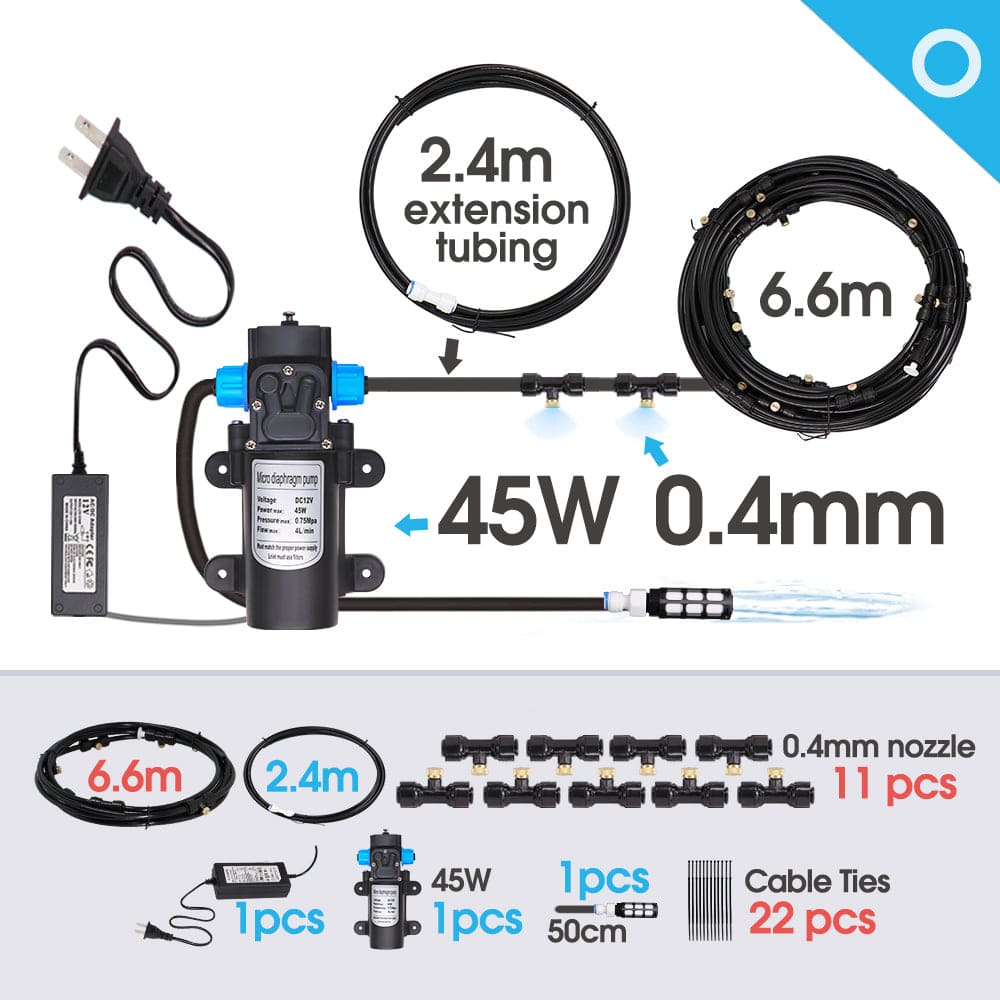
A drip irrigation watering kit is an efficient and water-saving method to provide precise watering to your plants.
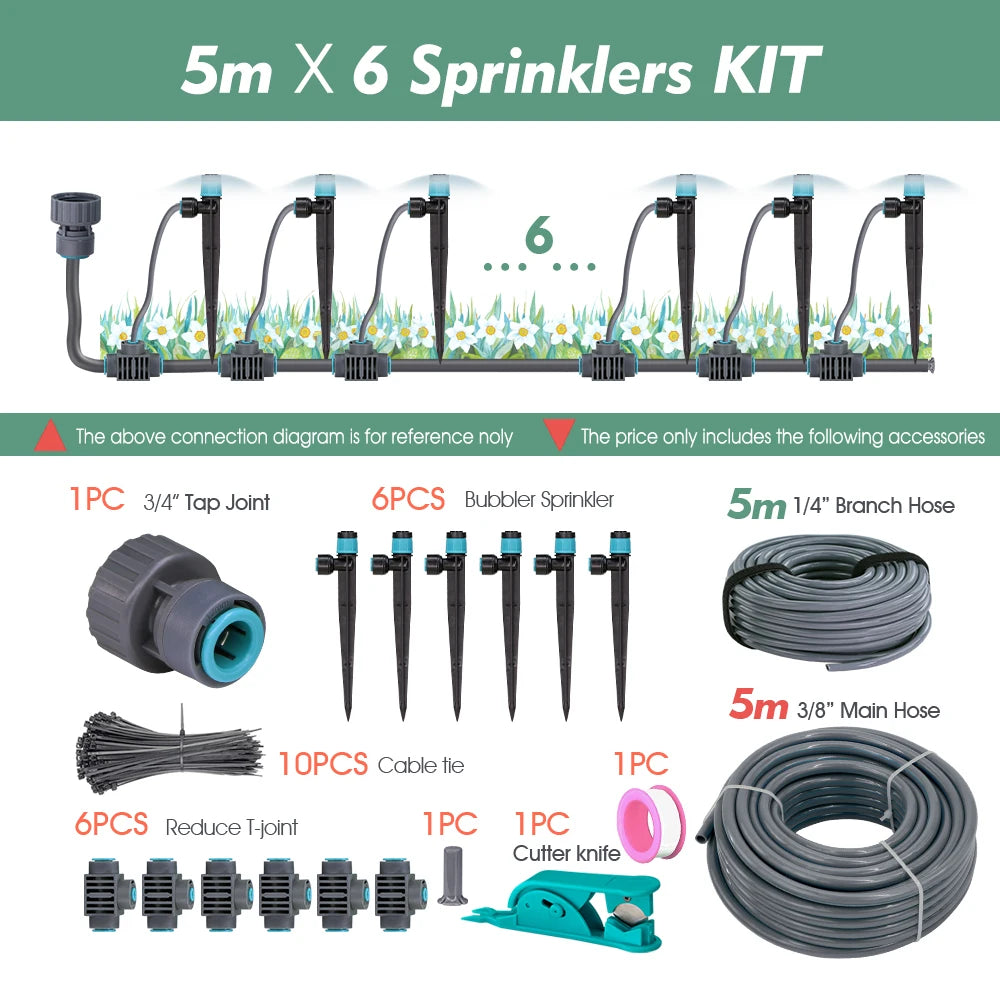
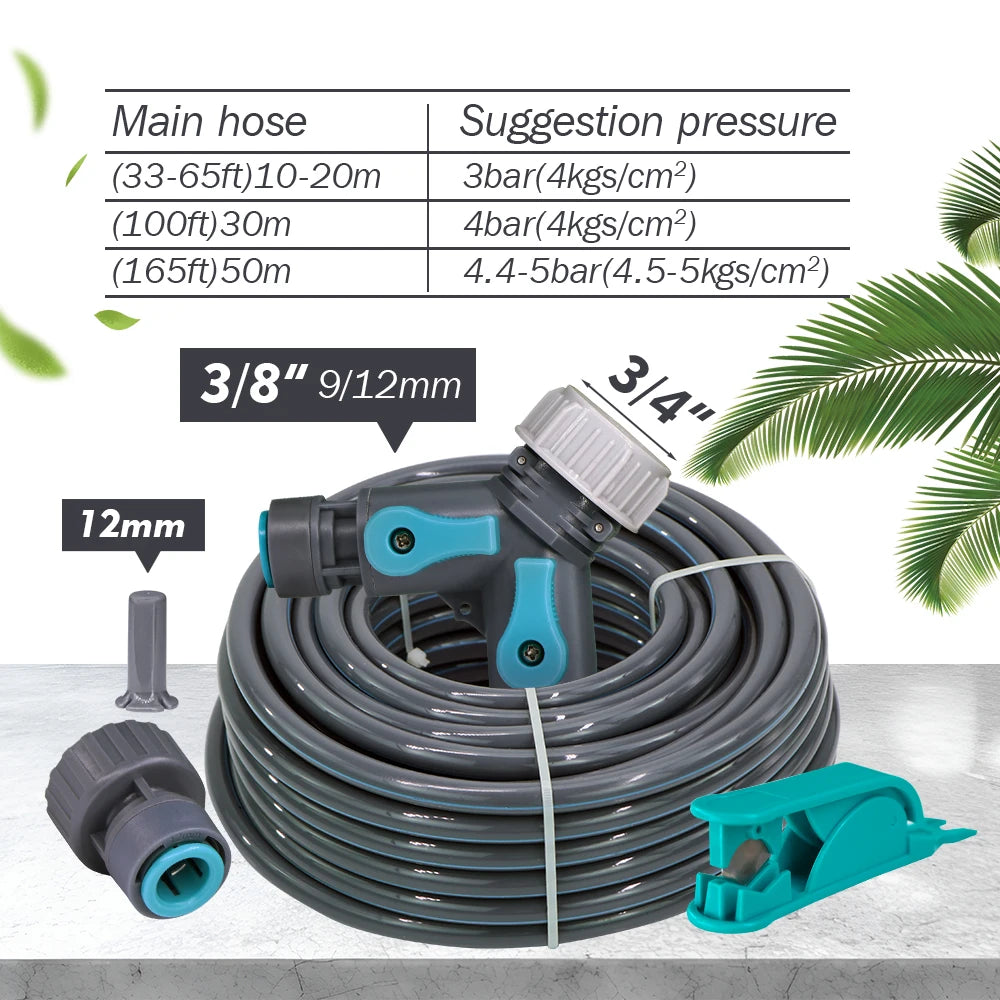
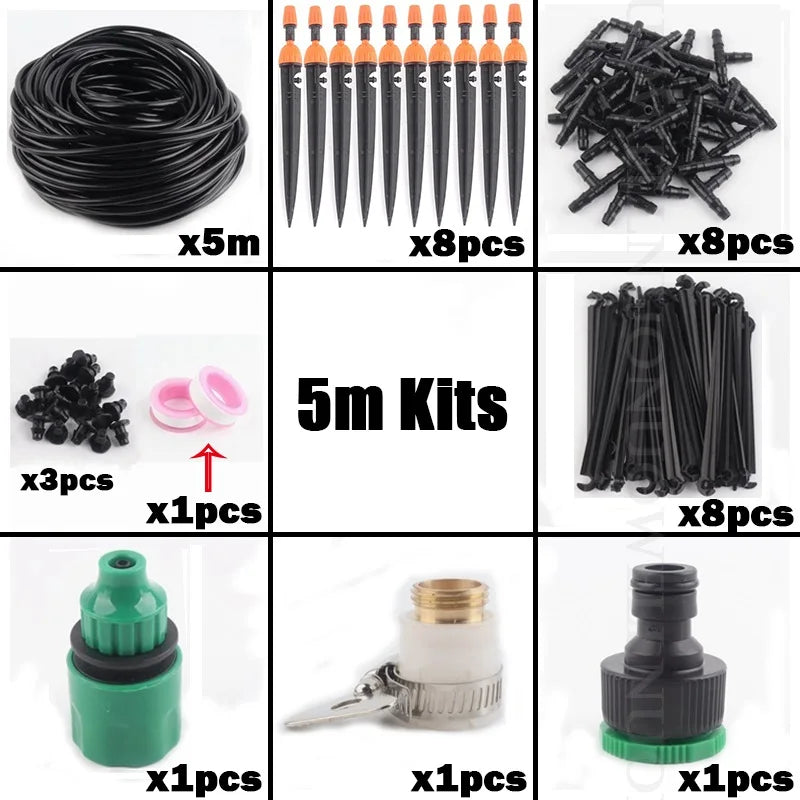
When you don't know how to use accessories, it is recommended that you place all accessories before installation. Please carefully read the usage and installation instructions of each accessory. This guide will help you set up and maintain your drip irrigation system effectively
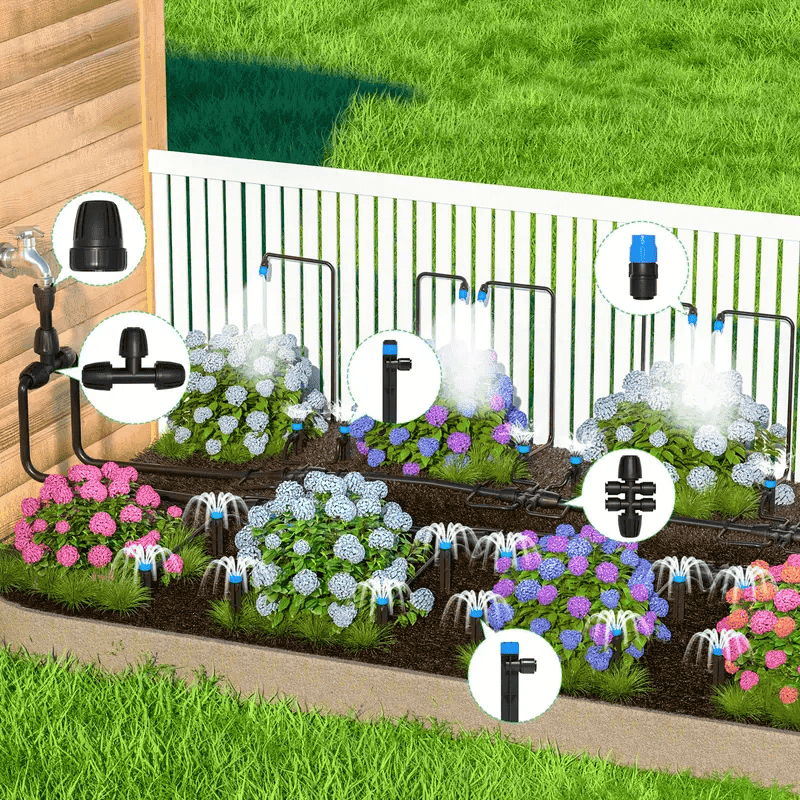
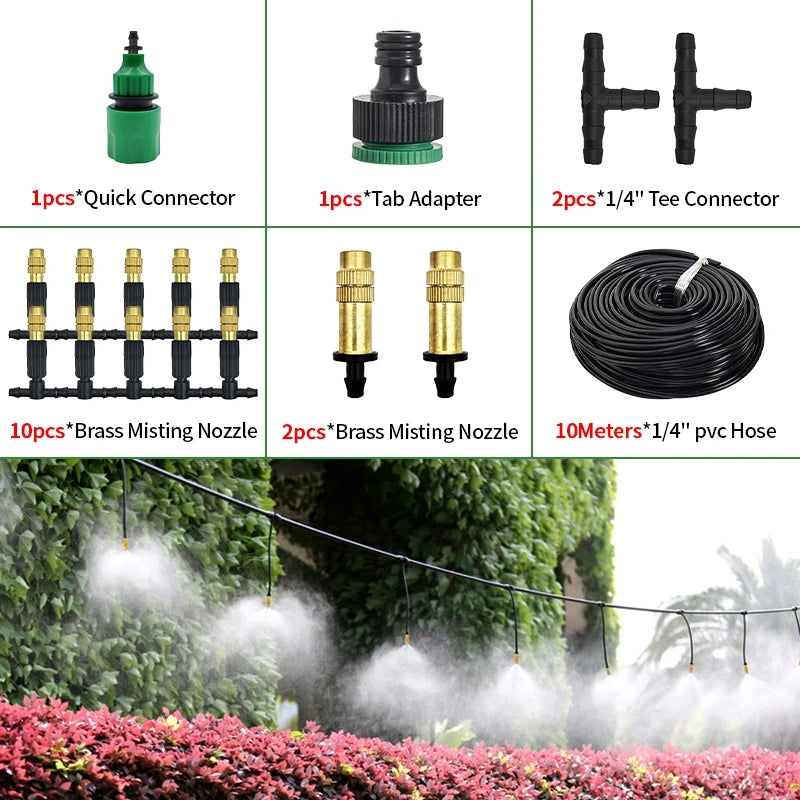
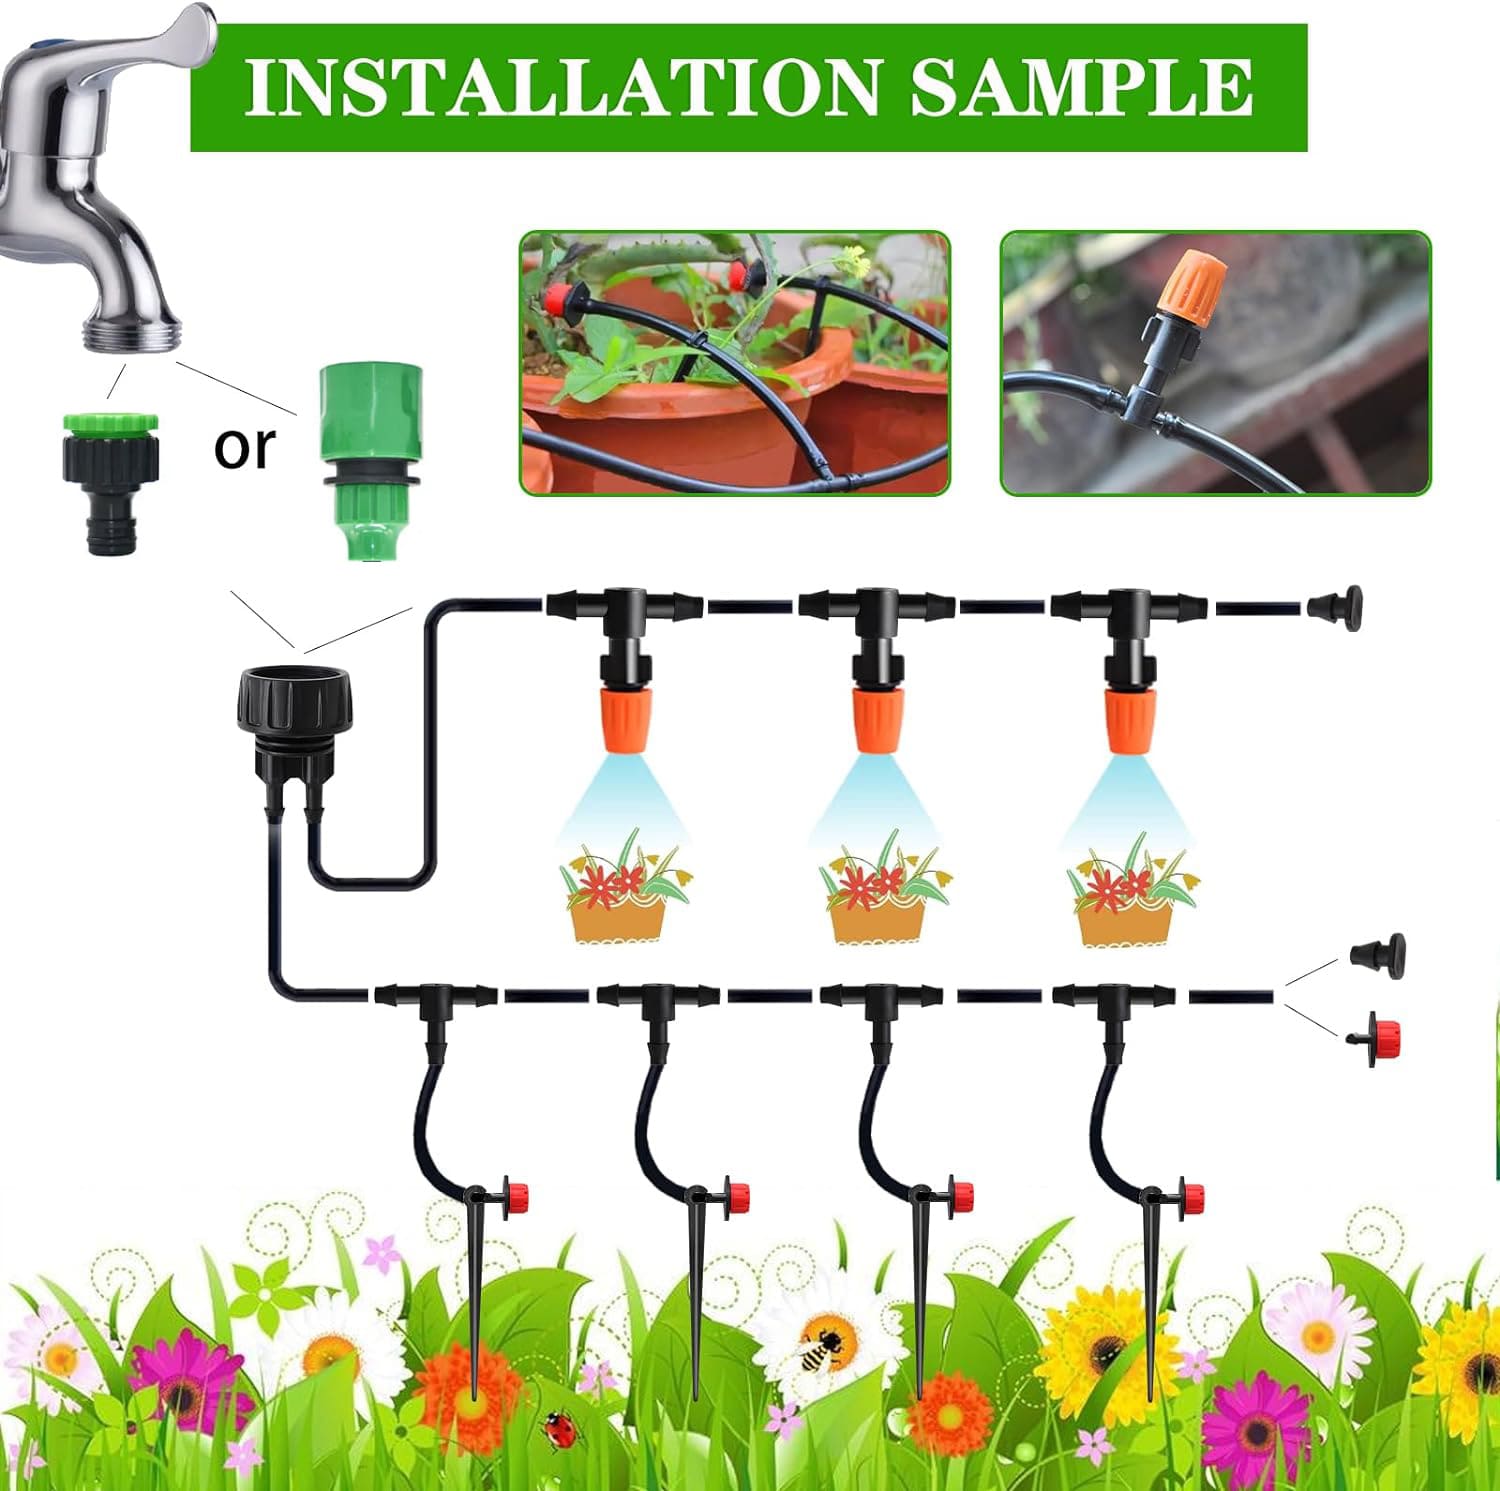
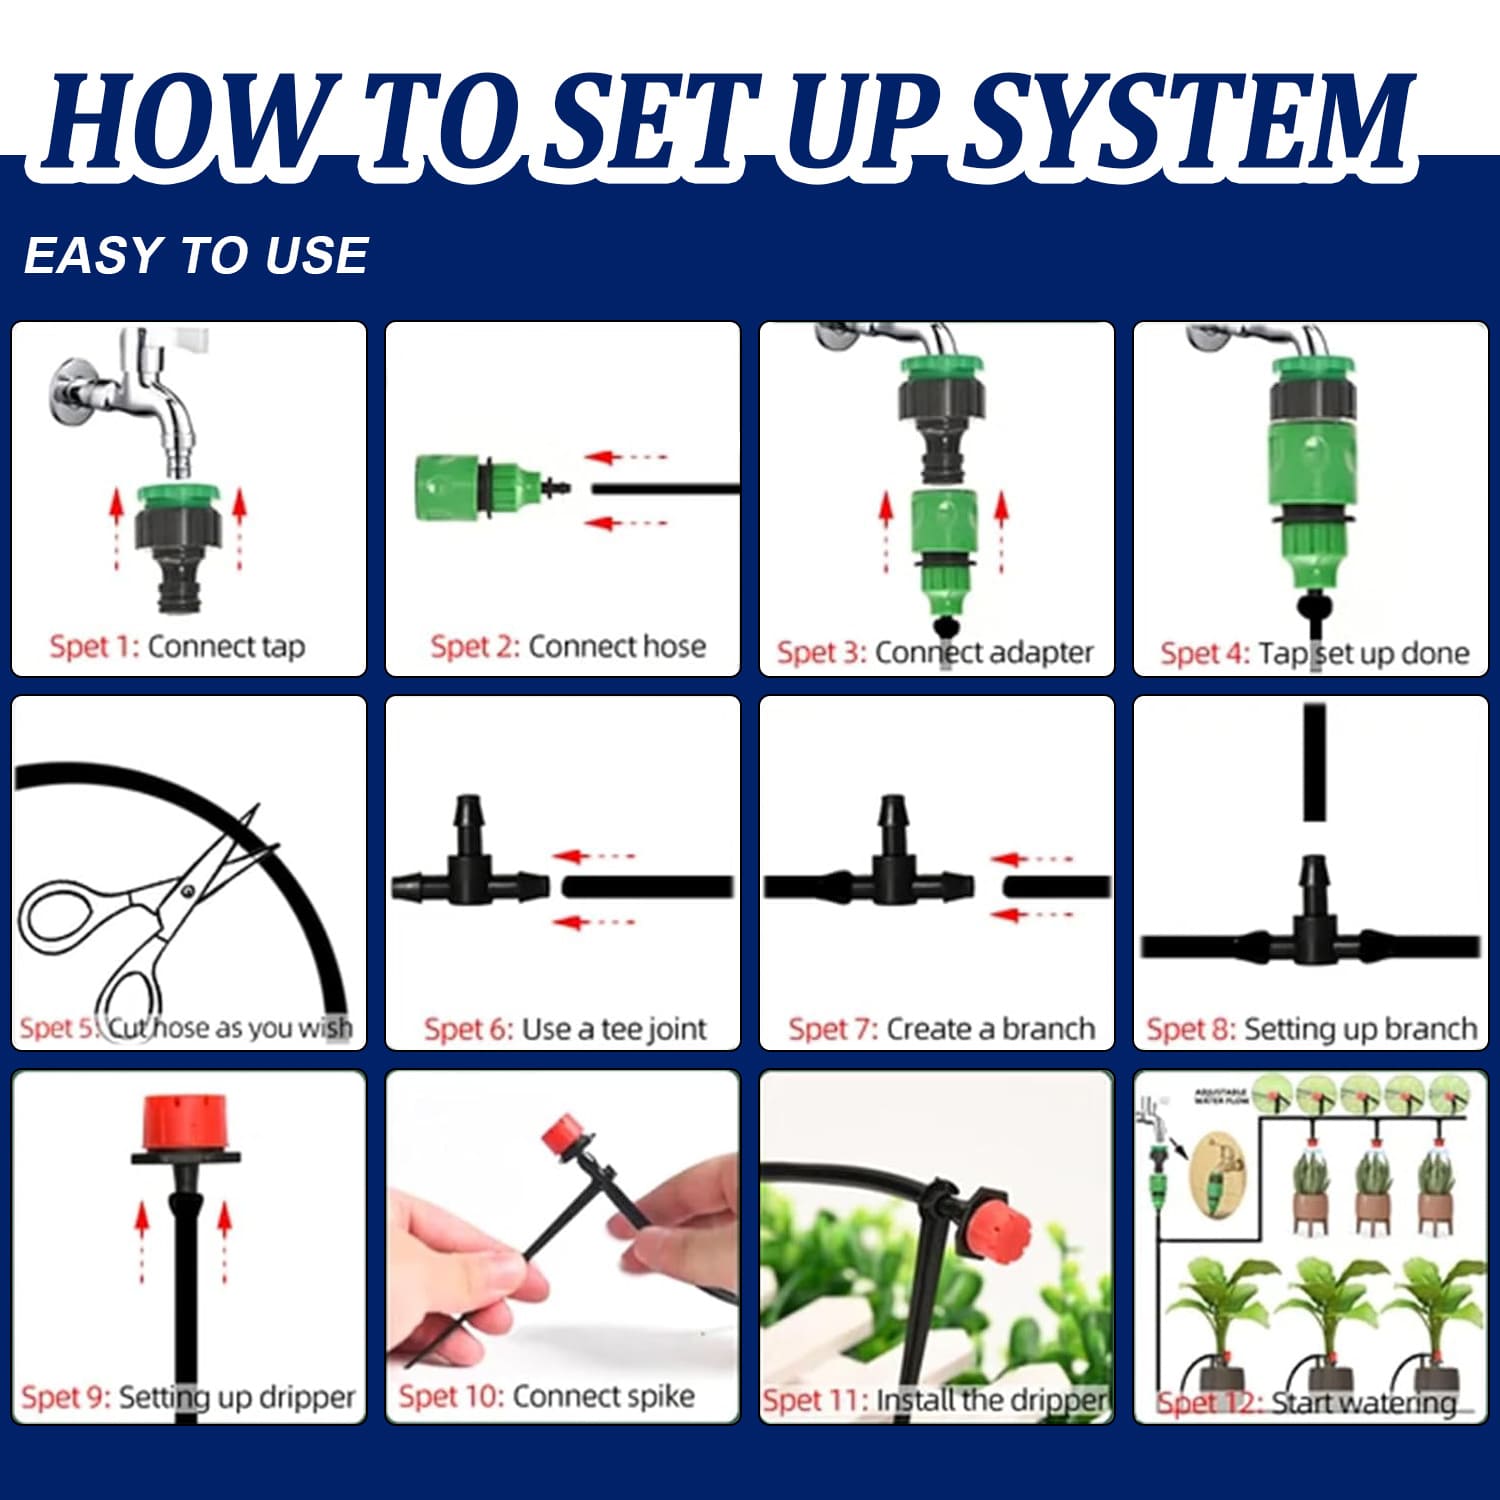
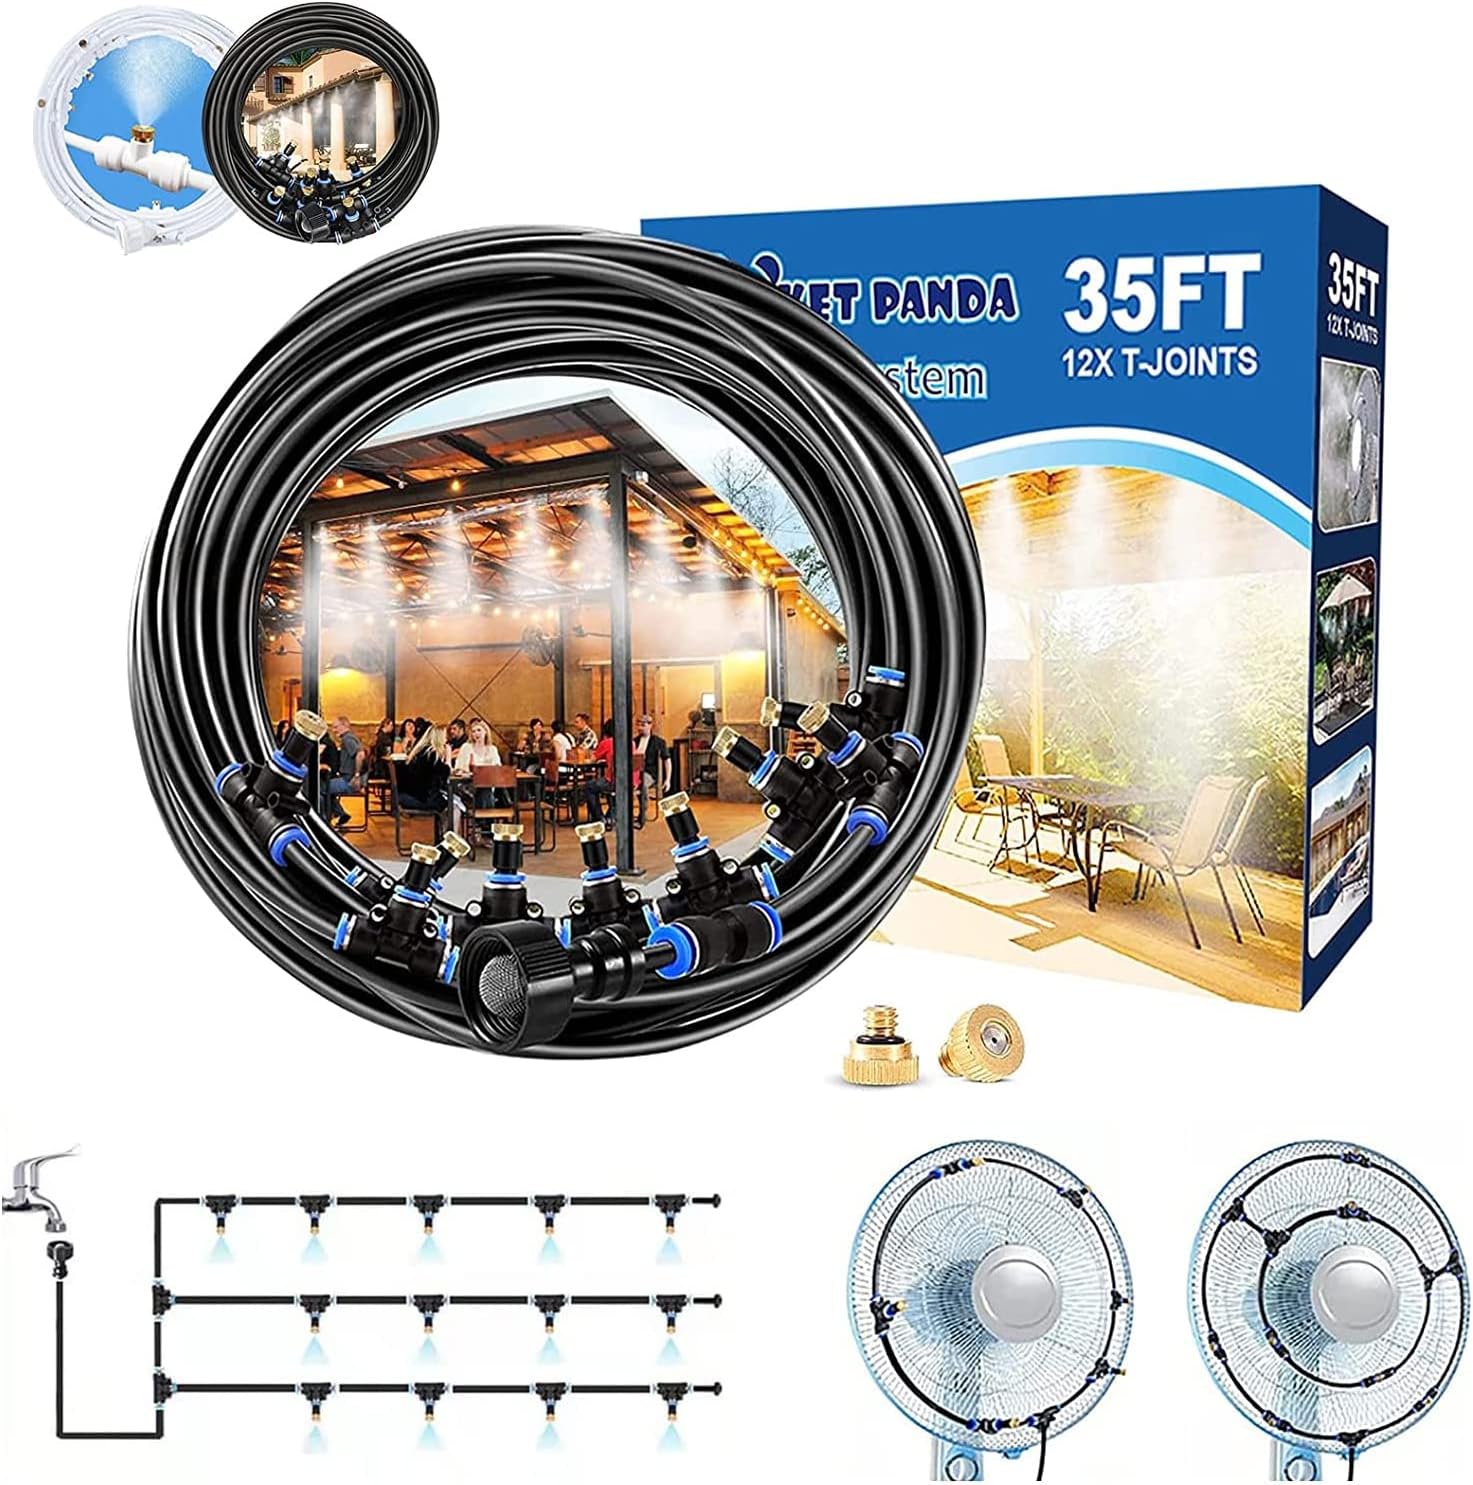
How to Install Drip Irrigation


Top Picks for You
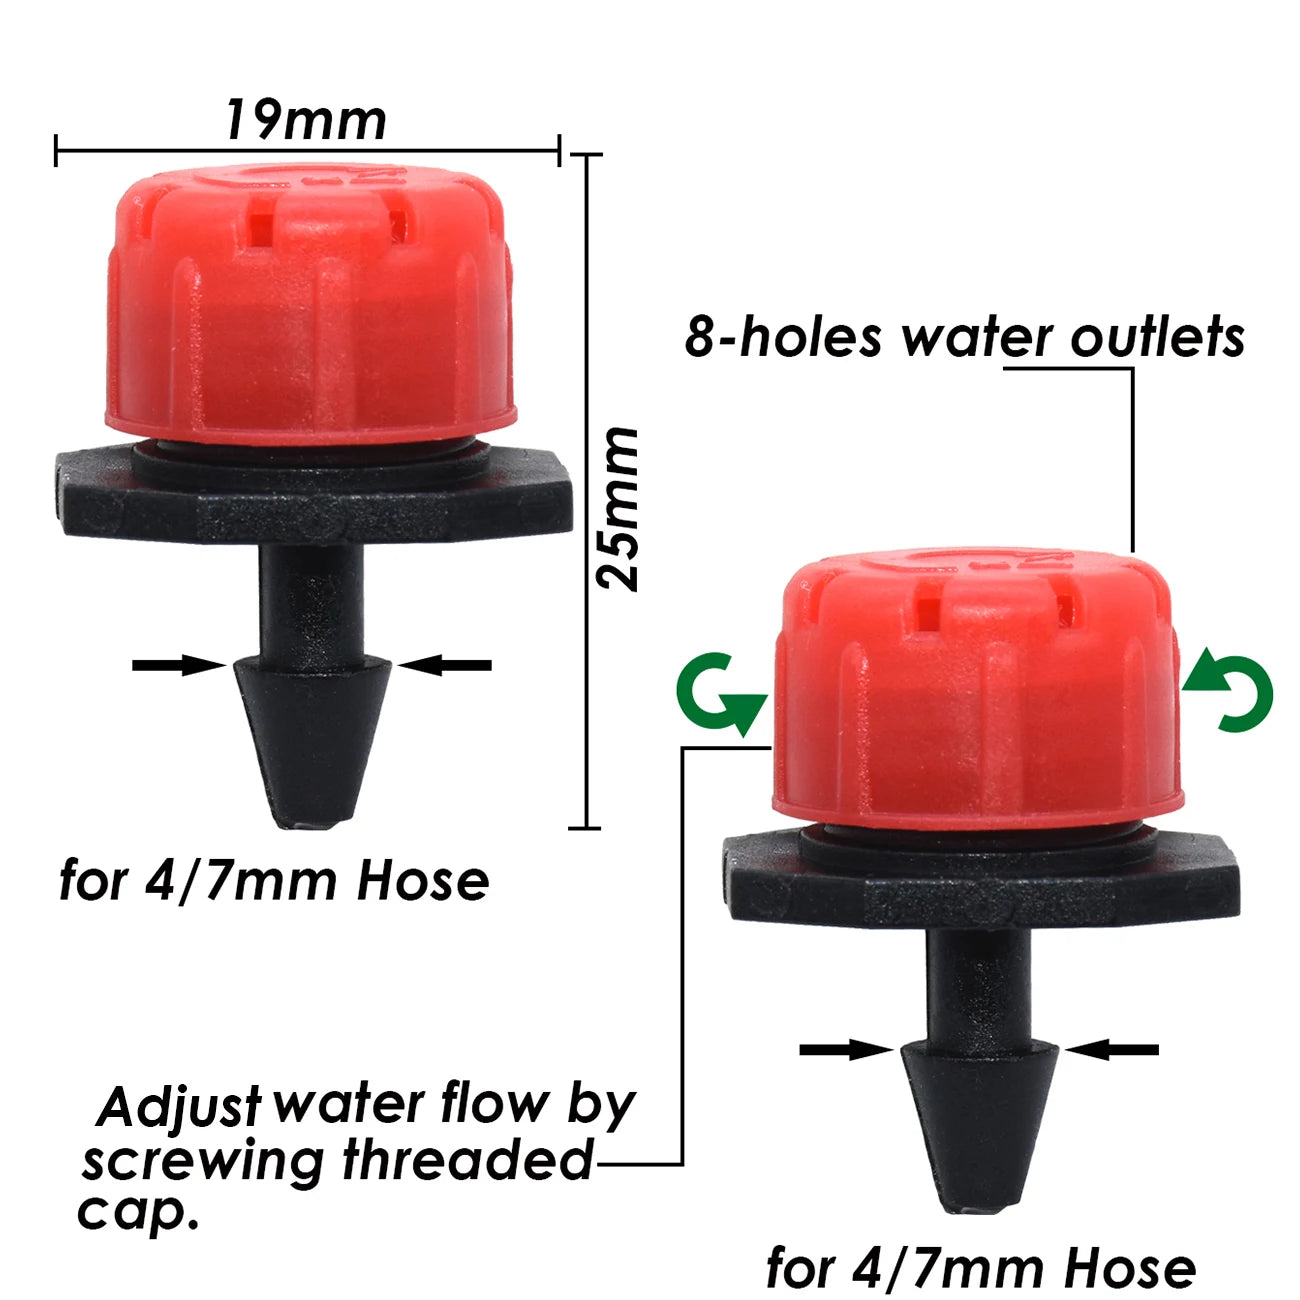


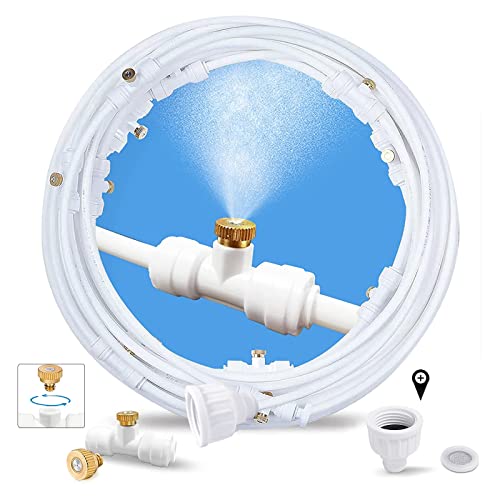


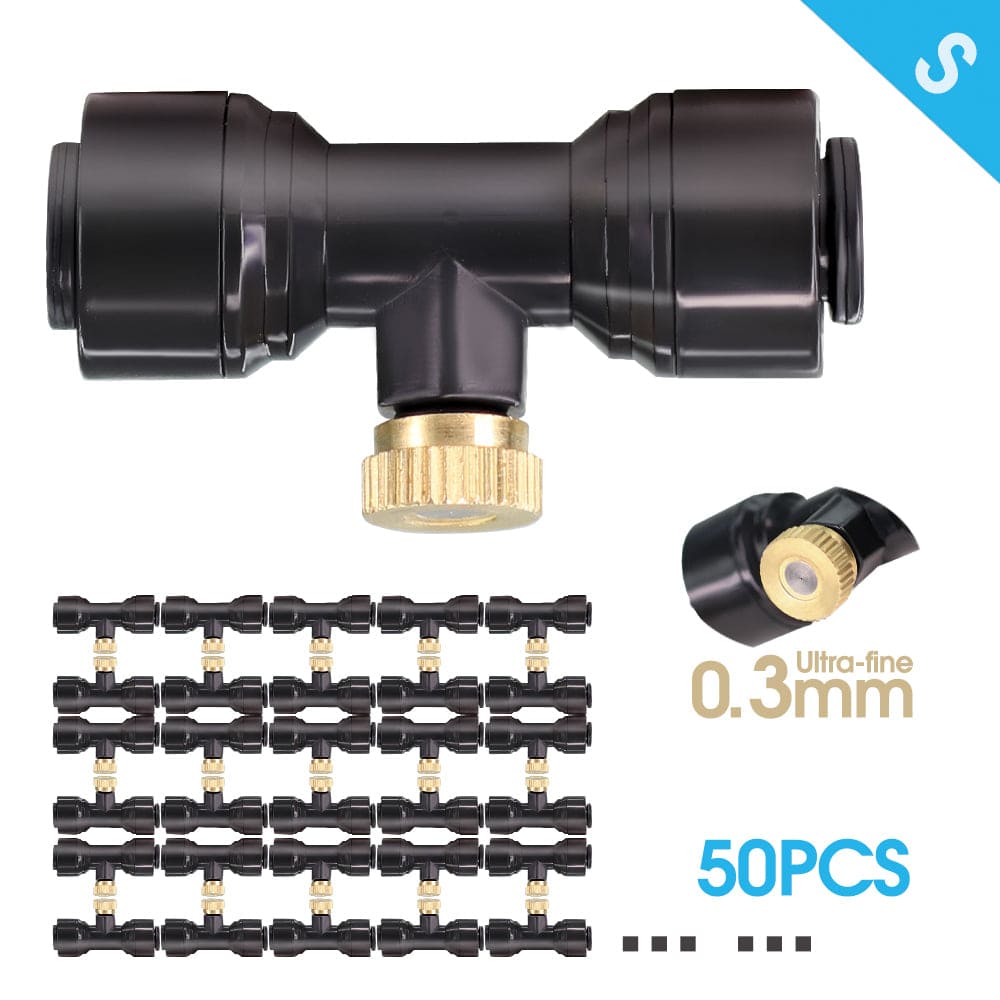

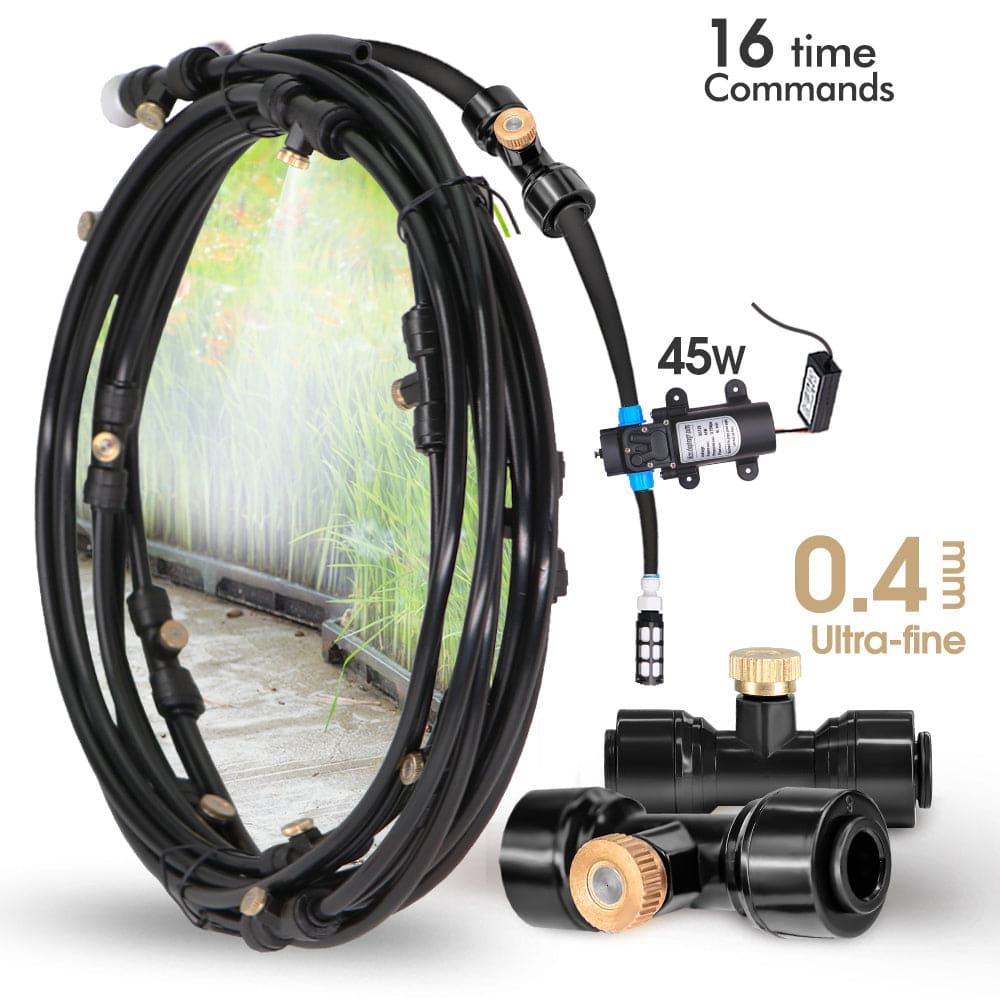


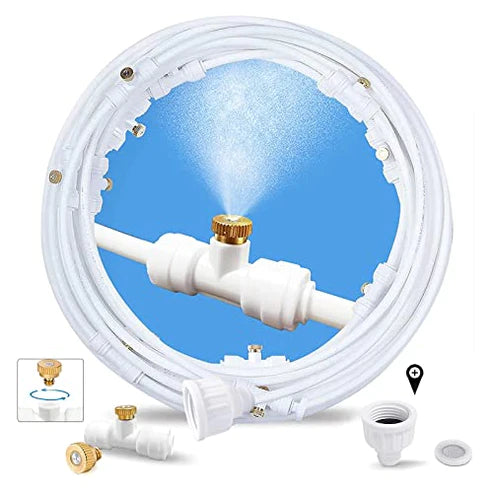
Precise Water Flow Control
This valve provides precise control over the water flow, allowing you to adjust the amount of water delivered to each plant or section of your irrigation system. This ensures that each plant receives the optimal amount of water, promoting healthier growth and reducing water waste.
- Cut the 1/4-inch tubing at the desired location where you want to install the valve.
- Insert the ends of the cut tubing into the inlet and outlet ports of the valve.
- Turn the valve handle to adjust the water flow as needed.
- Ensure the valve is securely connected and there are no leaks.

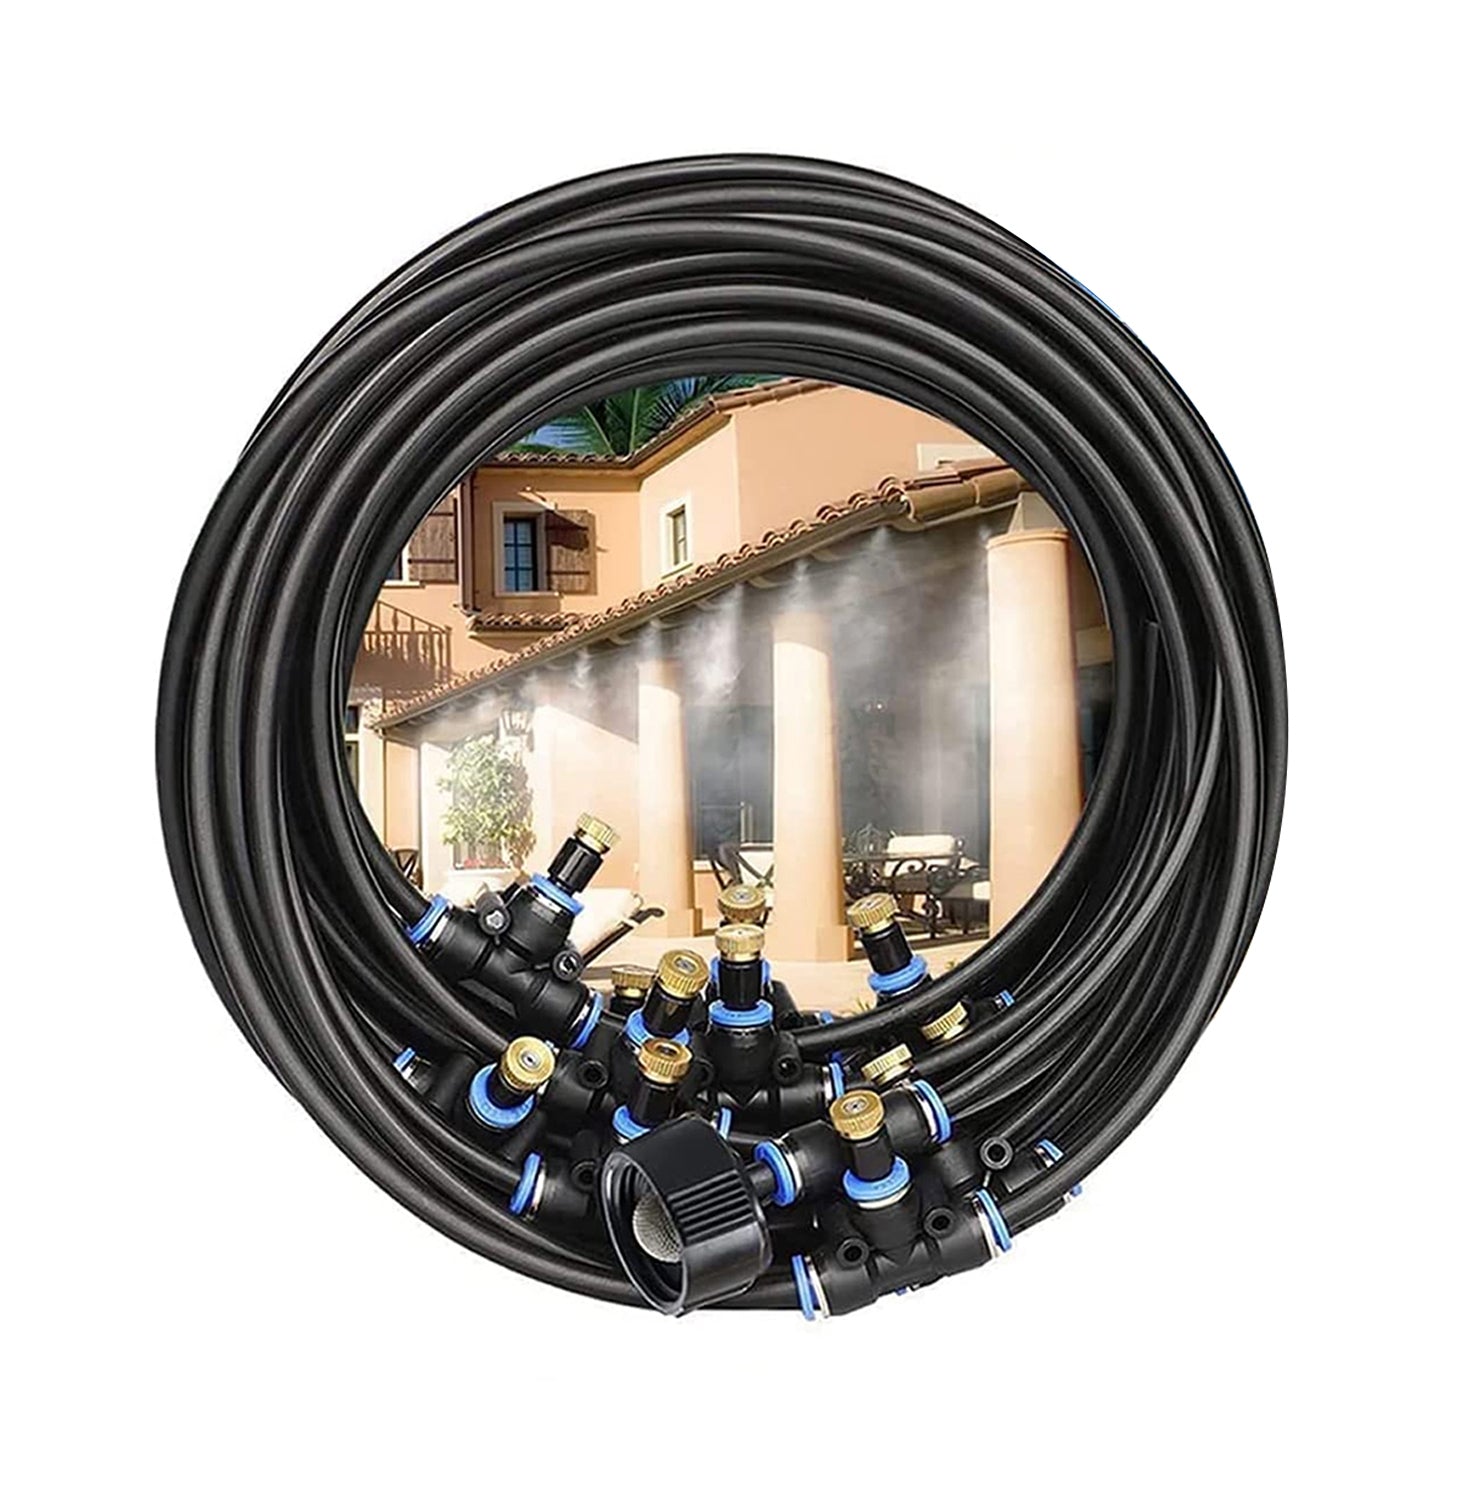
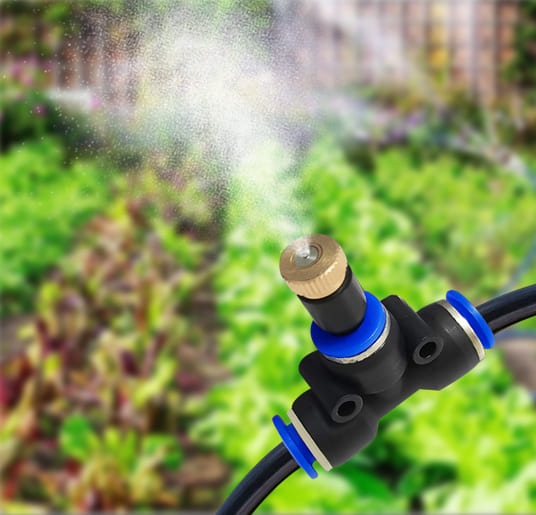
Efficient Water Distribution
The small tee connector efficiently splits a single line of 1/4-inch tubing into two separate lines. This enables you to direct water to different sections of your garden, maximizing the coverage and effectiveness of your drip irrigation system.
- Cut the 1/4-inch tubing at the desired location where you want to install the tee connector.
- Insert the cut ends of the tubing into the two output ports of the tee connector.
- Connect another piece of 1/4-inch tubing to the input port of the tee connector to continue the water supply.
- Ensure all connections are secure and there are no leak

Secure Tubing Placement
The thin tube holding rod firmly holds 1/4-inch tubing in place, preventing it from moving or shifting. This ensures that your irrigation lines remain properly aligned, delivering water precisely where it is needed.
- Determine the placement of your 1/4-inch tubing in your garden or irrigation area.
- Push the thin tube holding rod into the ground at the desired location
- Snap the tubing into the clip at the top of the rod, ensuring it is securely held in place.
- Repeat as needed along the length of the tubing to maintain a well-organized layout.

Smooth Navigation Around Corners
The thin pipe bend is designed to provide a smooth, curved transition for your 1/4-inch tubing. This helps you navigate around corners and obstacles in your garden layout without causing kinks or restricting water flow.
- Identify the location where you need to create a bend in your 1/4-inch tubing.
- Cut the tubing at the desired location.
- Insert the ends of the tubing into the bend connector’s barbed ports.
- Ensure the tubing is securely connected and there are no leaks.
- Continue setting up your irrigation system, using additional bend connectors as needed.

Tubular barb straight through
The tubular barb design ensures a tight and secure fit with 1/4-inch tubing. The barbs grip the tubing firmly, preventing any slippage or leaks, ensuring that your irrigation system functions efficiently.
- Identify the location where you need to connect or extend your 1/4-inch tubing.
- Cut the tubing at the desired location.
- Insert the ends of the tubing into the barbed ports of the straight through connector.
- Ensure the tubing is securely connected and there are no leaks.
- Continue setting up or repairing your irrigation system as needed.

Small tubeendplug
The end plug is designed to provide a tight, secure seal at the end of your 1/4-inch tubing. This prevents water from leaking out, maintaining the pressure within the system and ensuring efficient water distribution to your plants.
- Identify the end of the 1/4-inch tubing that needs to be capped.
- Insert the tubing into the small tube end plug, pushing firmly until it is securely in place.
- Ensure the connection is tight and there are no leaks.
- Repeat as necessary for other tubing ends in your irrigation system.

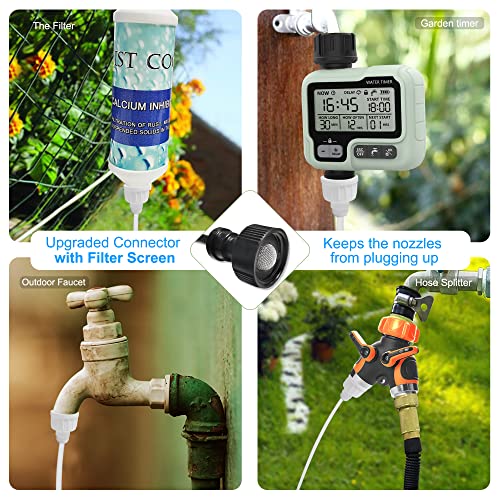
tube connector with internal thread
The internal thread design allows you to connect 1/4-inch tubing to various threaded fittings, such as faucets, hose bibs, and irrigation devices. This ensures a tight and secure connection, preventing leaks and maintaining optimal water pressure.
- Cut the 1/4-inch tubing to the desired length.
- Insert the end of the tubing into the barbed end of the connector, pushing firmly until it is securely in place.
- Screw the threaded end of the connector onto the desired fitting or device.
- Ensure the connection is tight and there are no leaks.
- Repeat as necessary for other connections in your irrigation system.